-
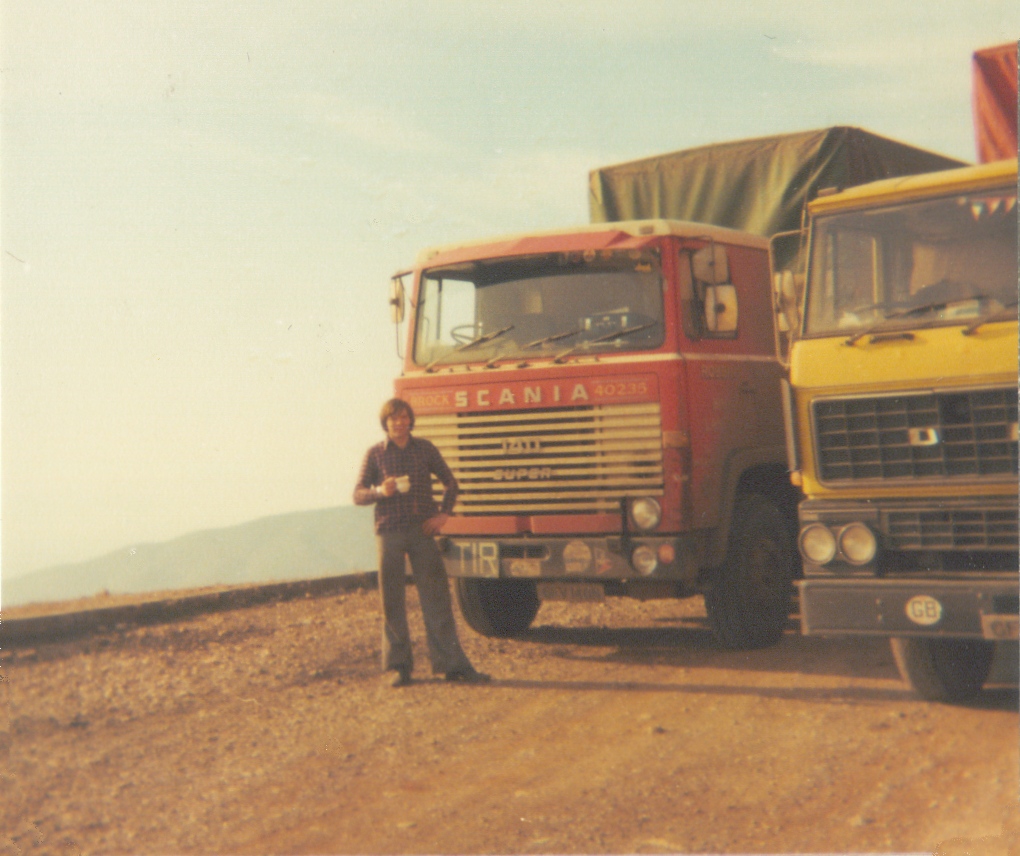
- Johns Scania 140 with icicles near Pirot, Yugoslavia, 01-76

-
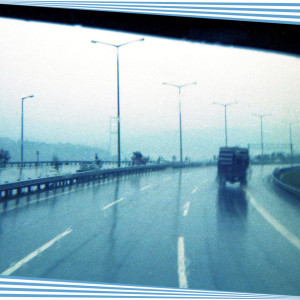
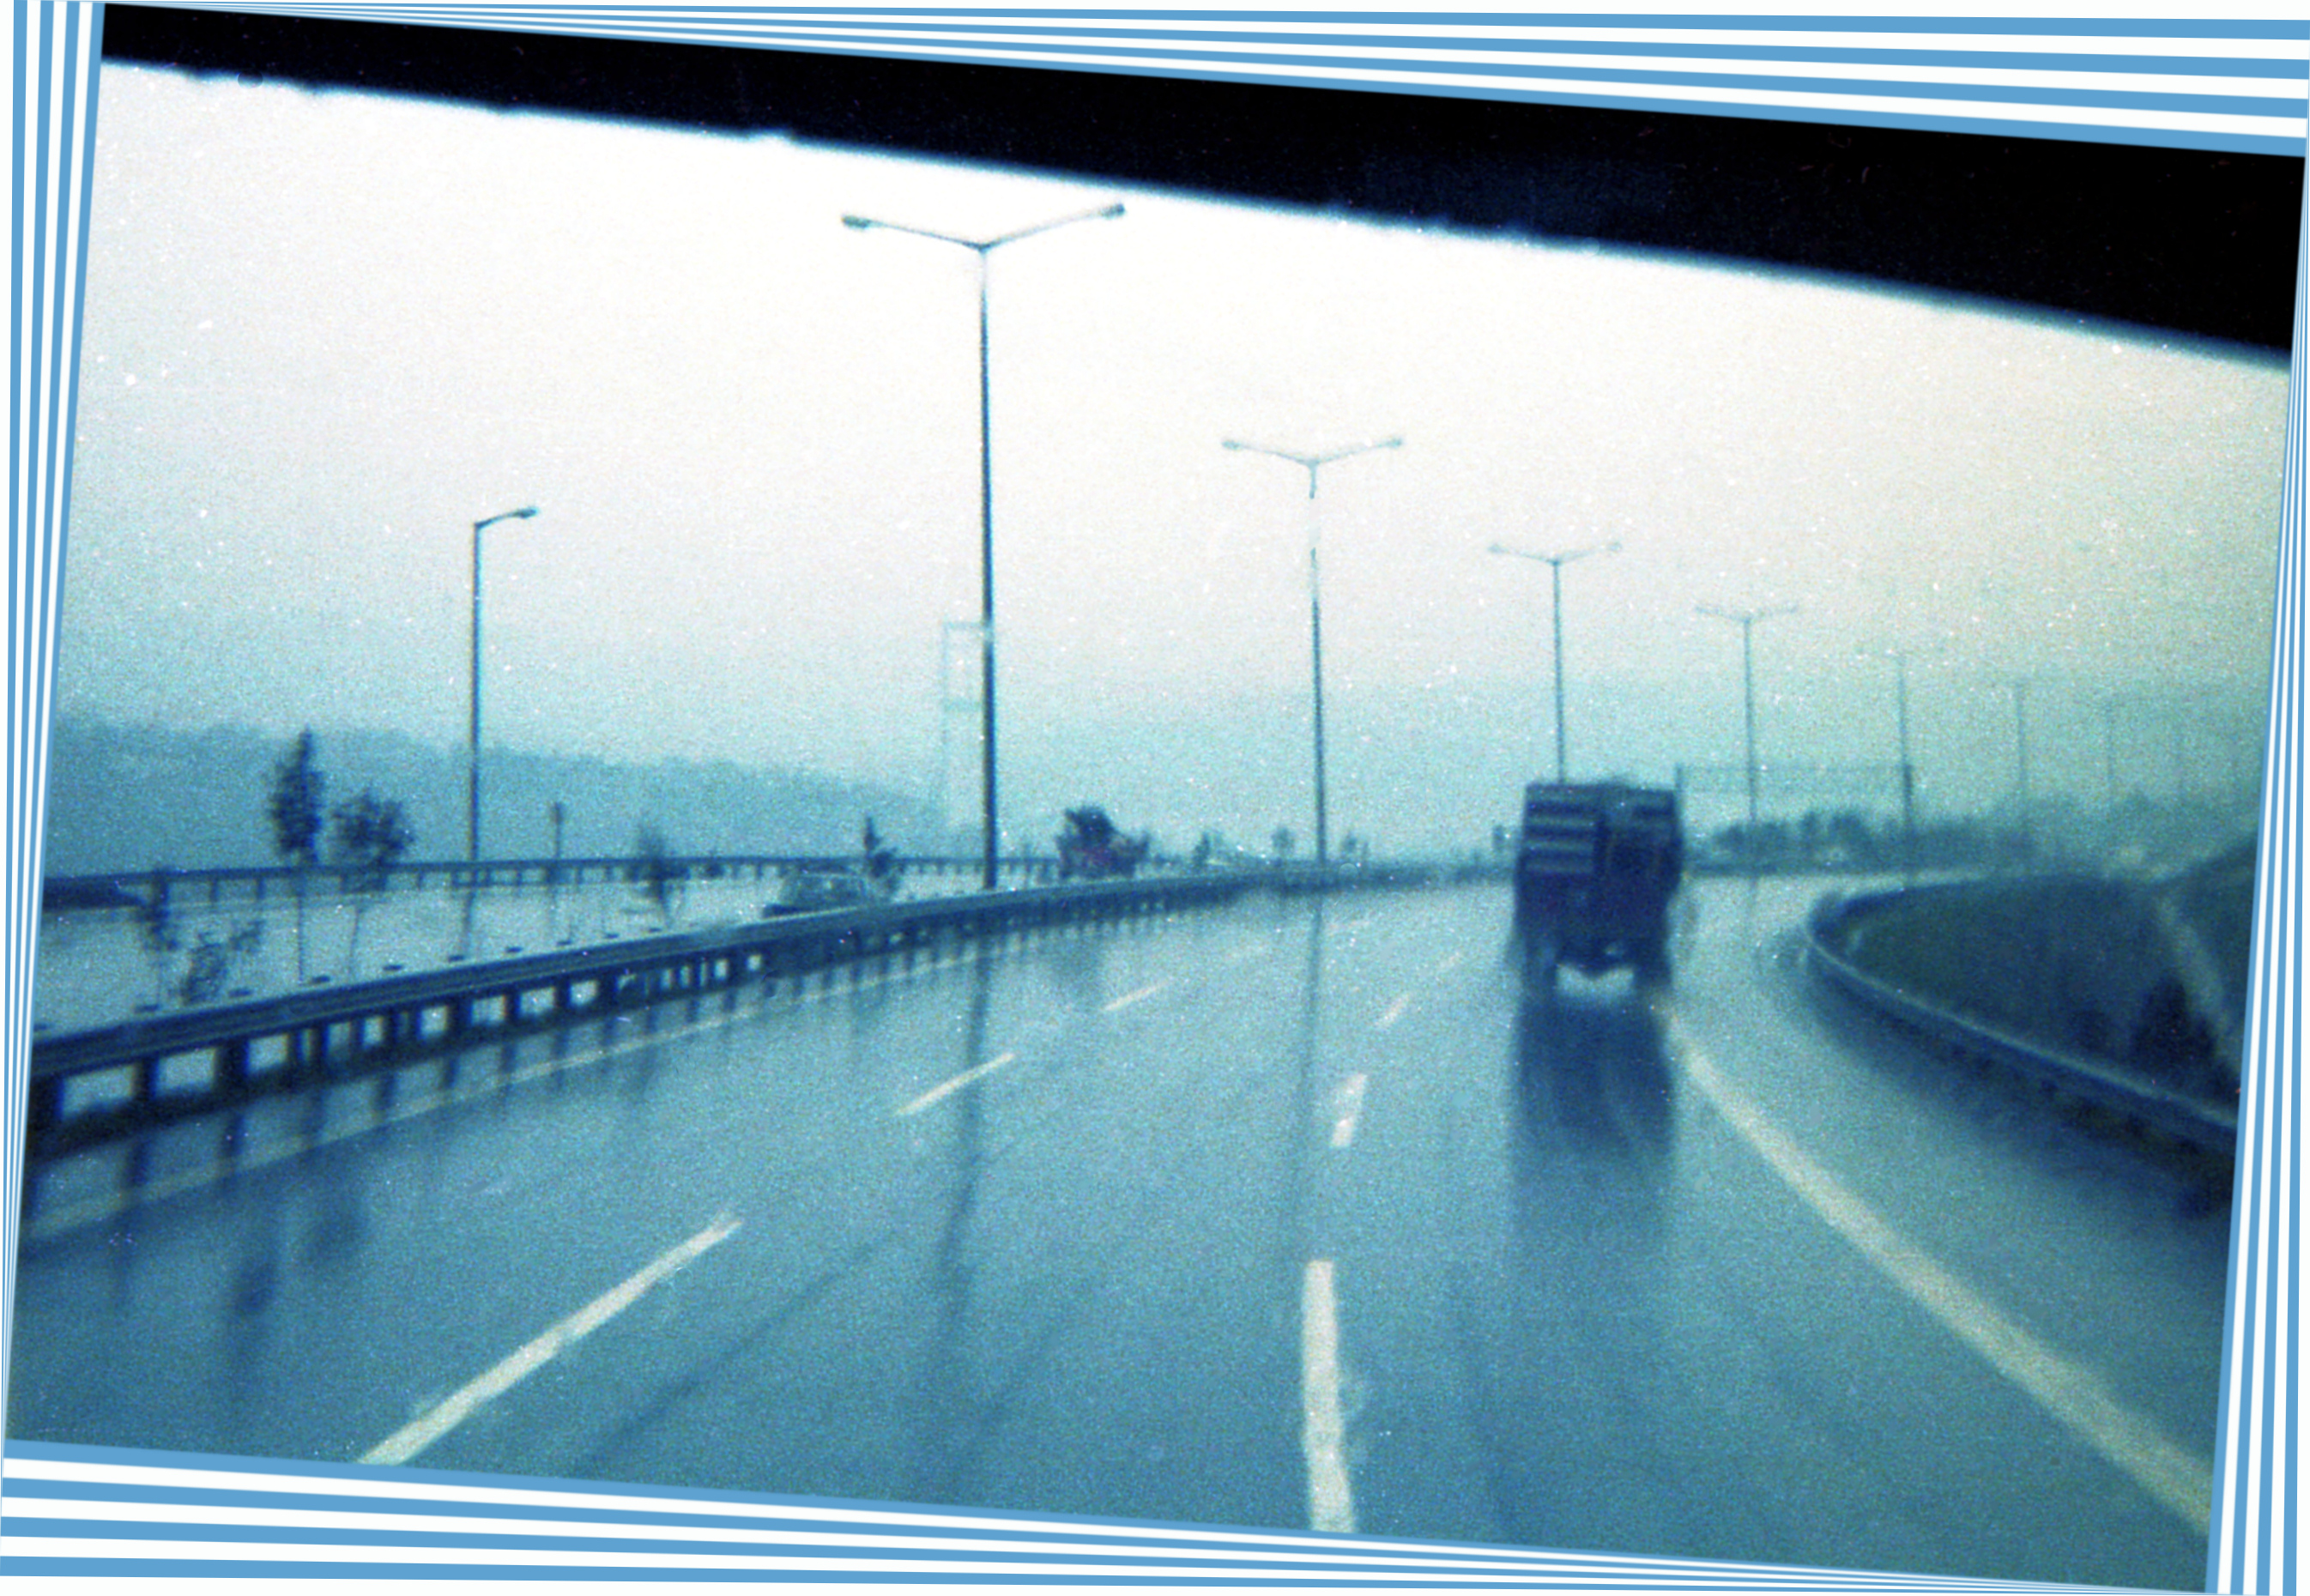
- Approaching Bosporus Bridge 01-76
-
- John and Scania near Belen, southern Turkey, 010276
-
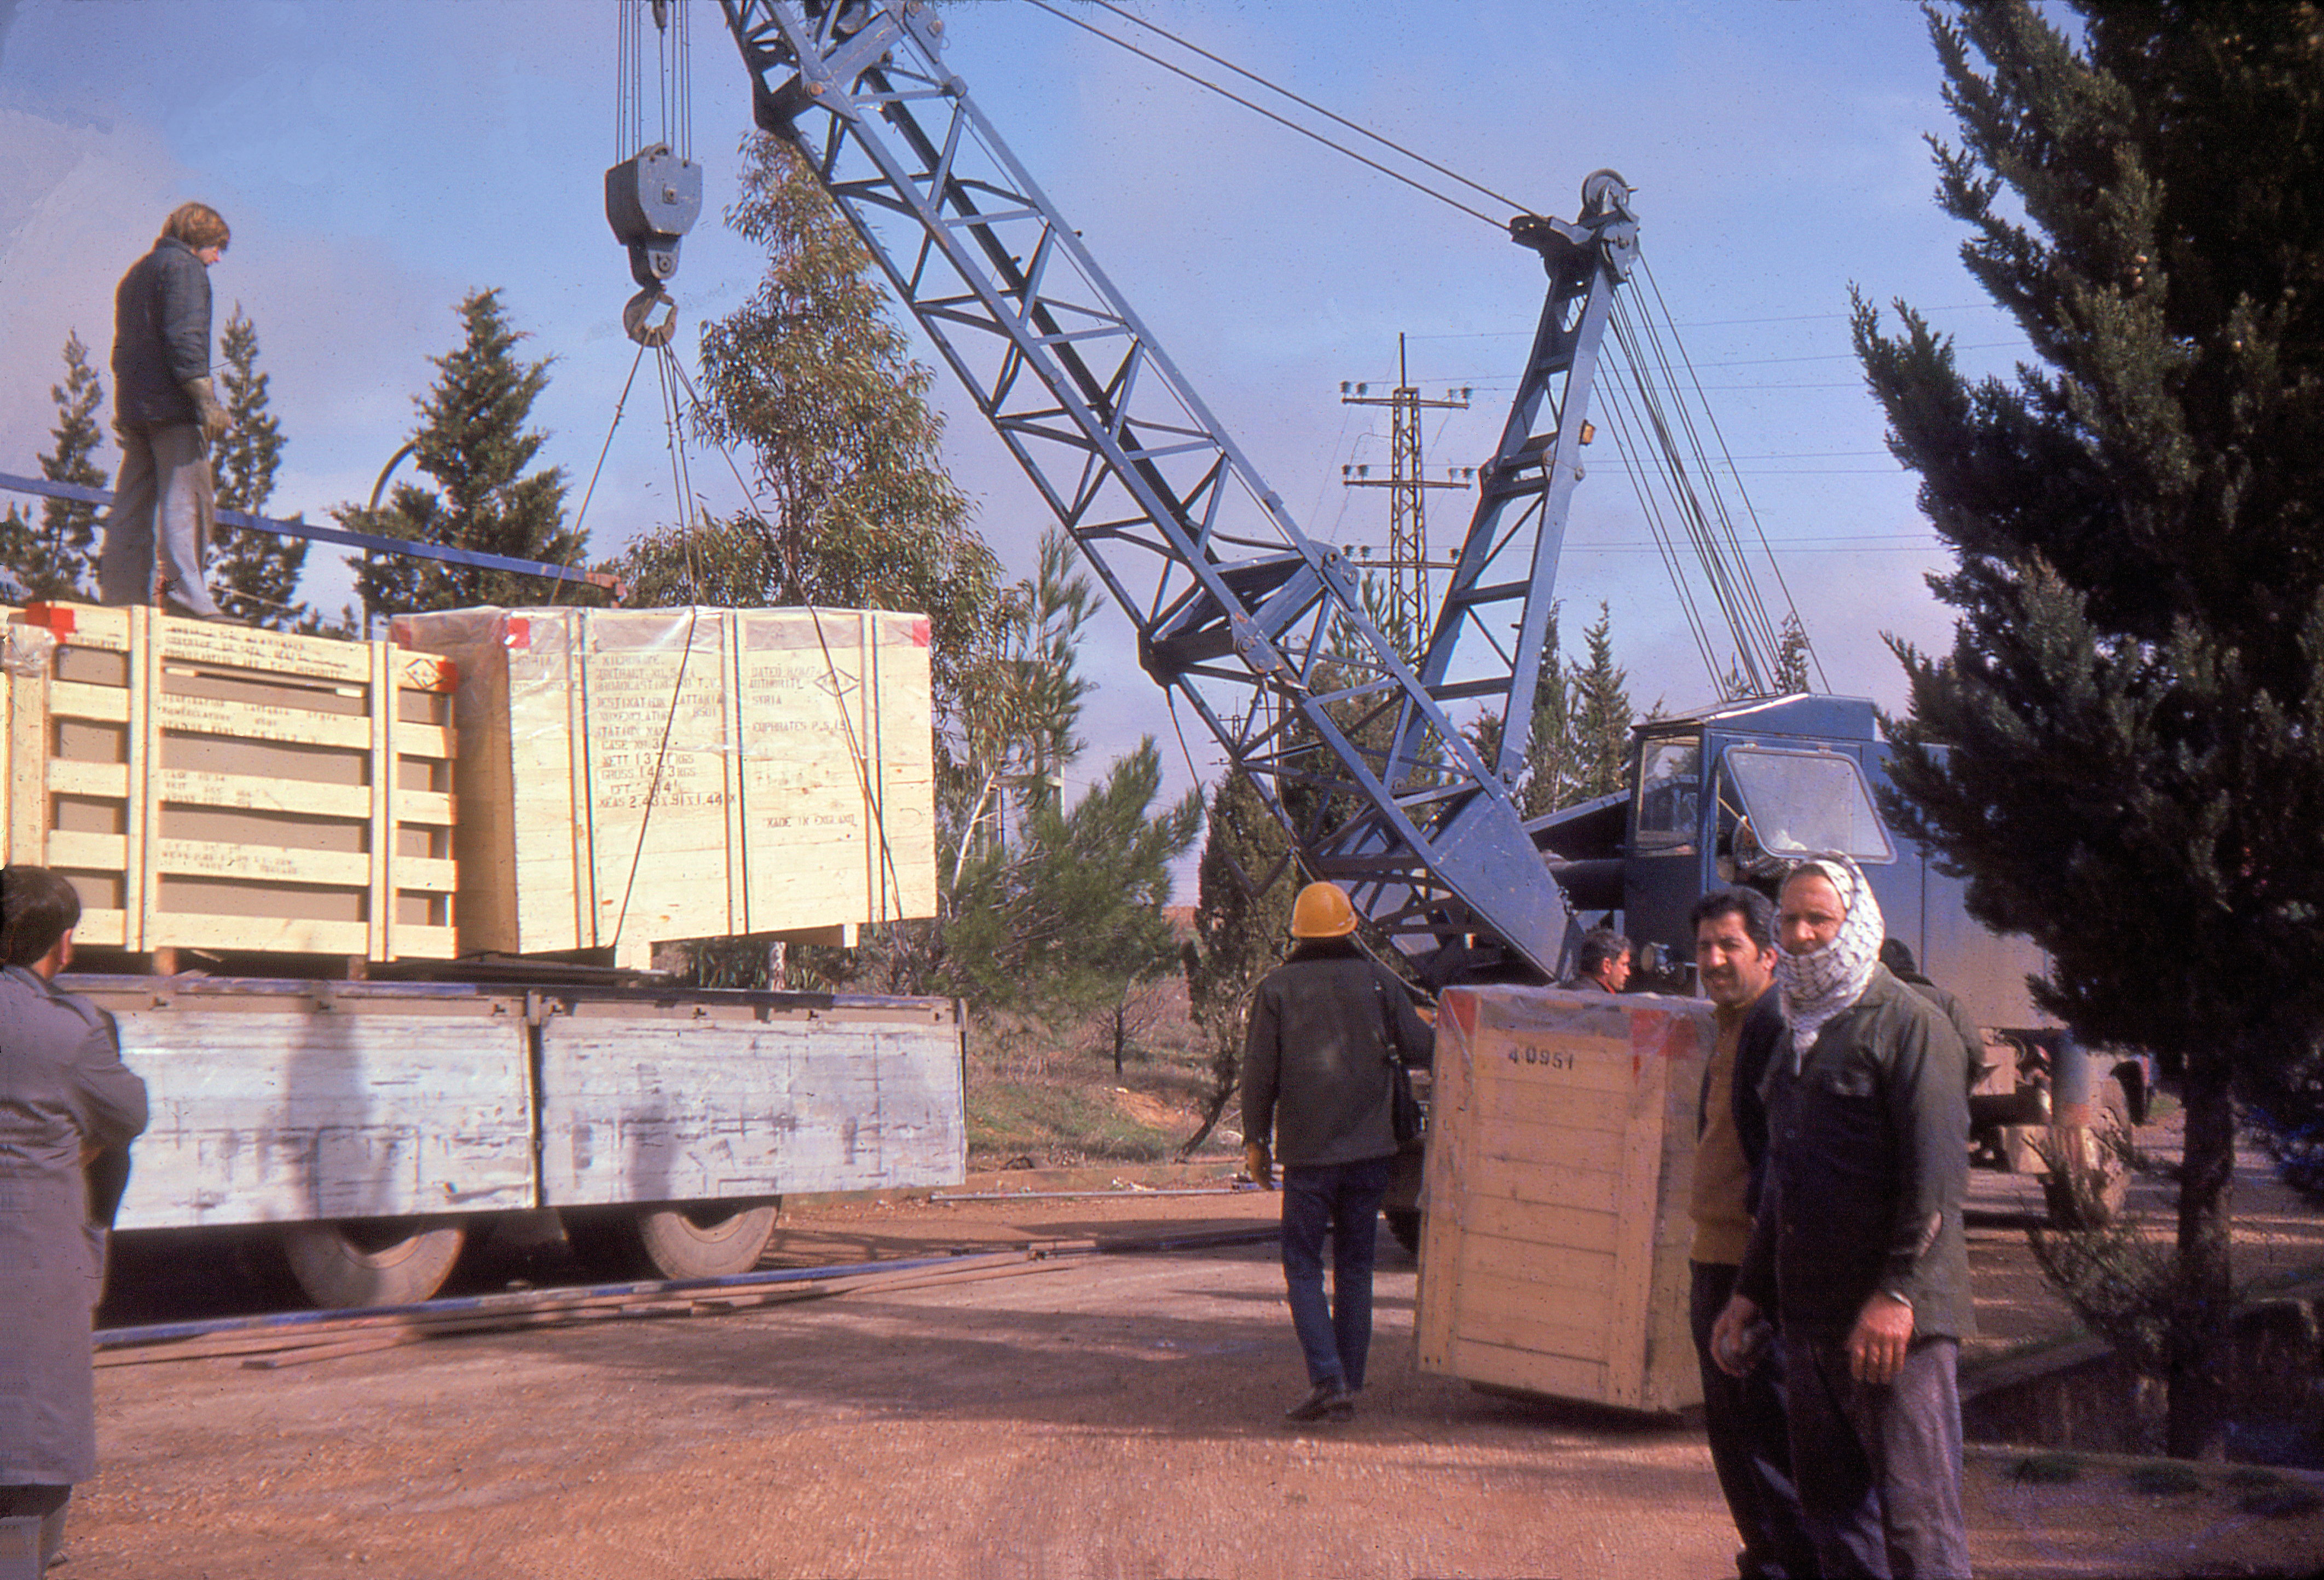
- John West unloading at Homs
-
- John West unloading at radio & tv stn, Homs, Syria 02-76
-
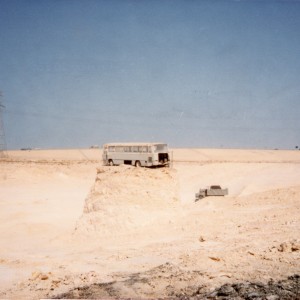
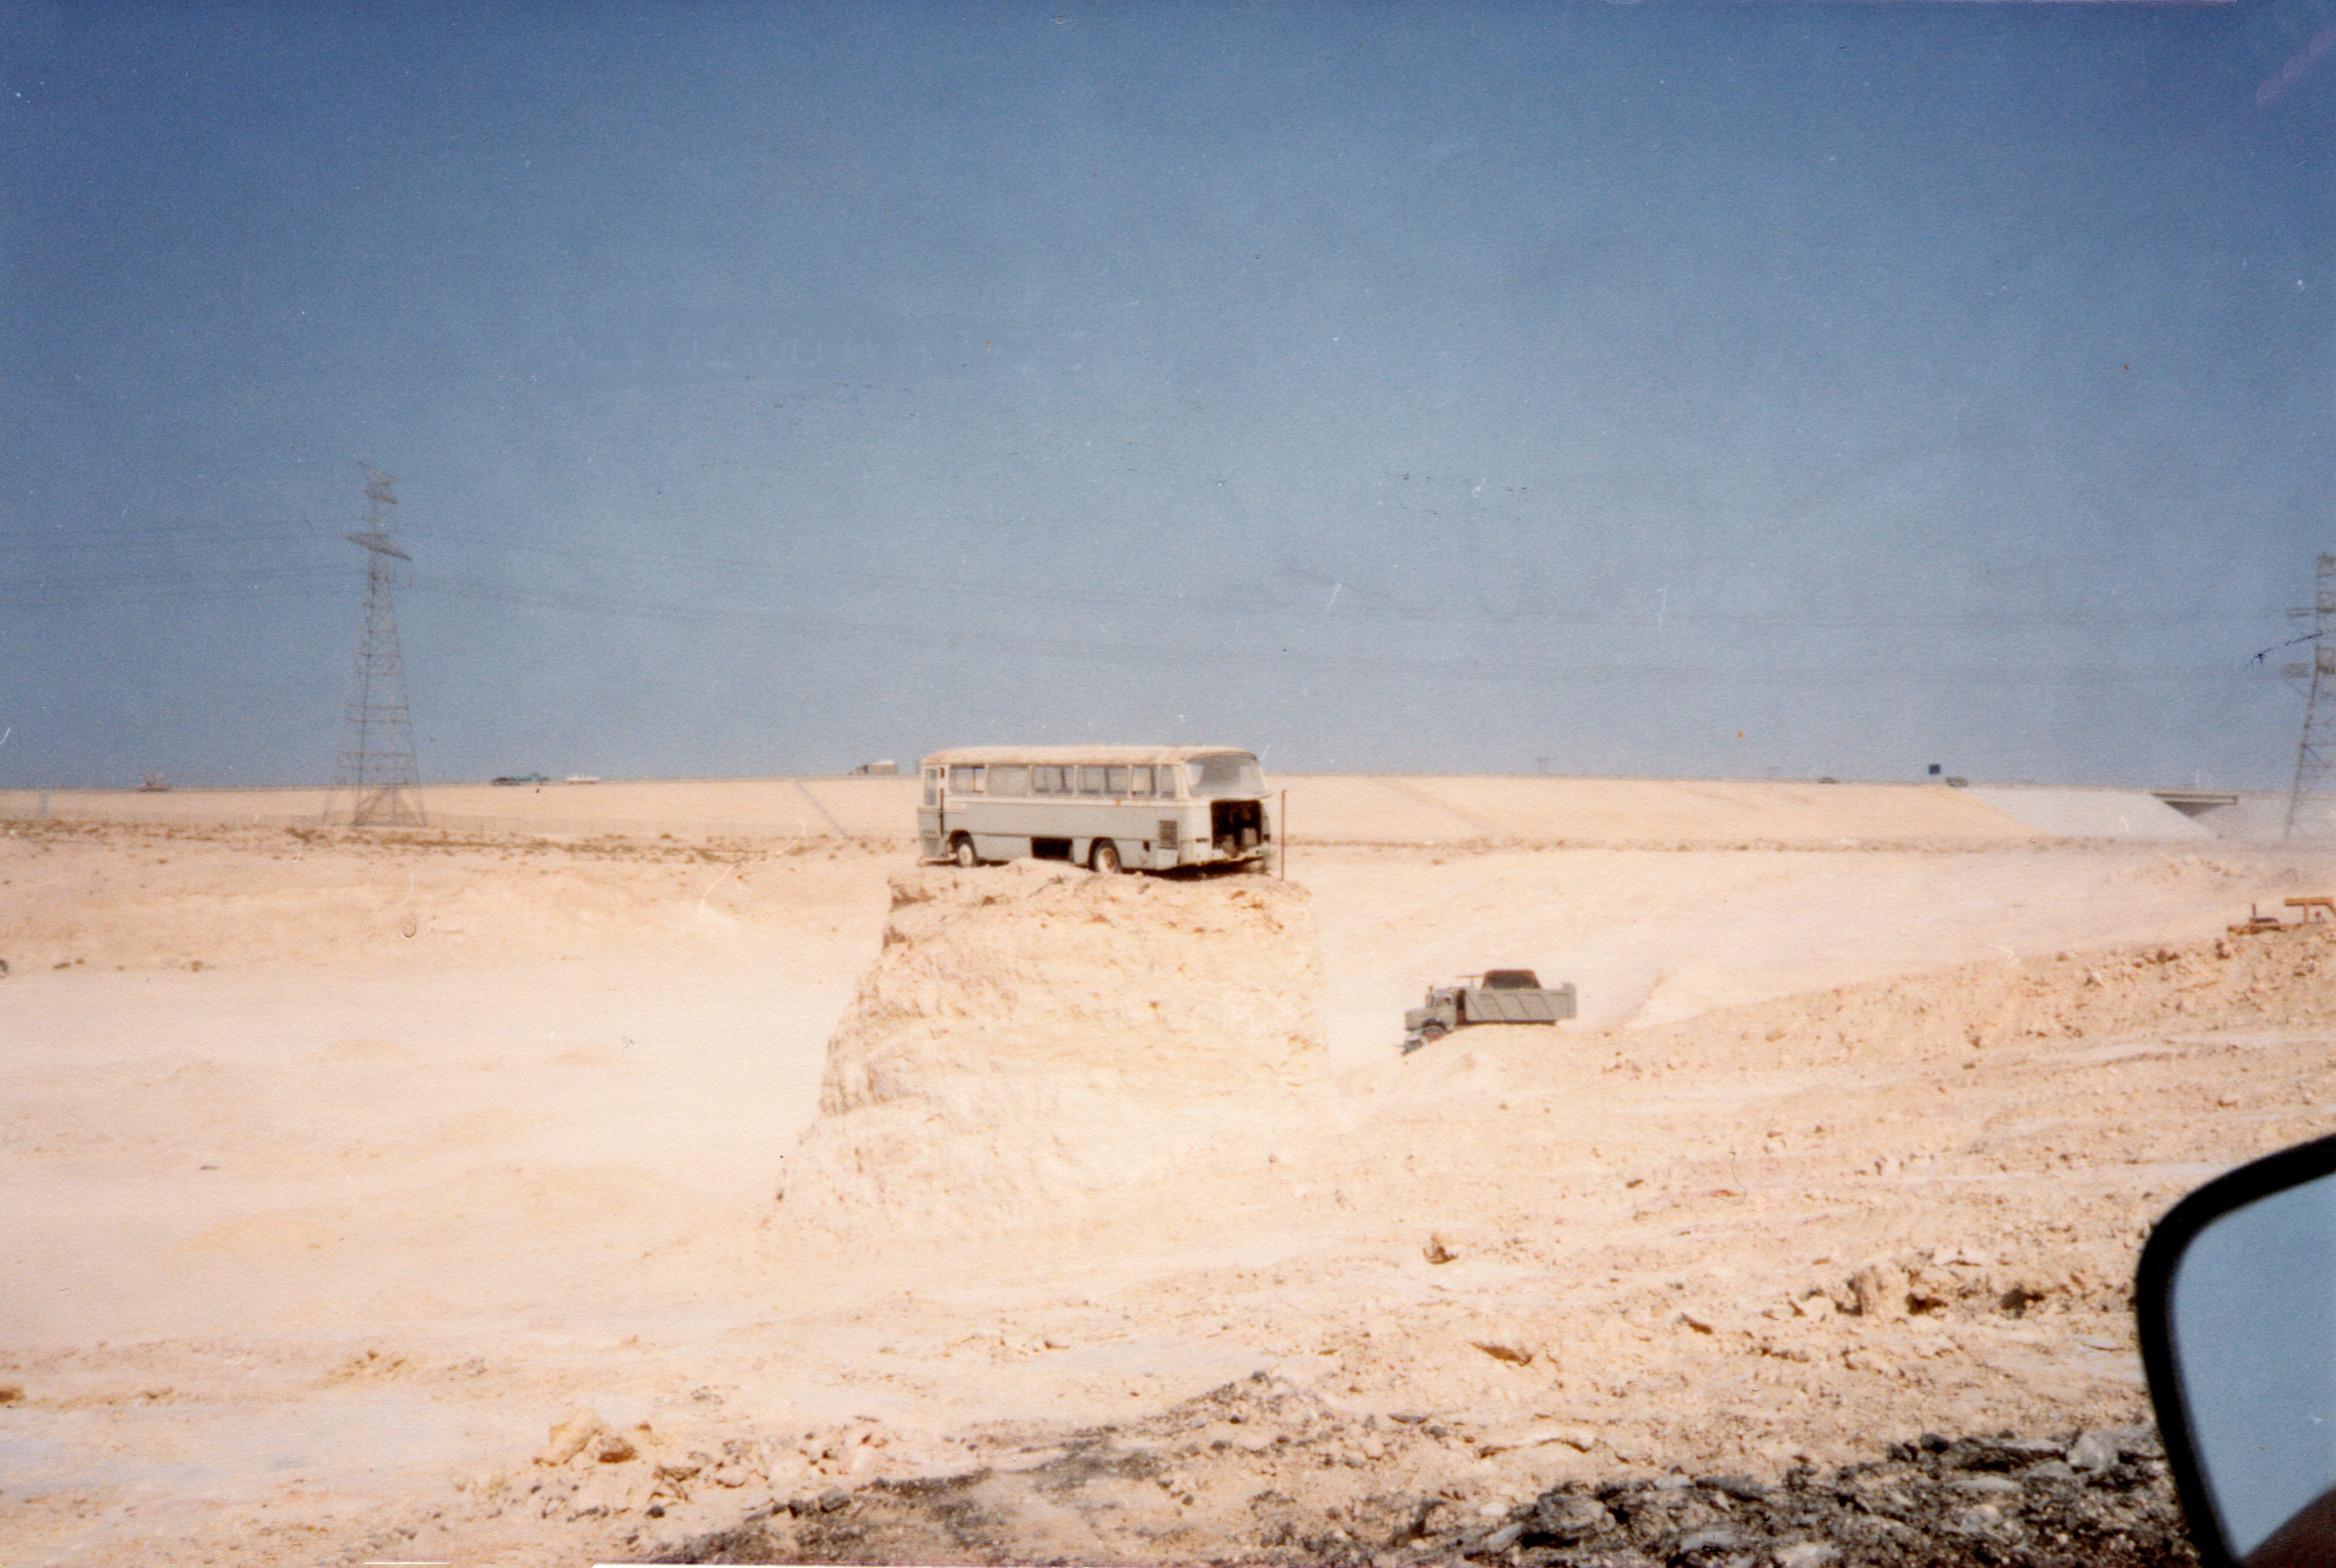
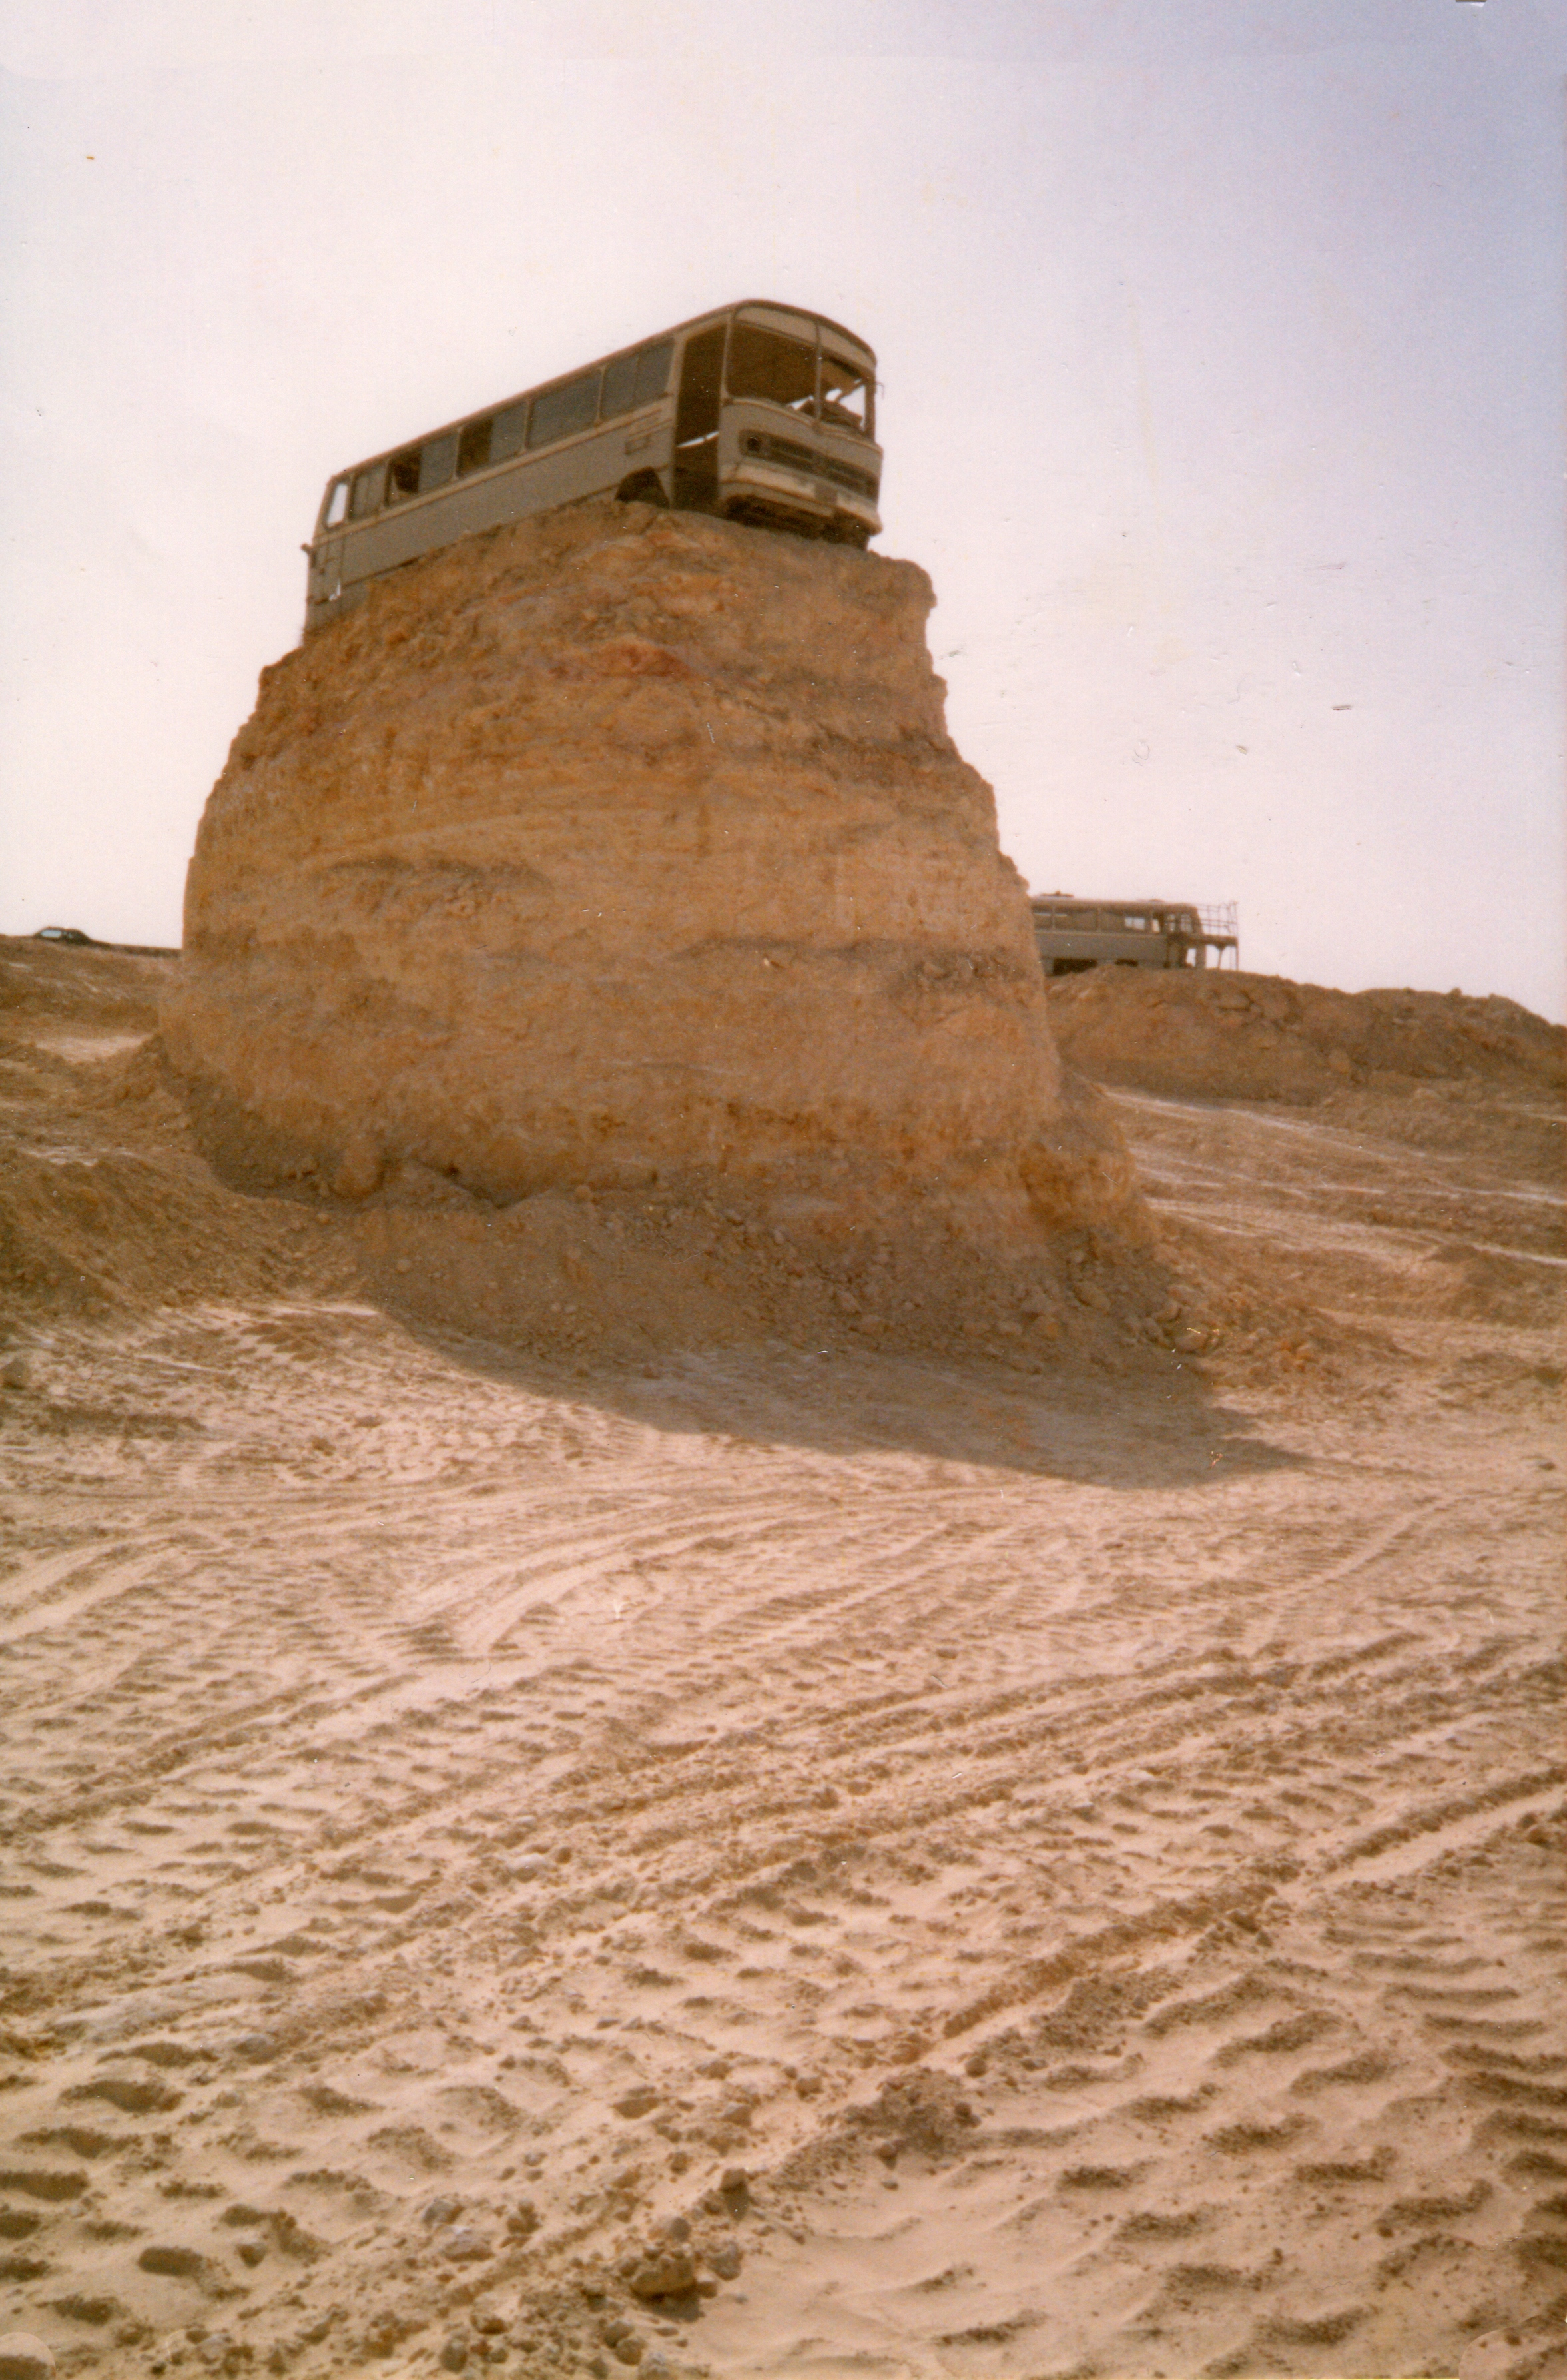
- Abandoned bus on pillar, by Dammam-Dhahran dual cway 1977
-
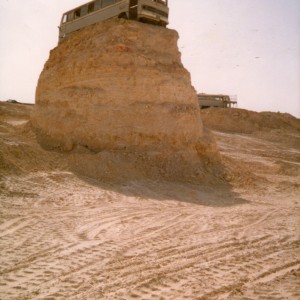
- Abandoned bus on pillar, by Dammam-Dhahran dual cway 1977
-
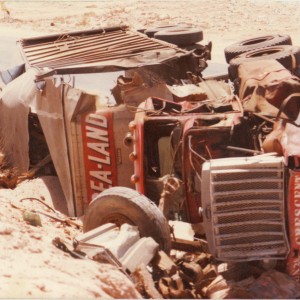
- Crescent/Sea-Land rig hit by tonka
-

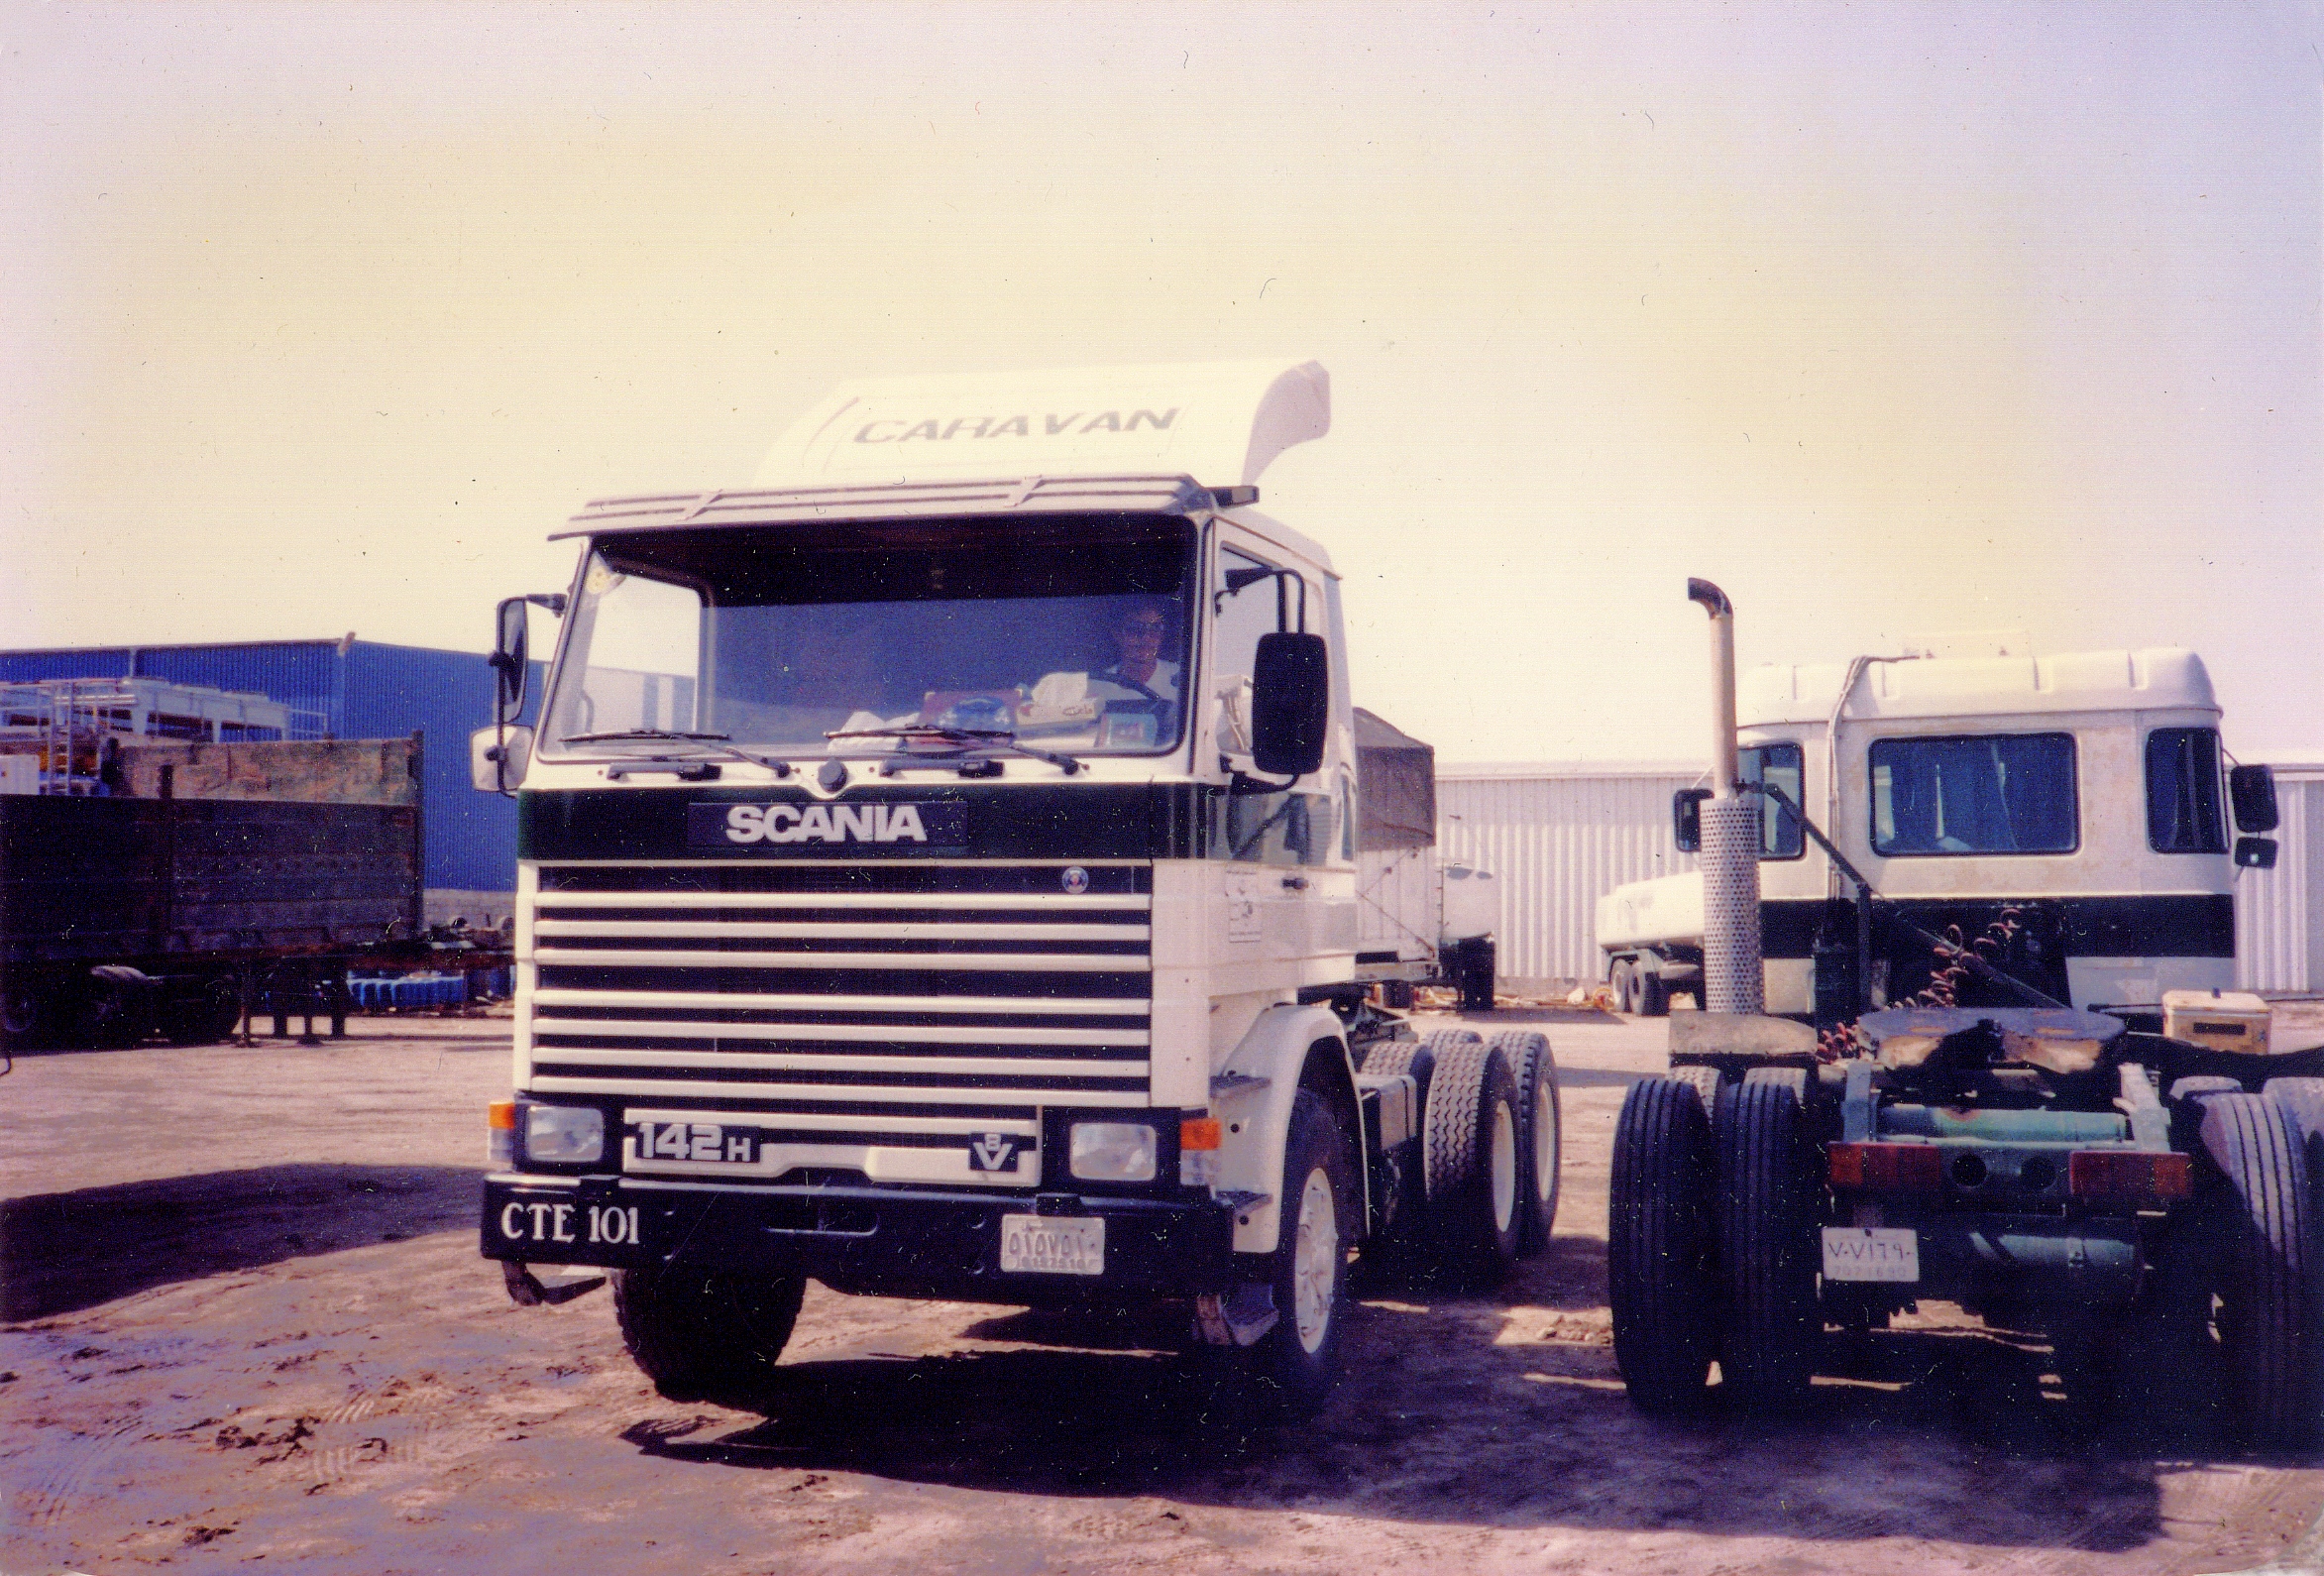
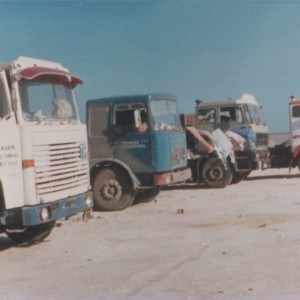
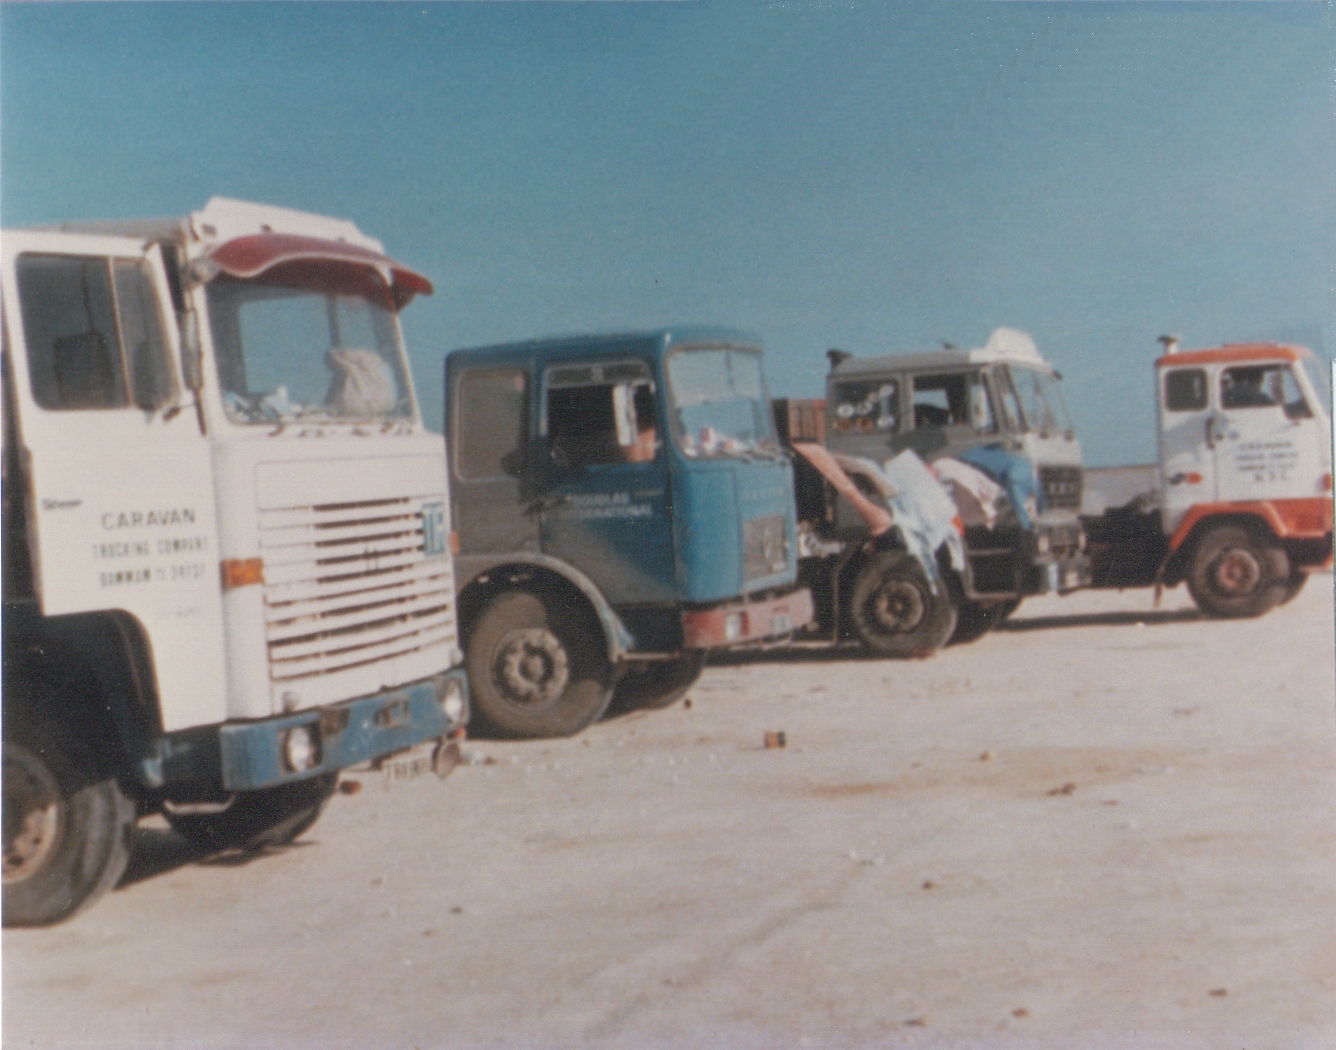
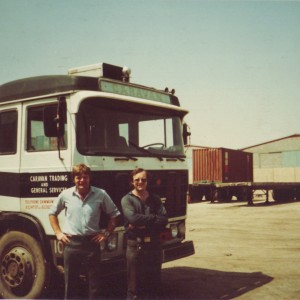
- Caravan Trading Est. Scania 142. Severino Bernardo at helm
-
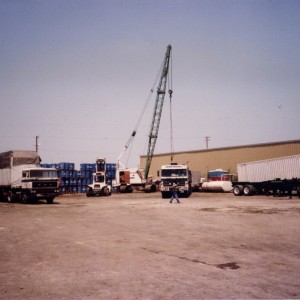
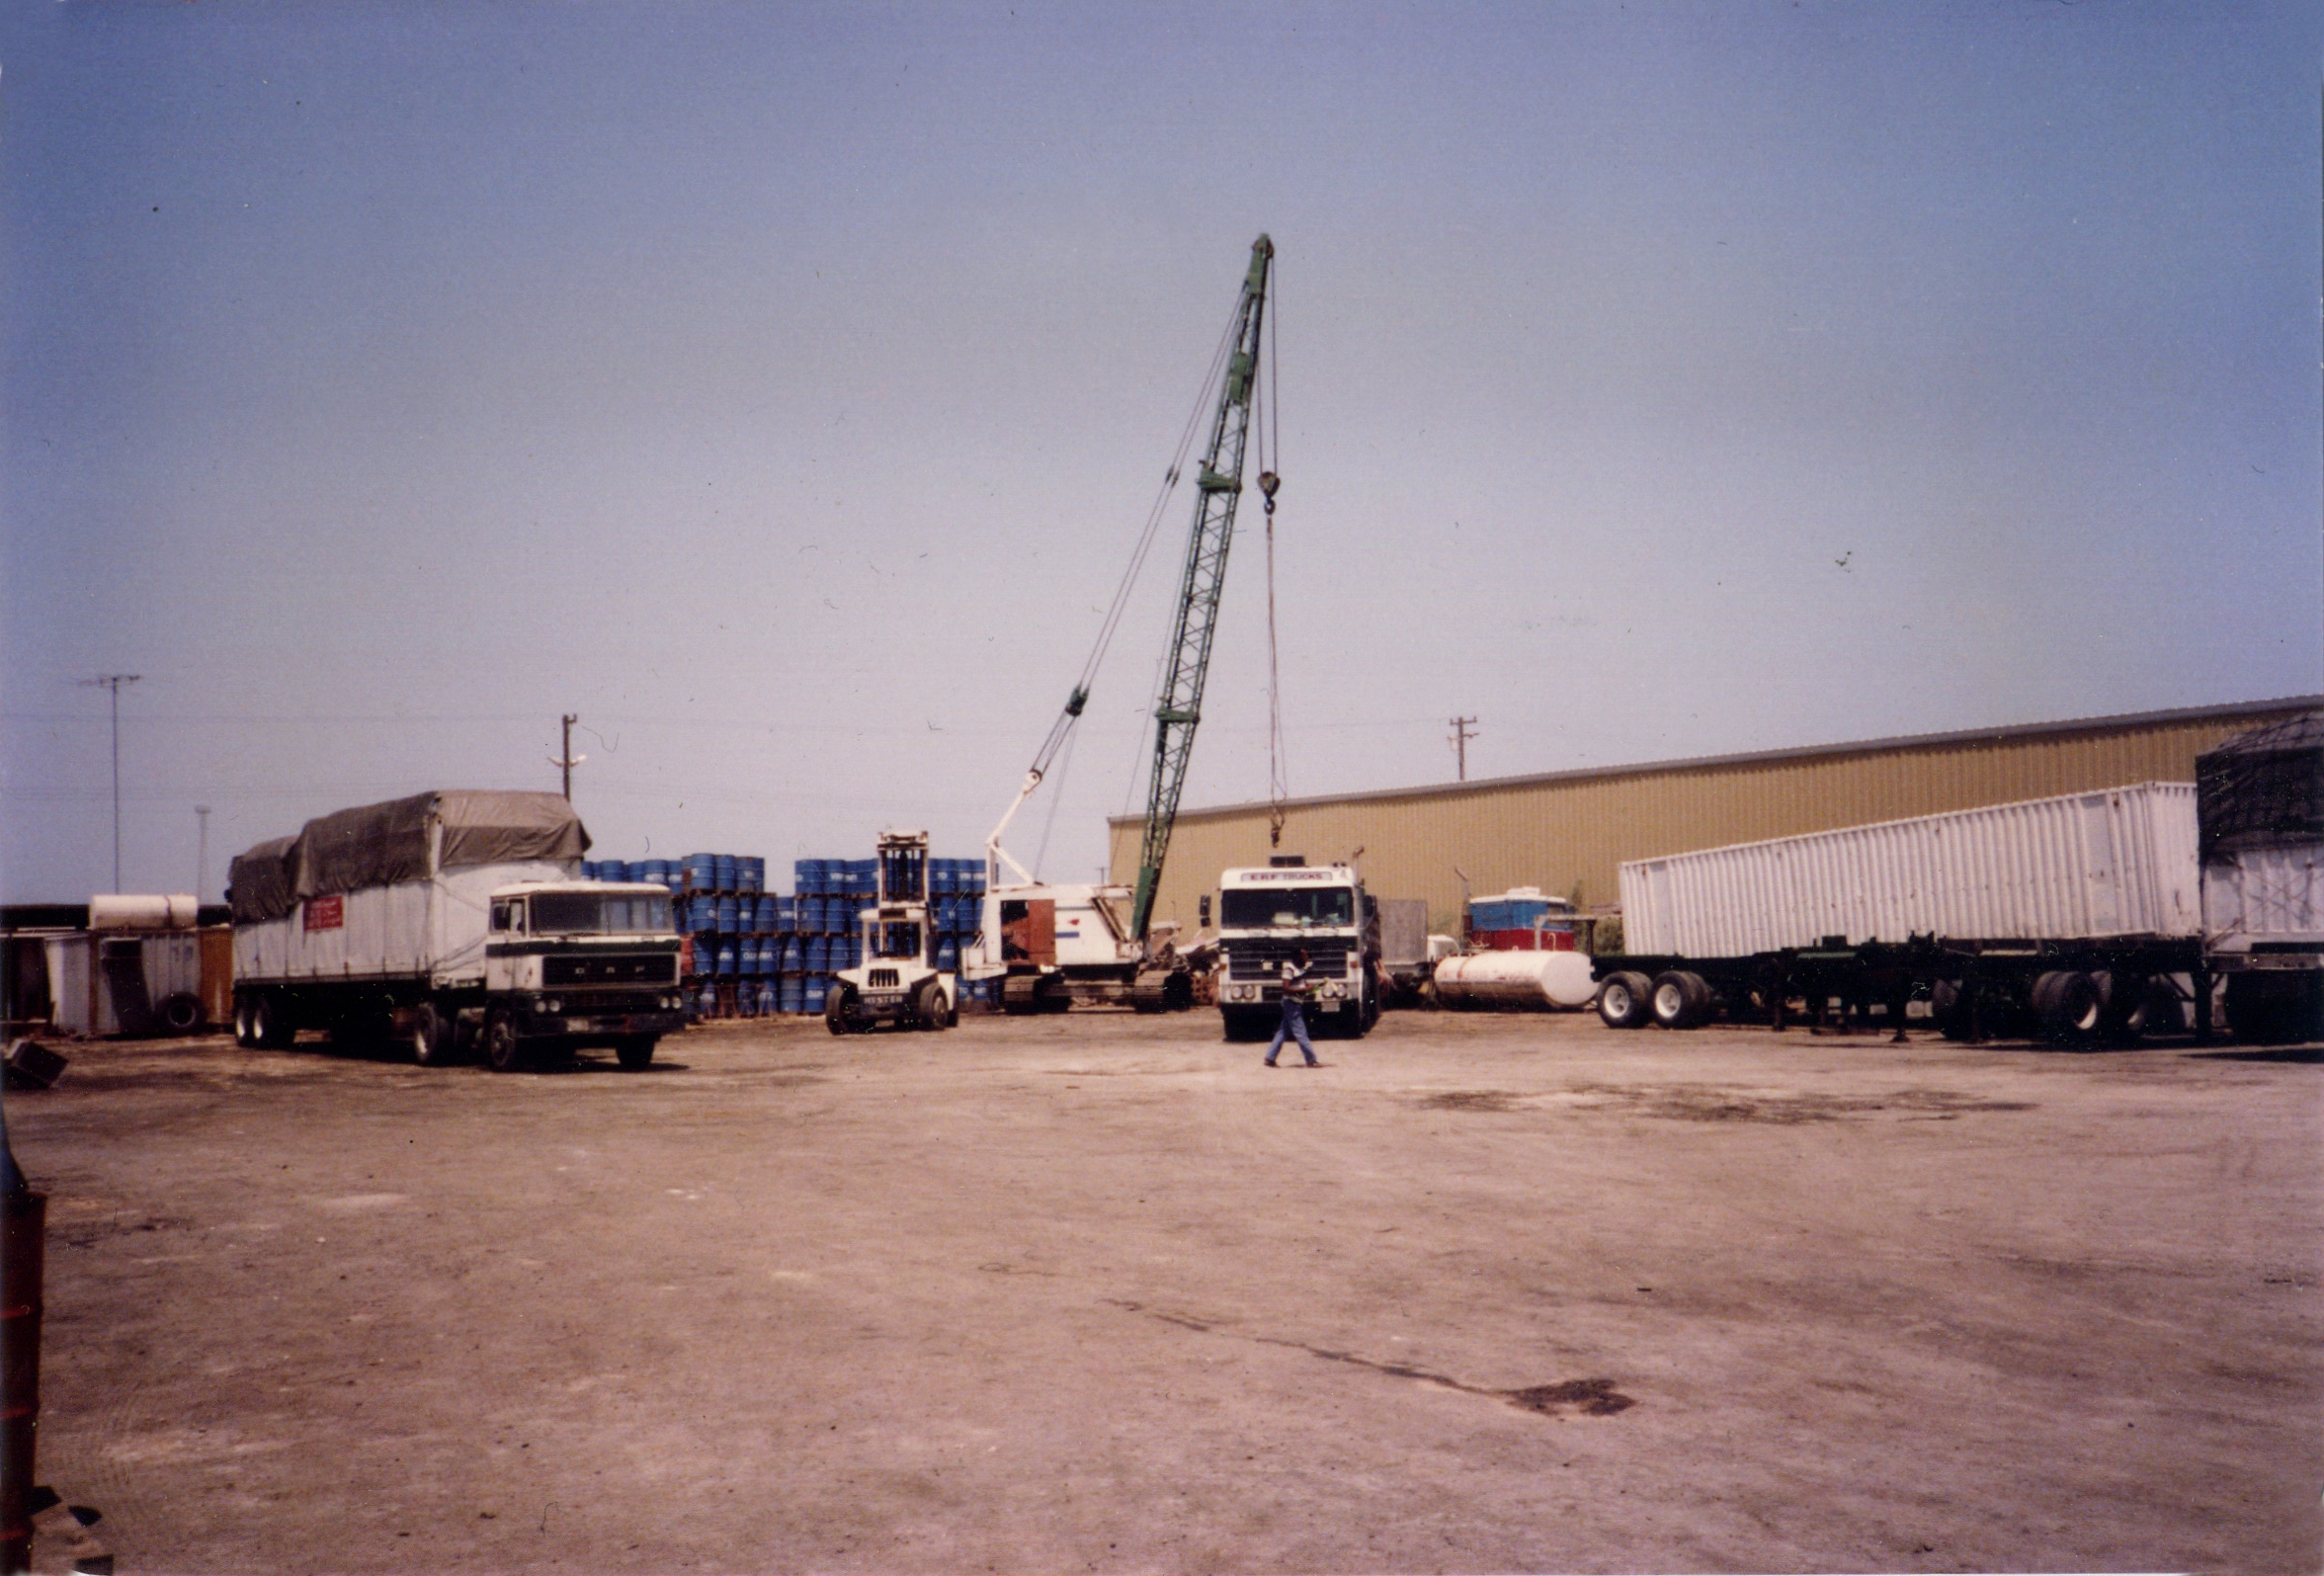
- Caravan Trading Establishment yard, Dammam, Saudi Arabia
-
- Washing day, Caravan yd
-
- Pete Best eating al fresco, Saudi
-
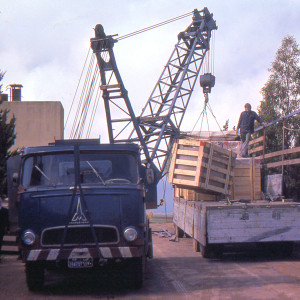
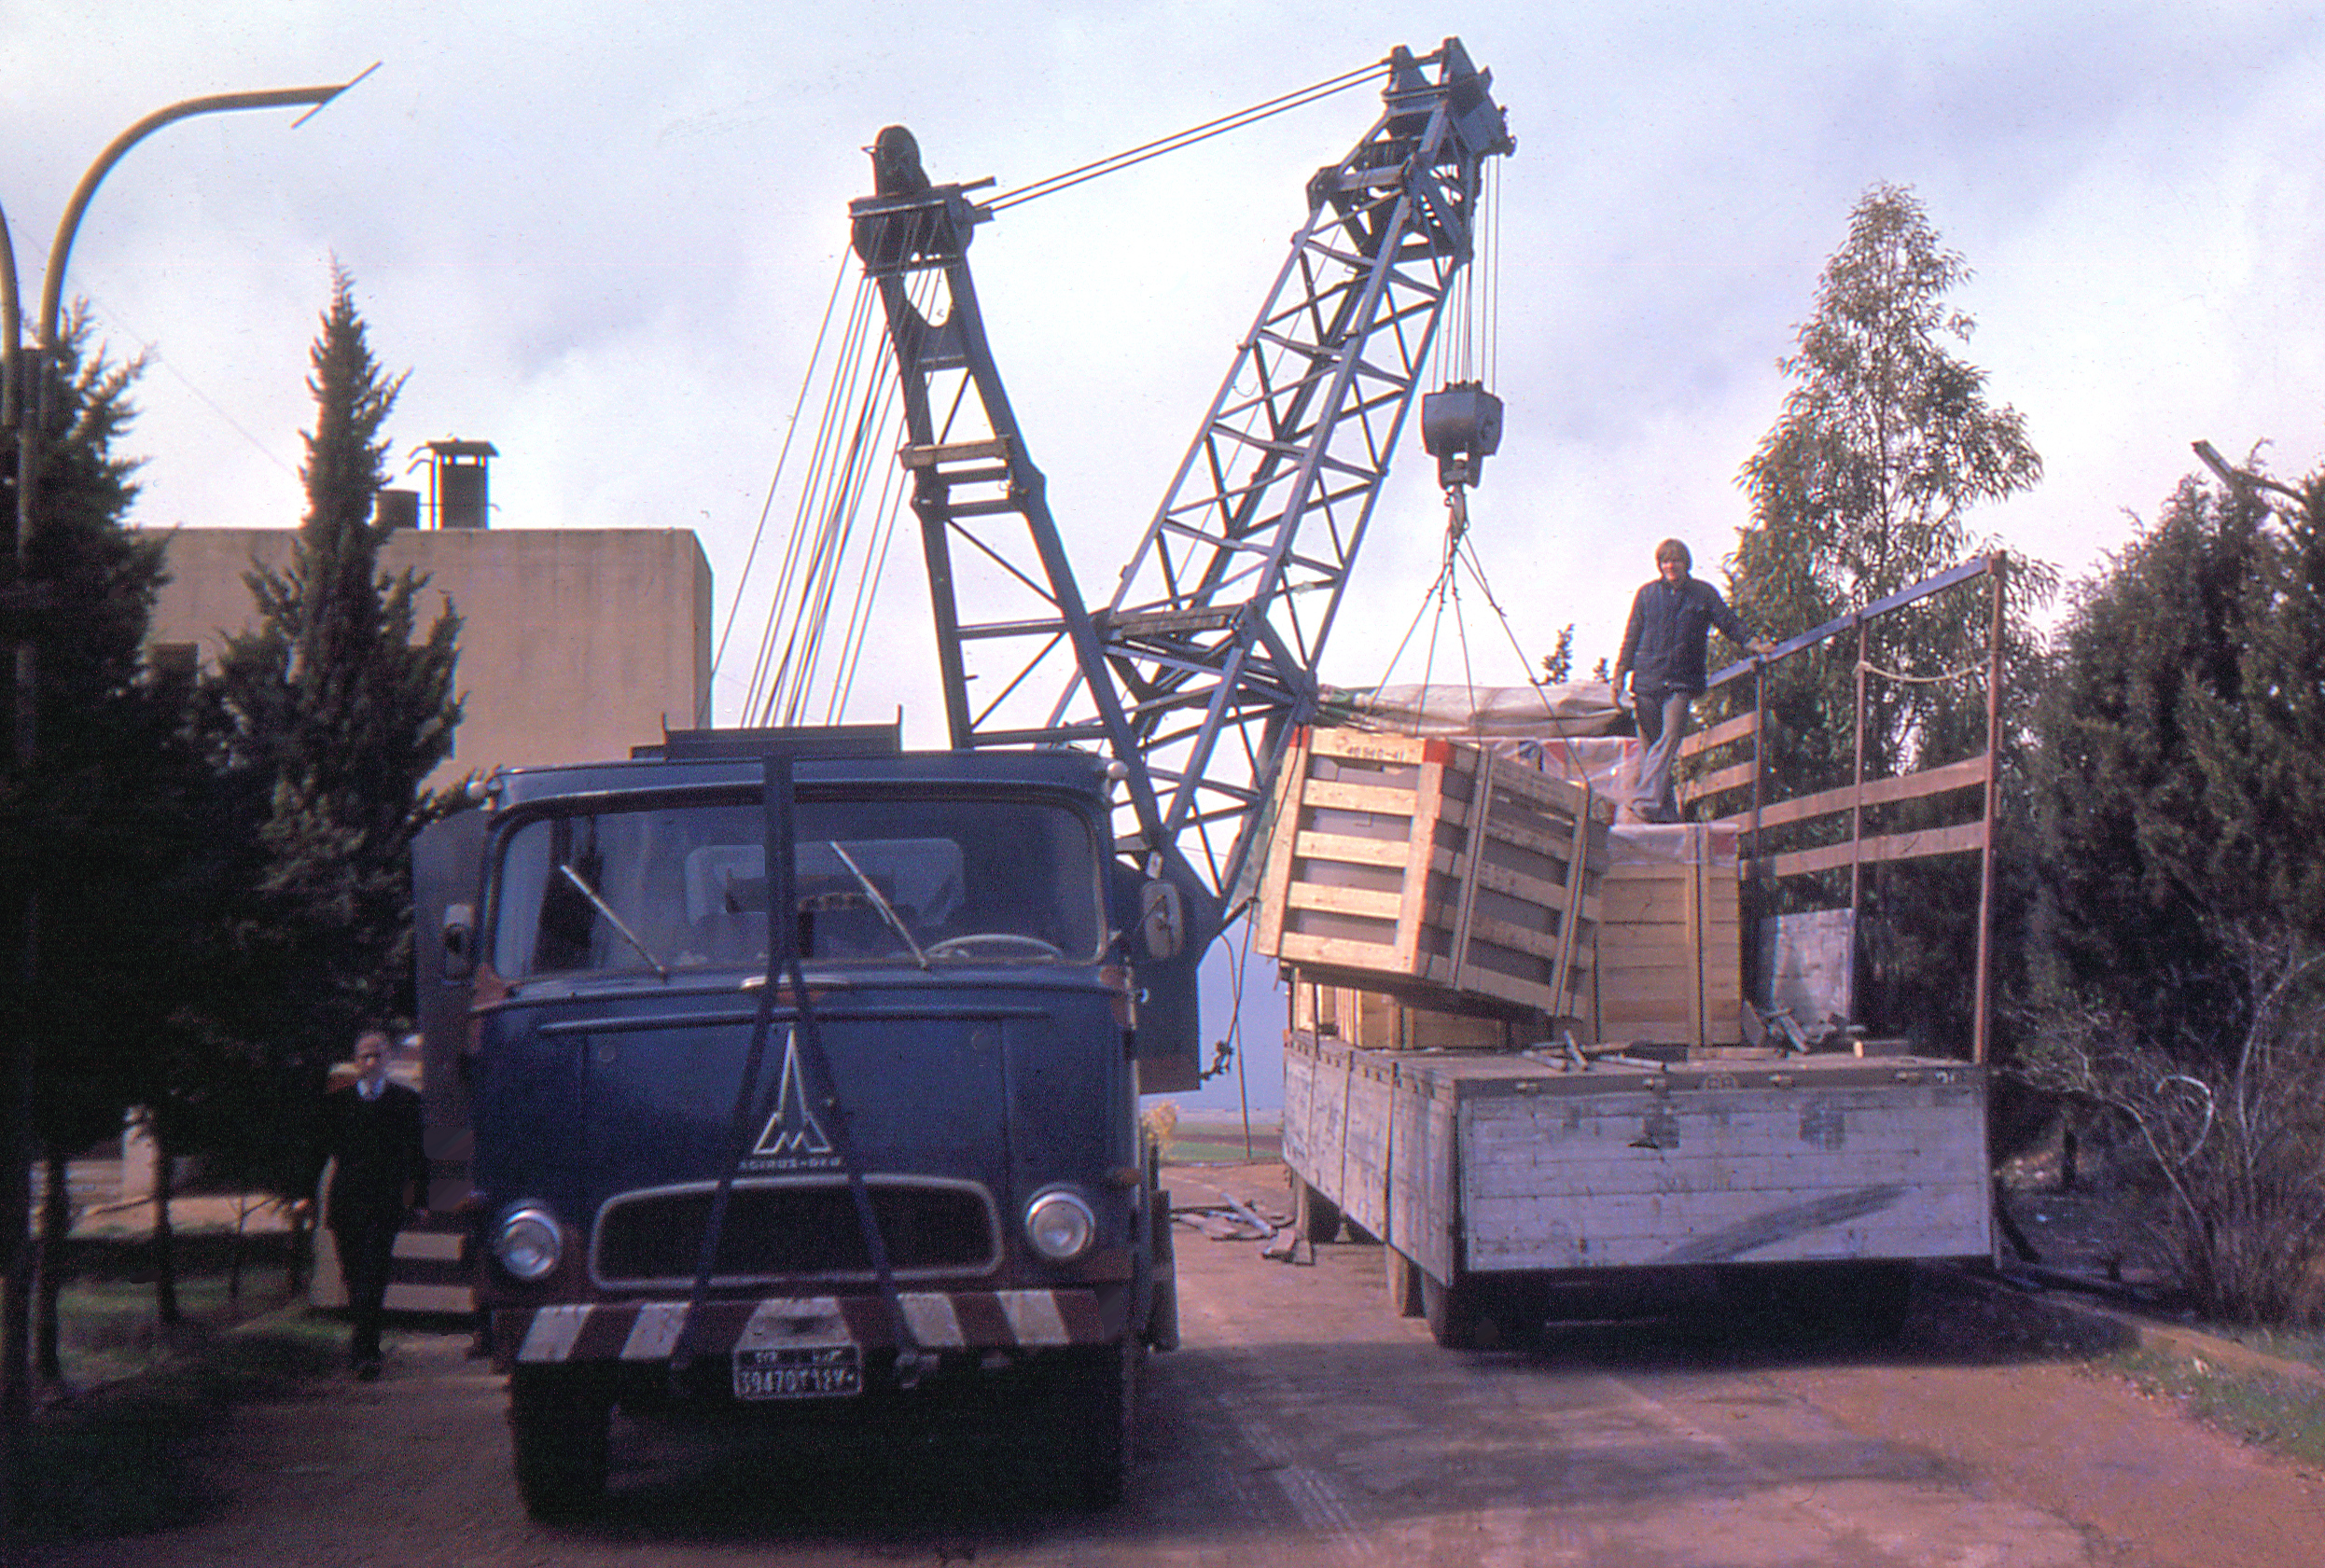
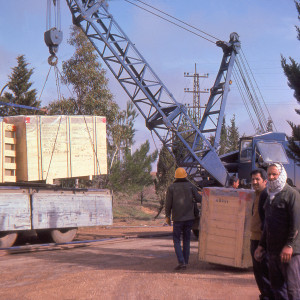
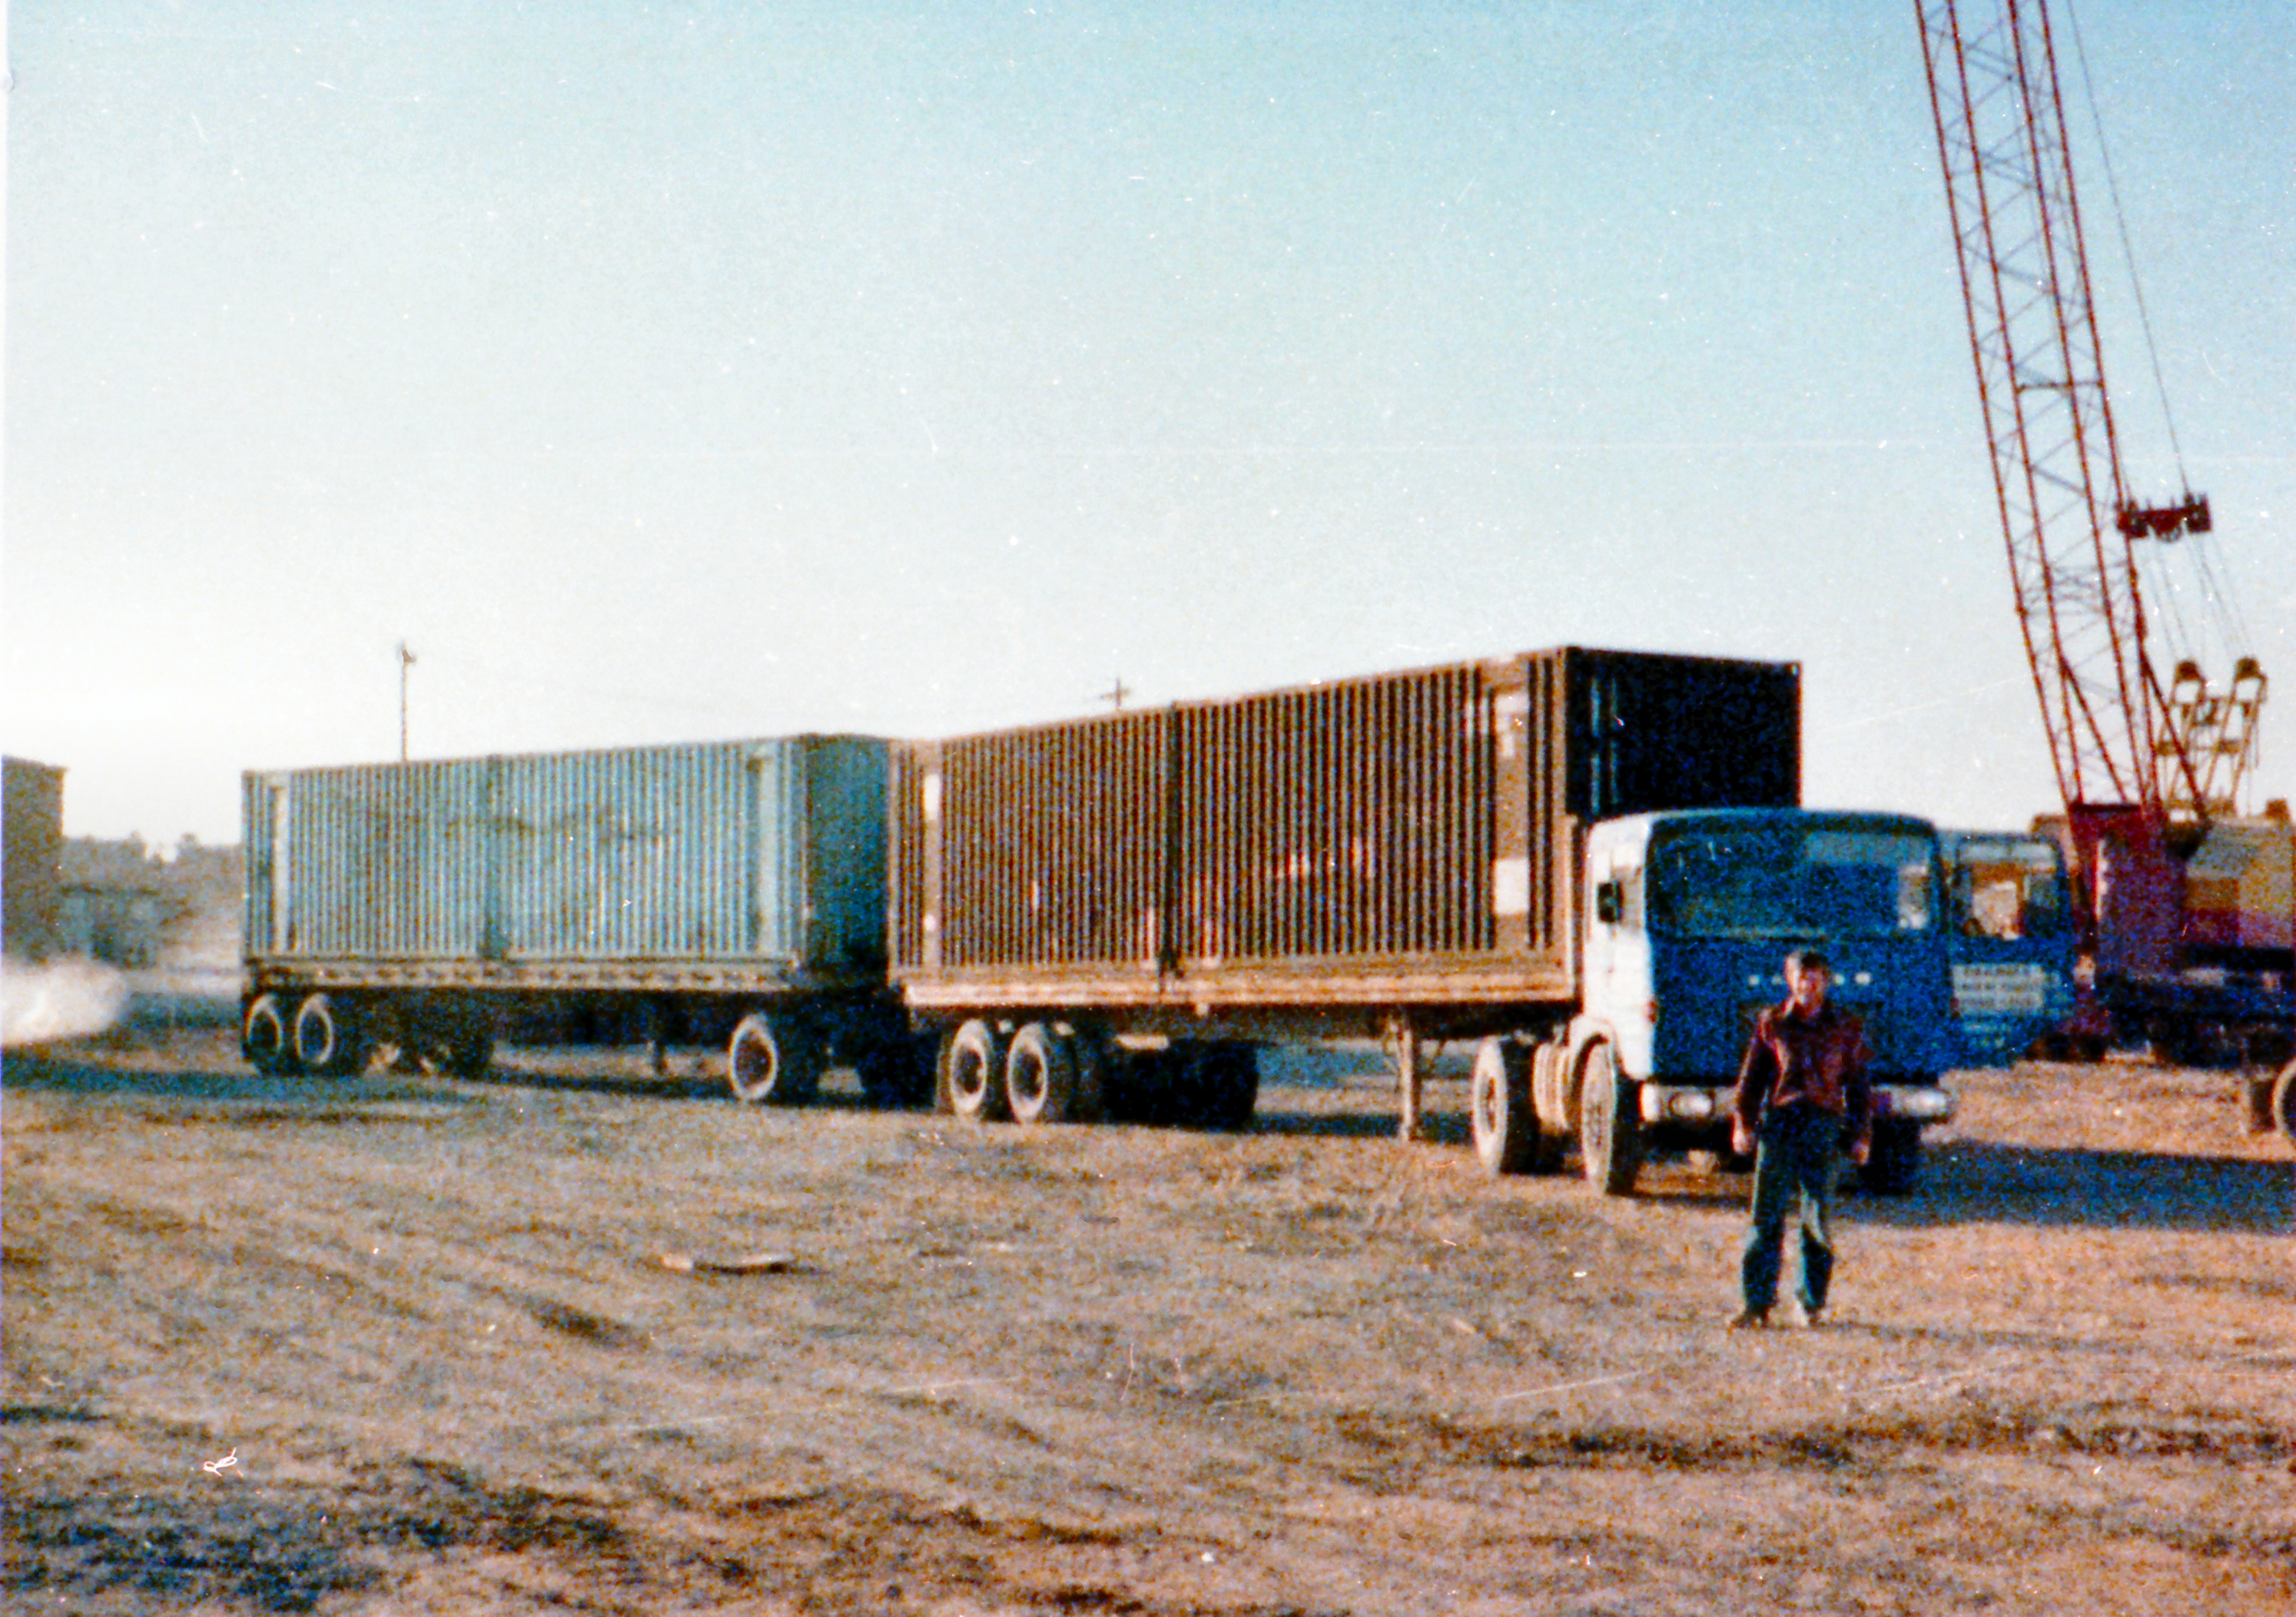
- Martin Mears loading container on Daf, from the train
-
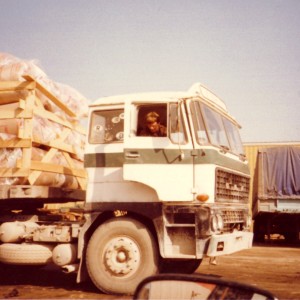
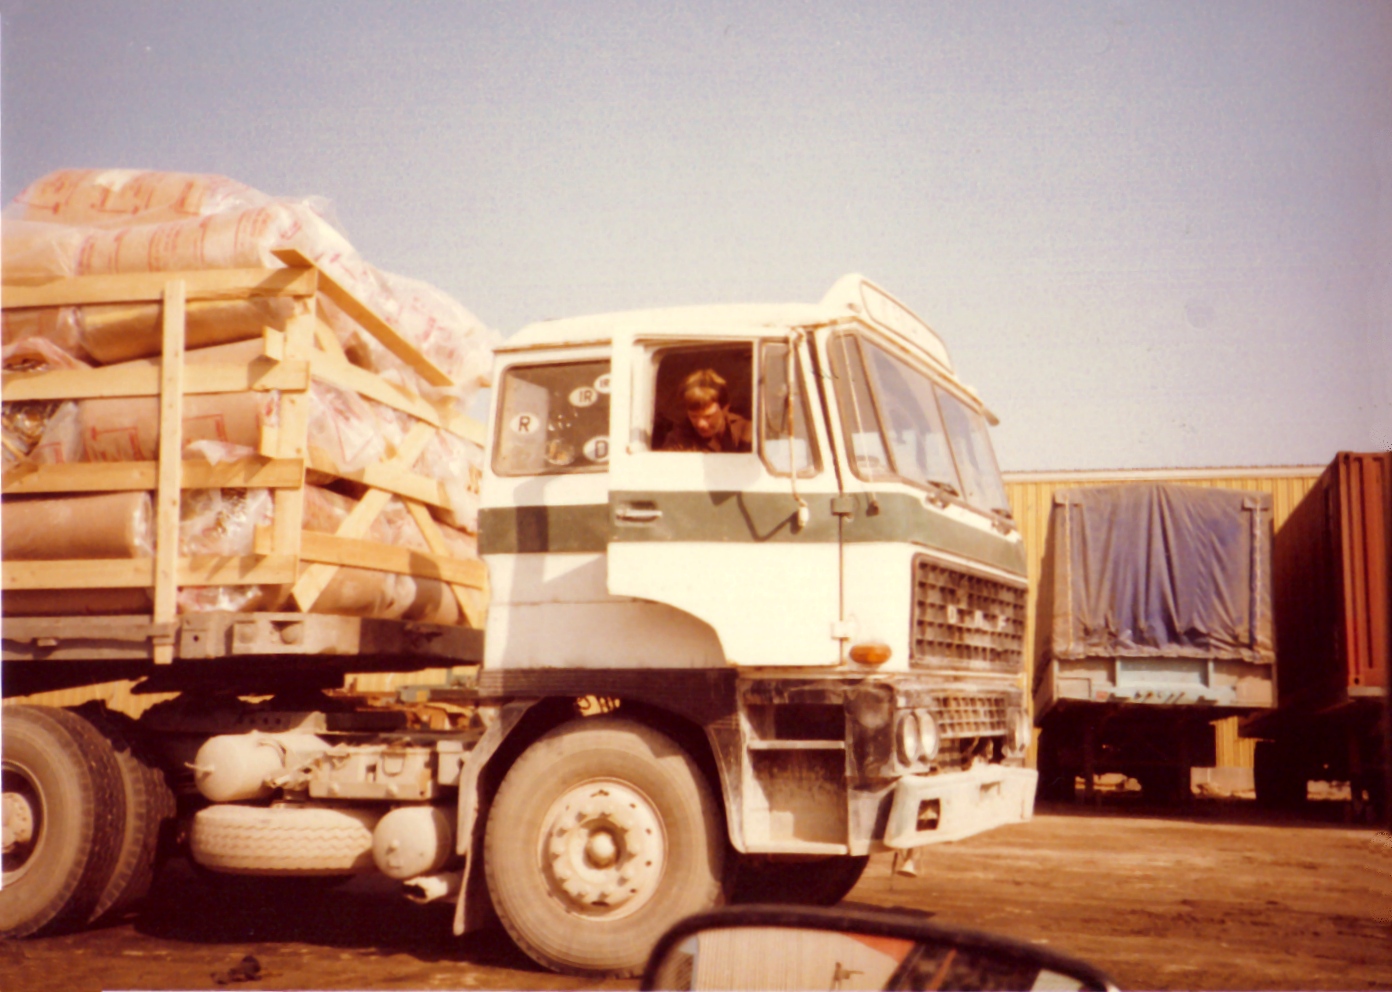
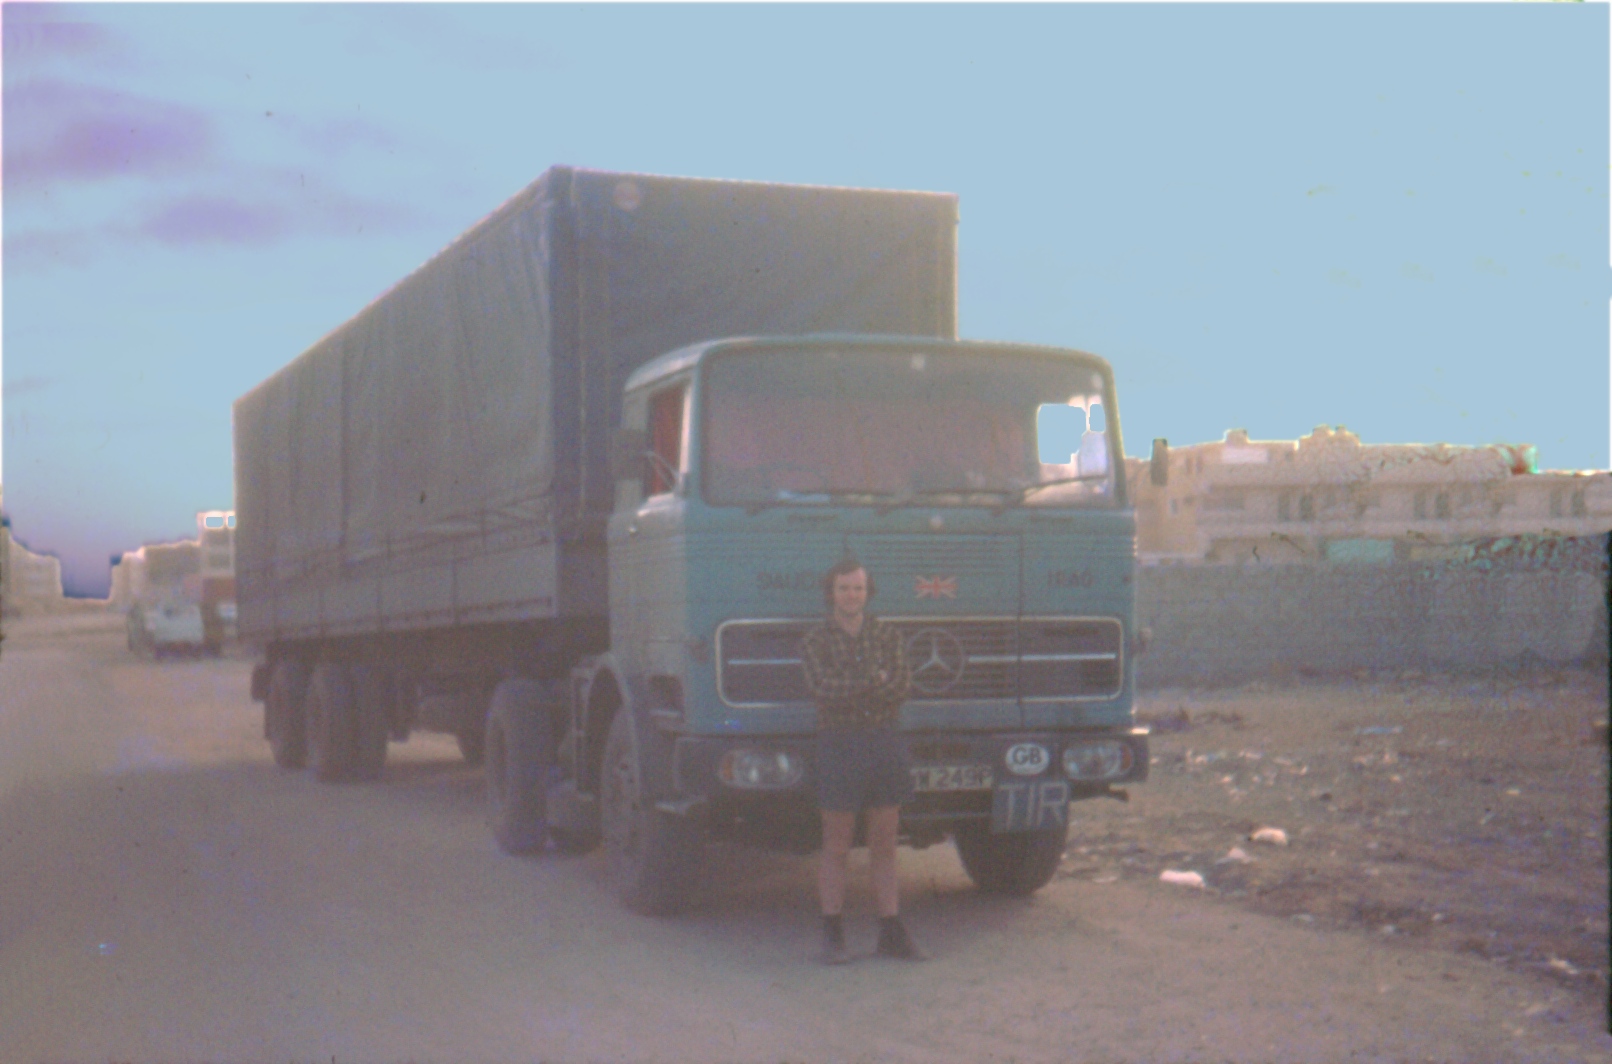
- John West with Daf, in Caravans yd, SA
-
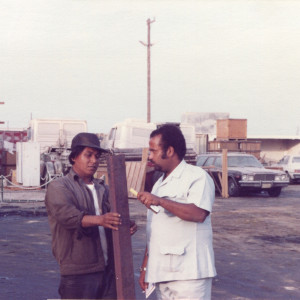
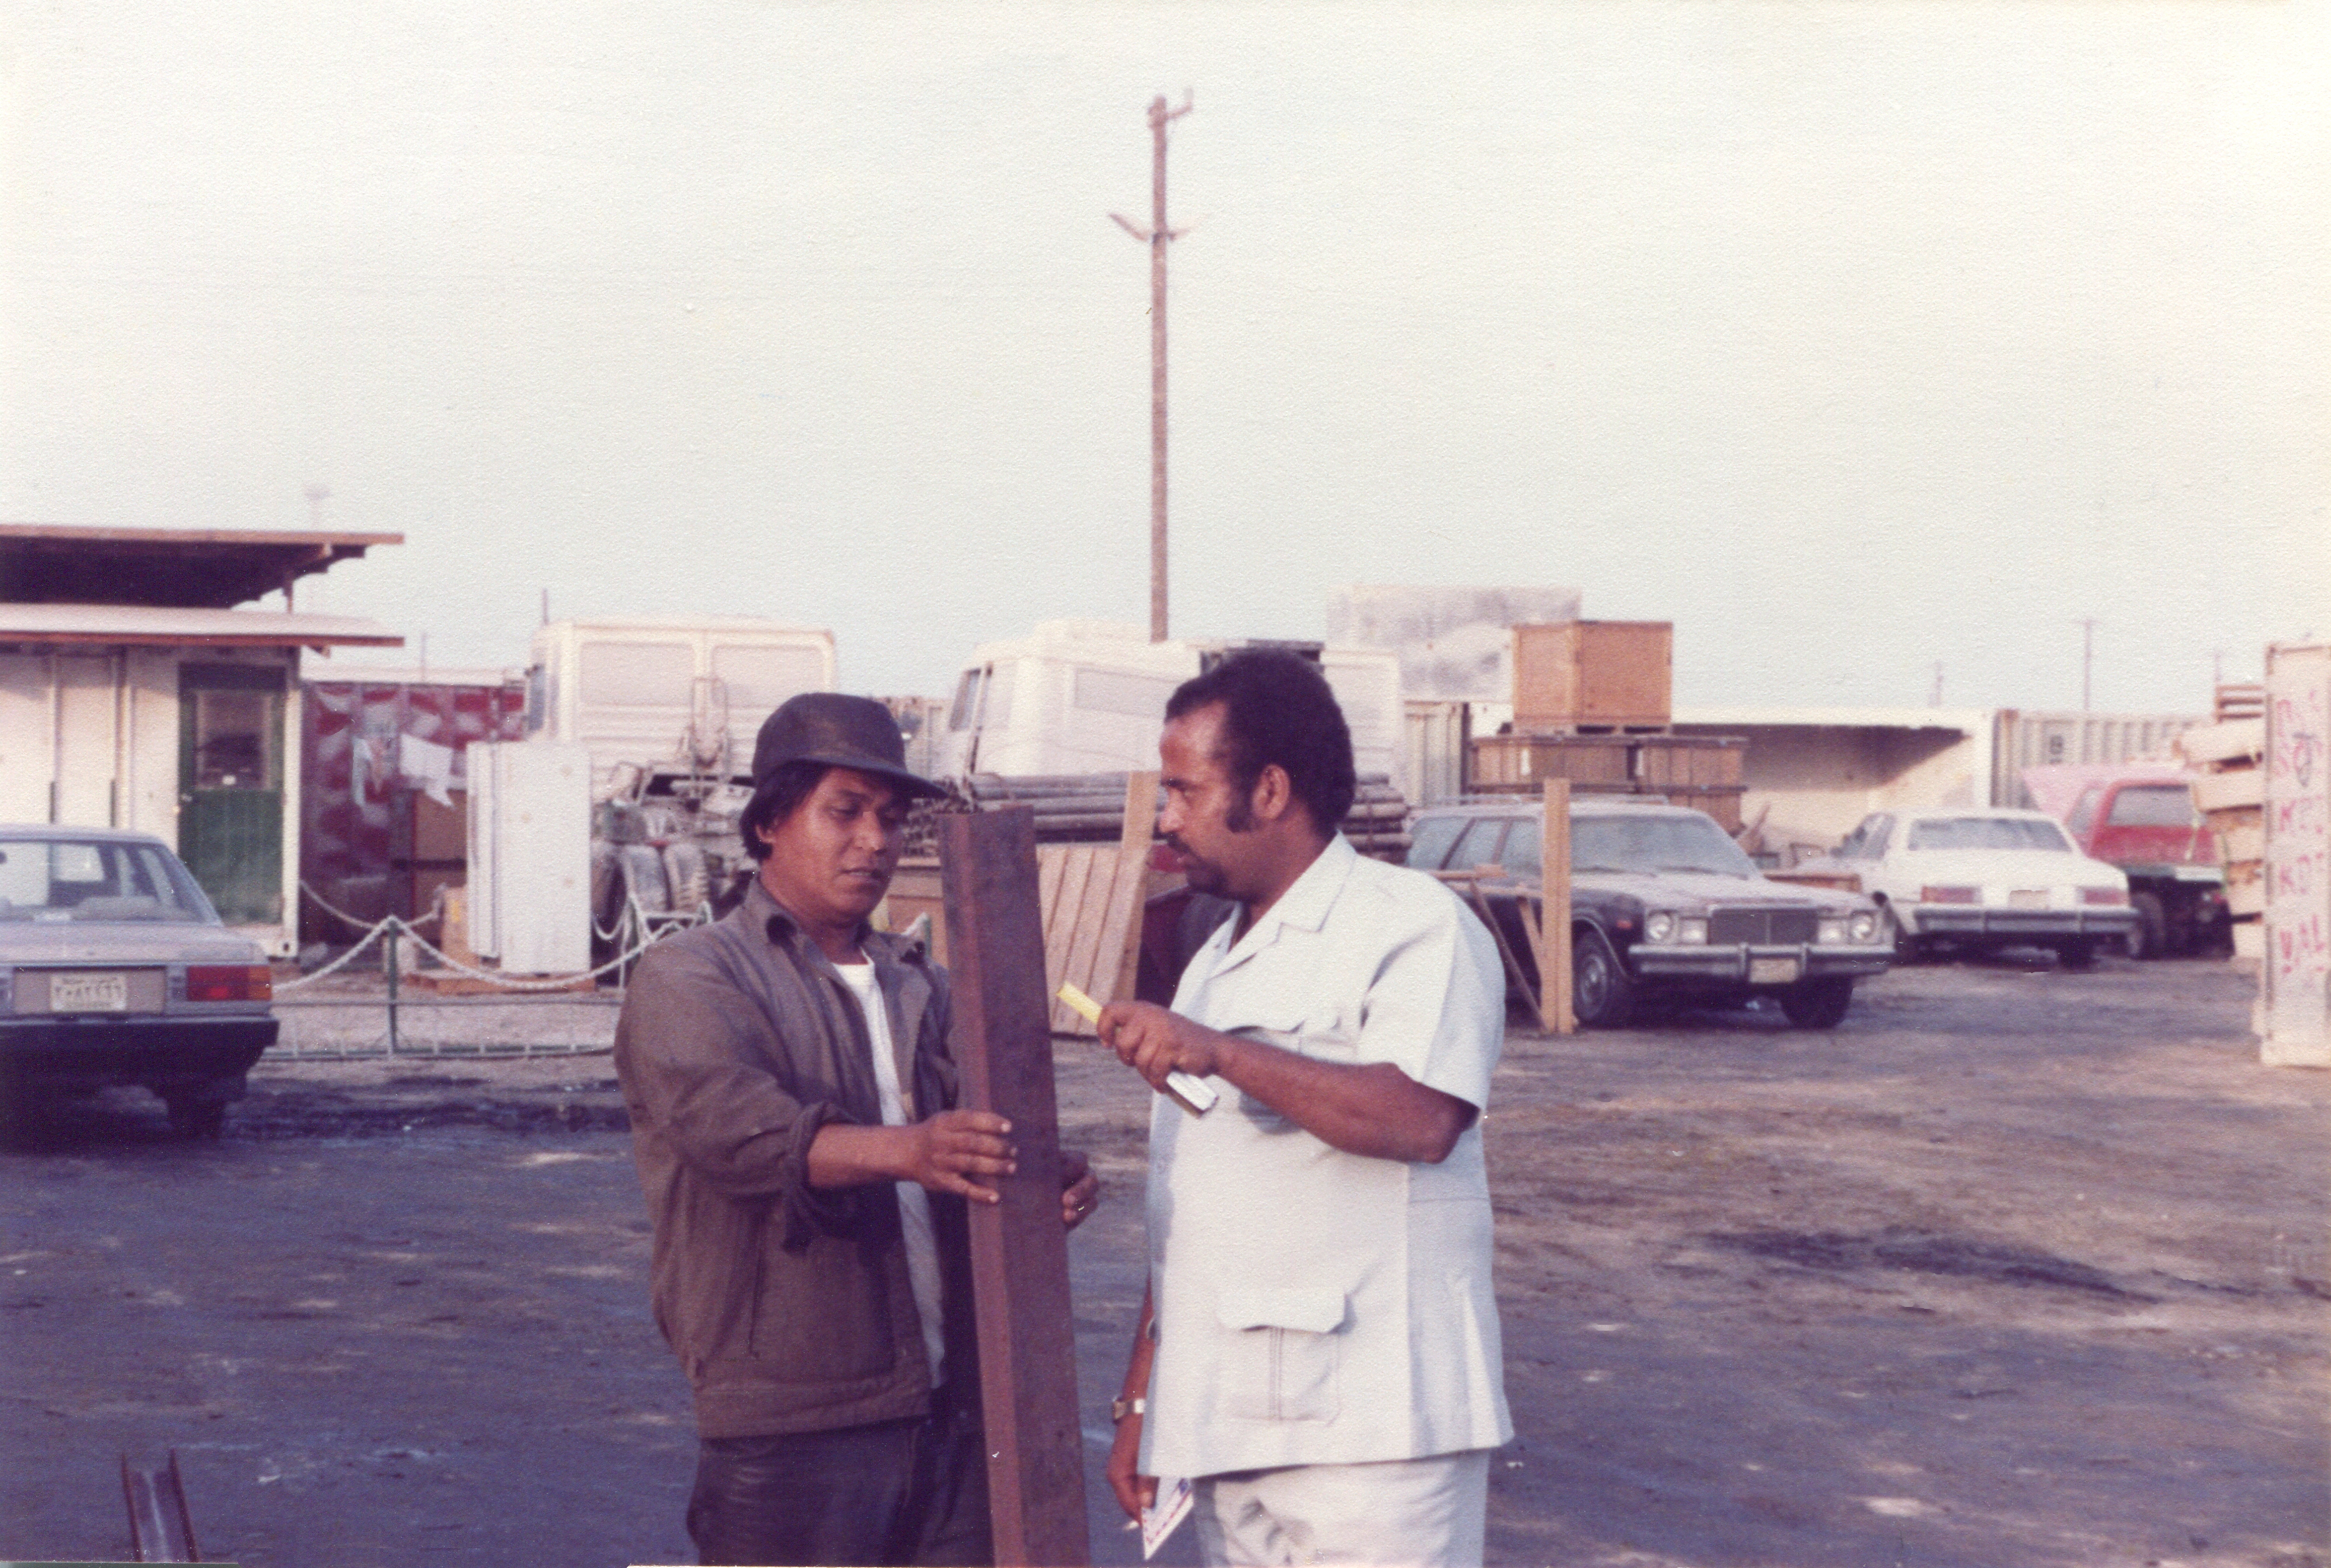
- Rene the mechanic and Mohamed, Caravan yard manager 200284
-
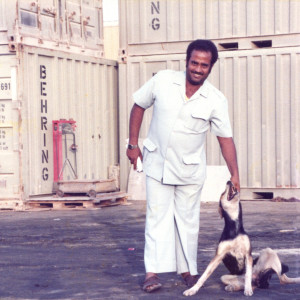
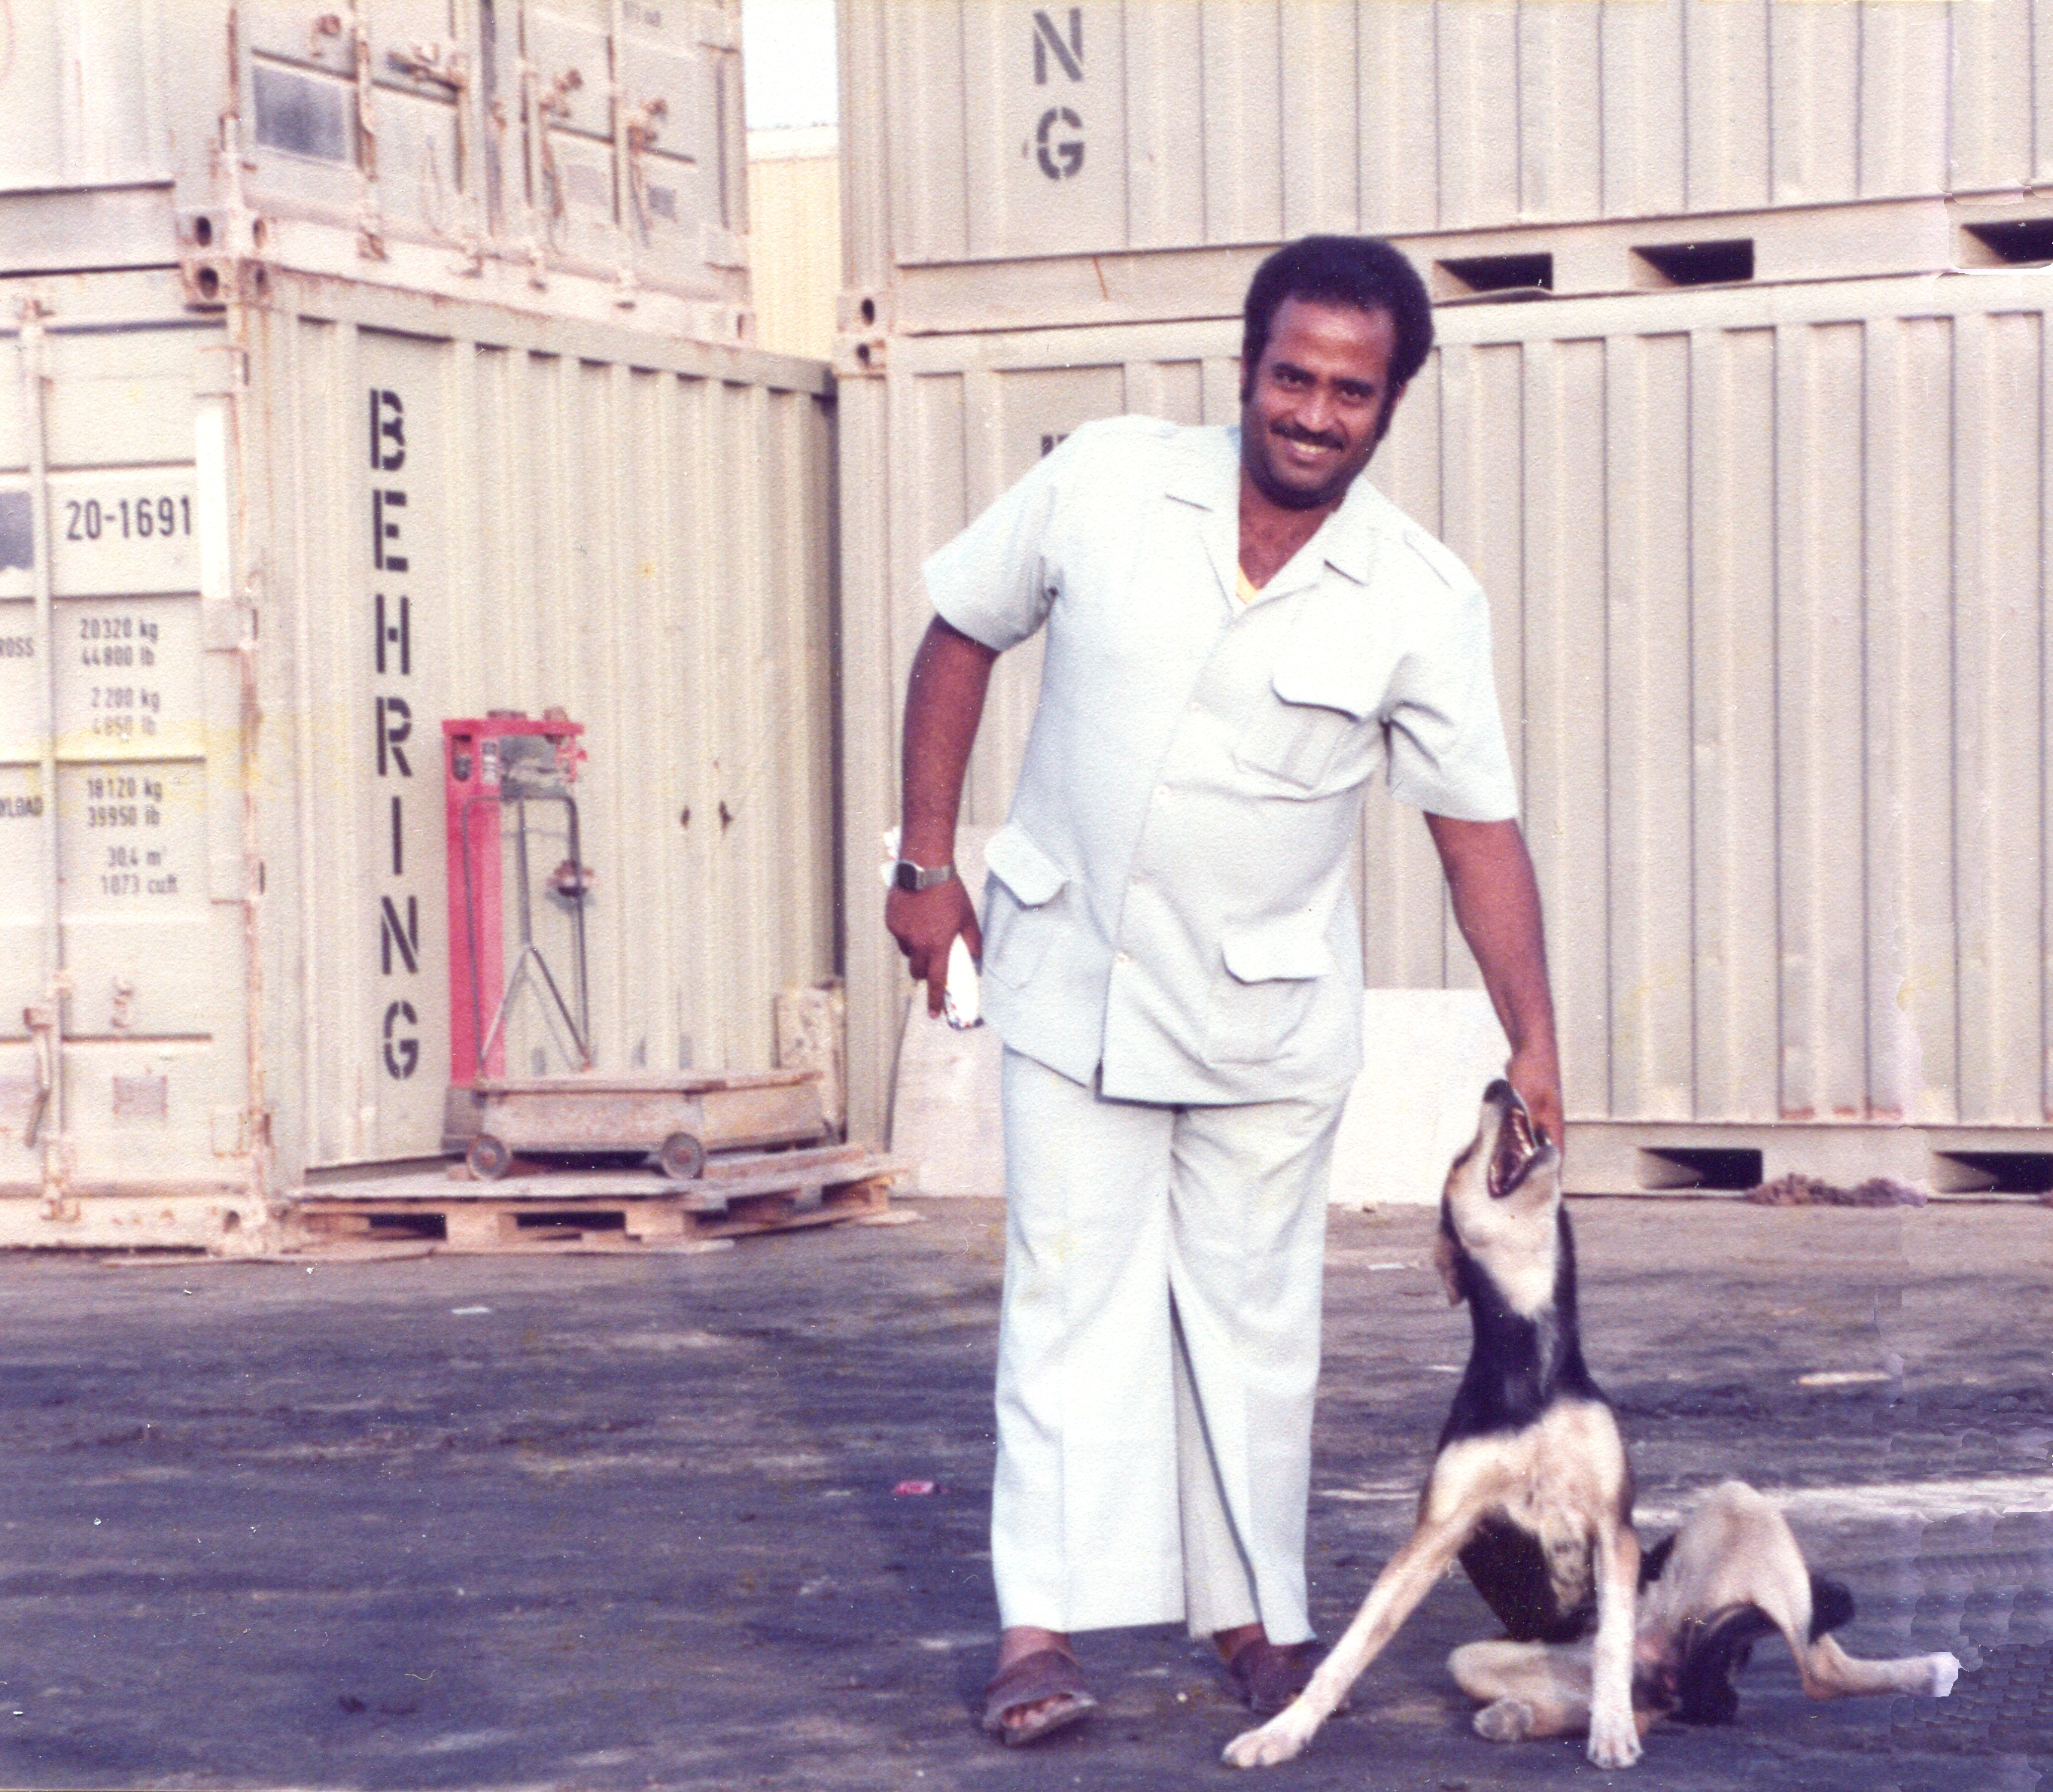
- Mohamed & his favourite dog, Caravan Yd 200284
-

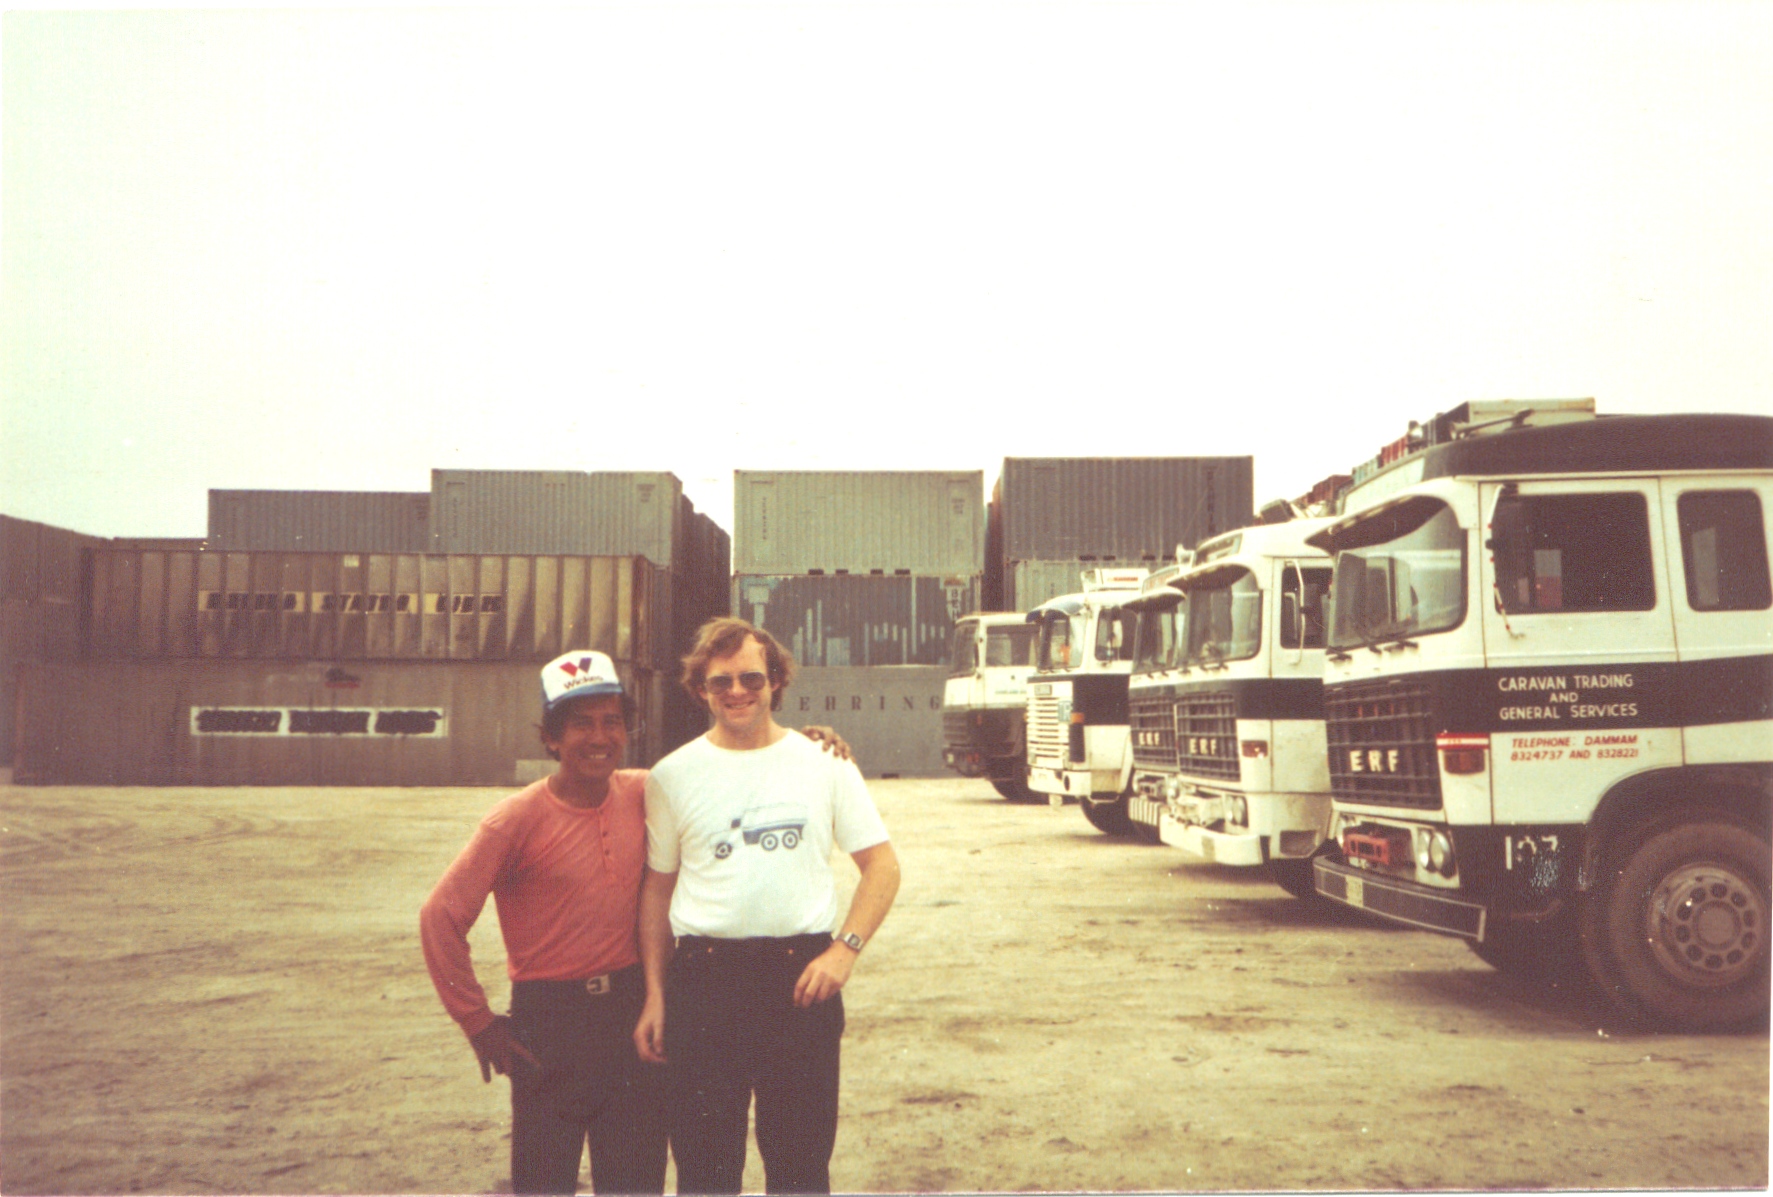
- Phillipino driver & Andy W in Caravan yd, Saudi
-

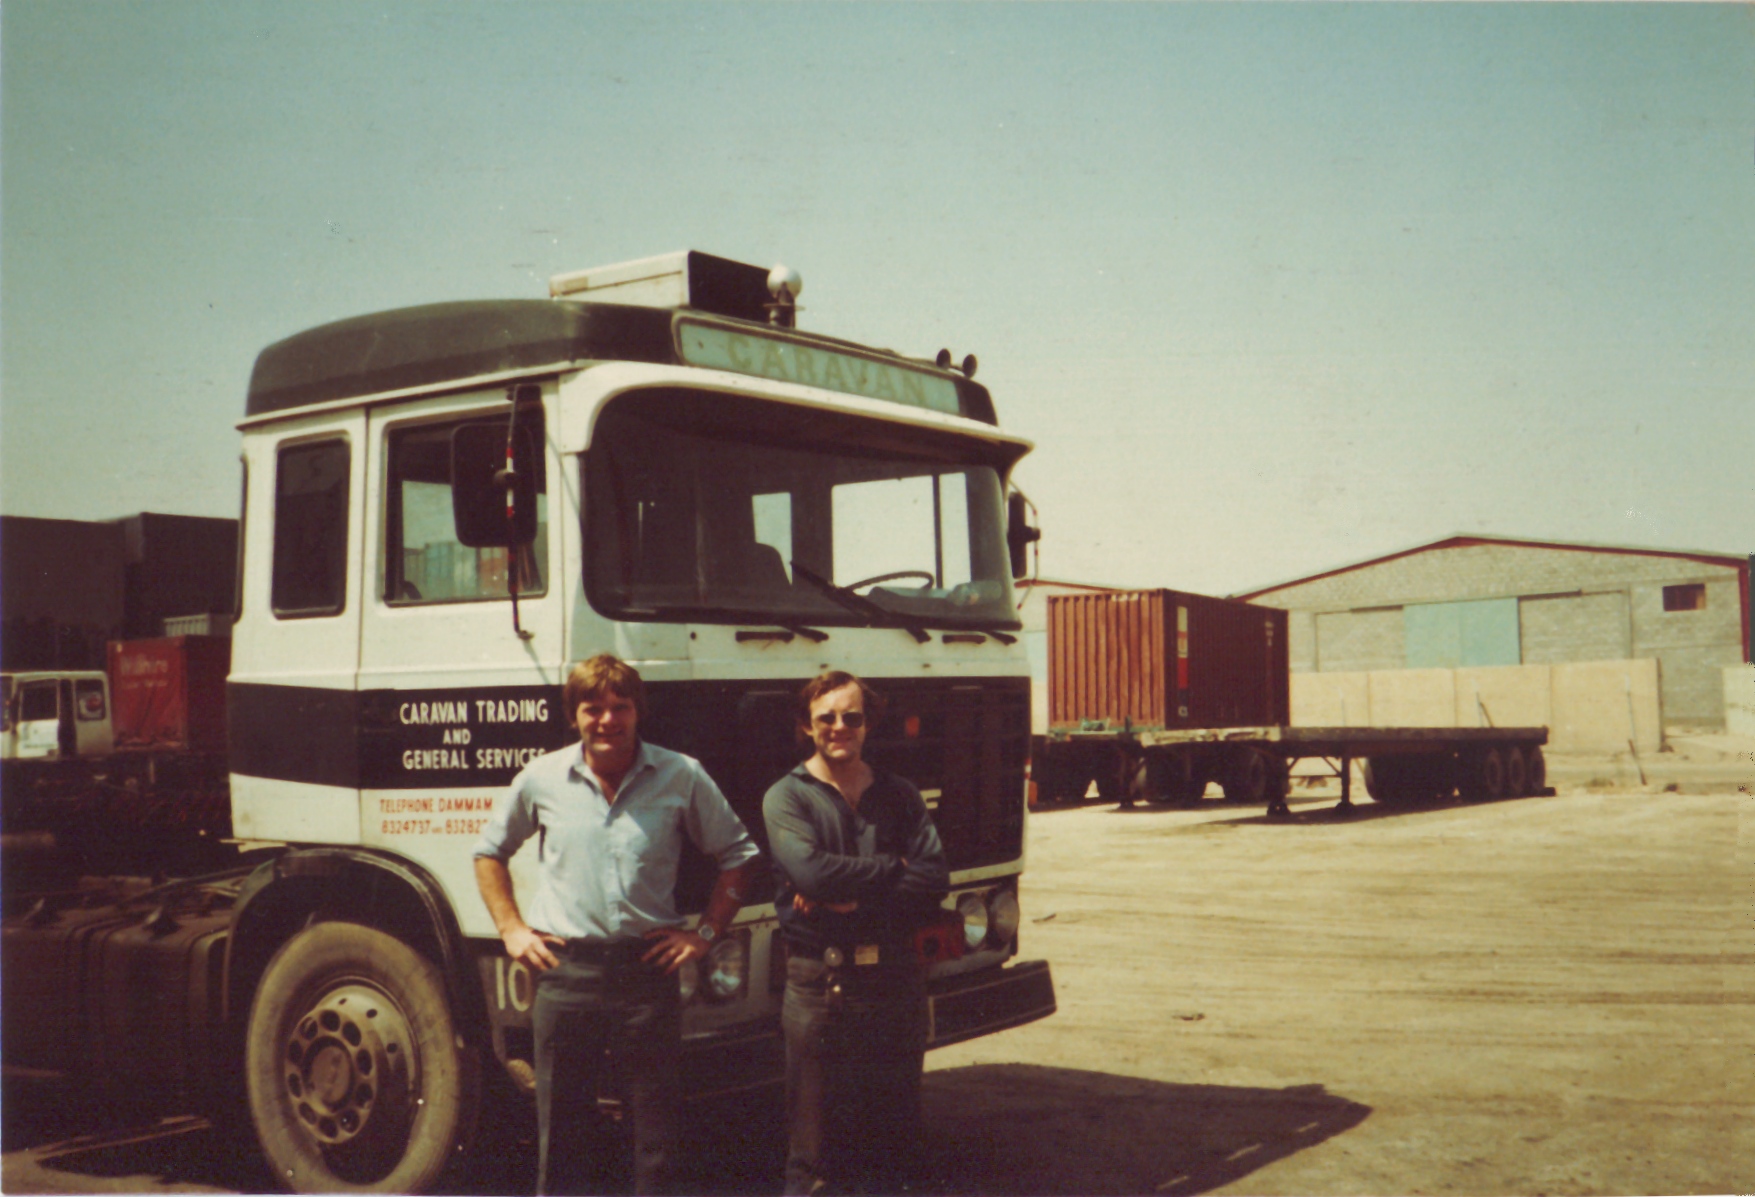
- John & Andy West in Caravan yd, Saudi 2
-
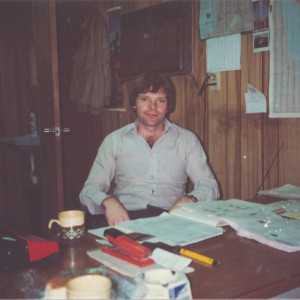
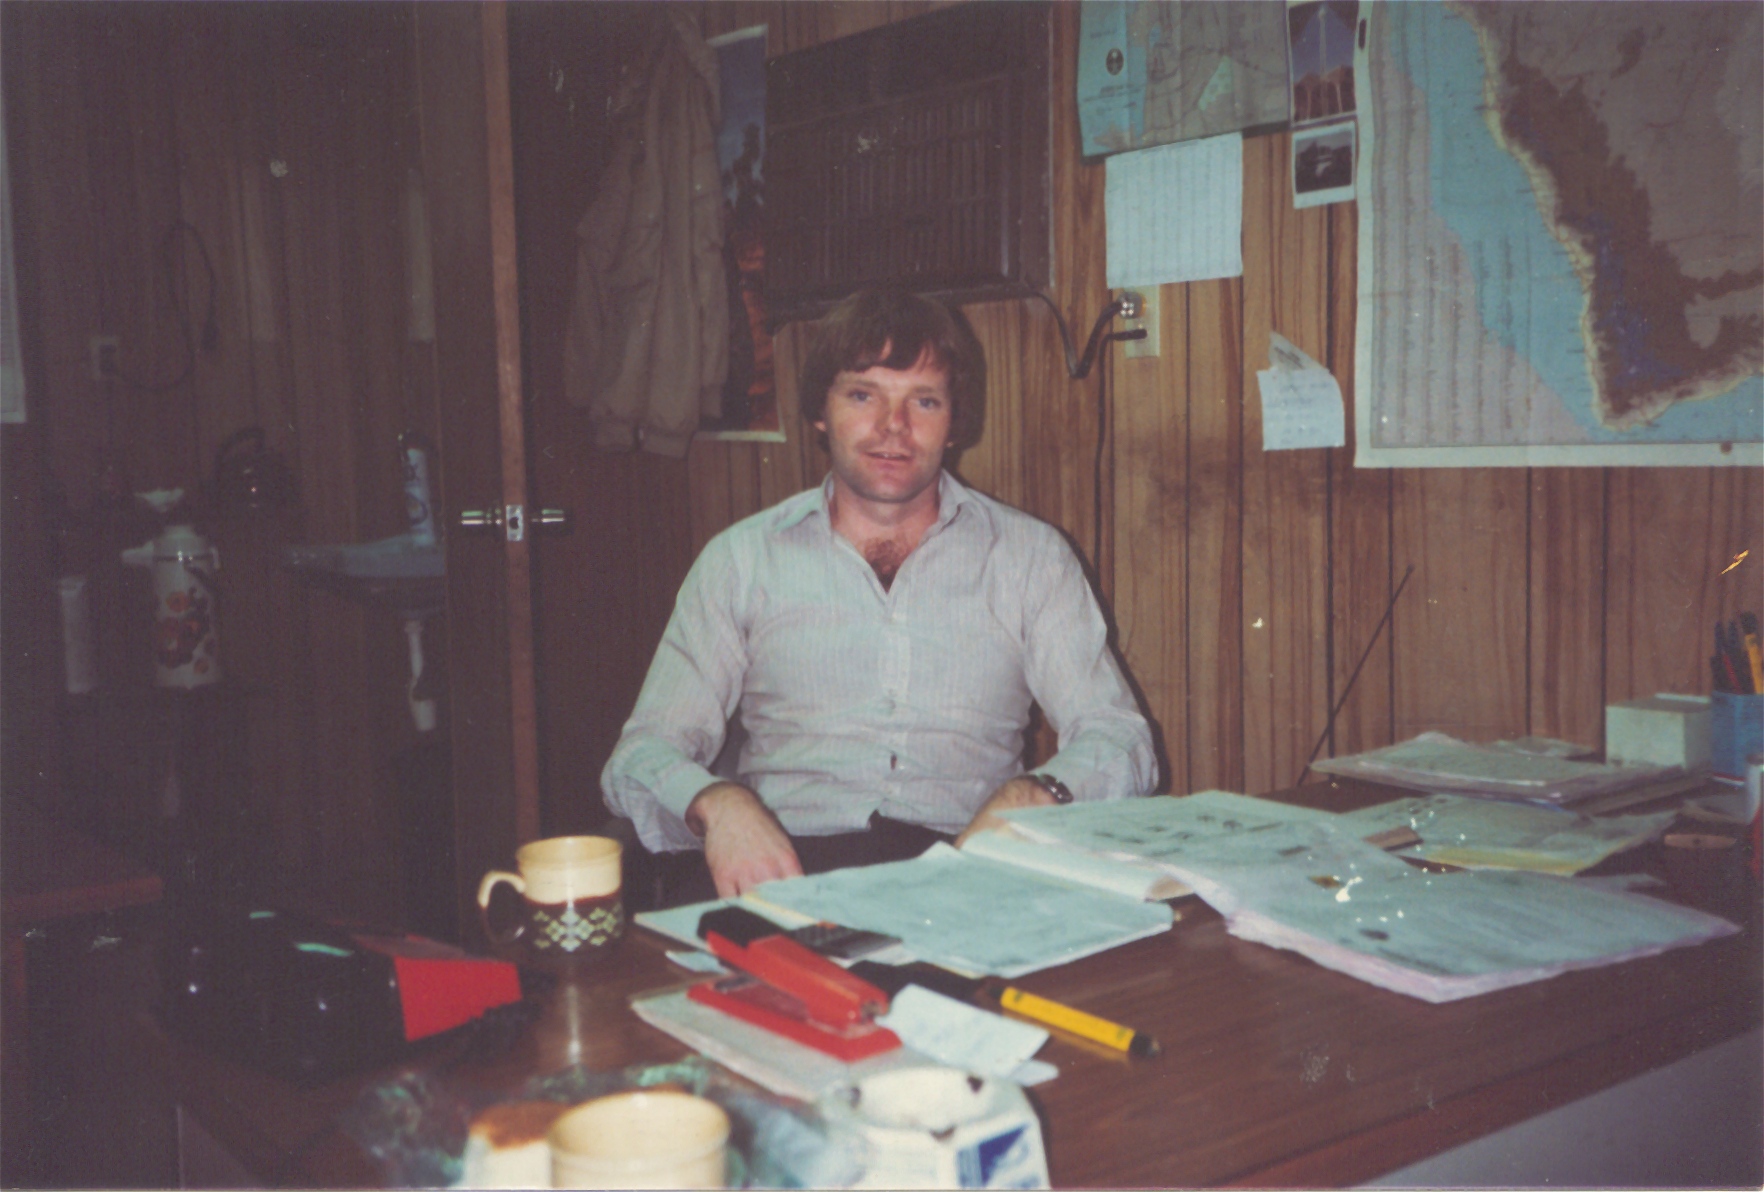
- John West in container office Caravans yd Dammam SA
-
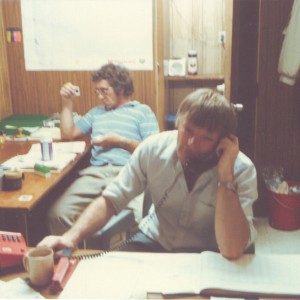
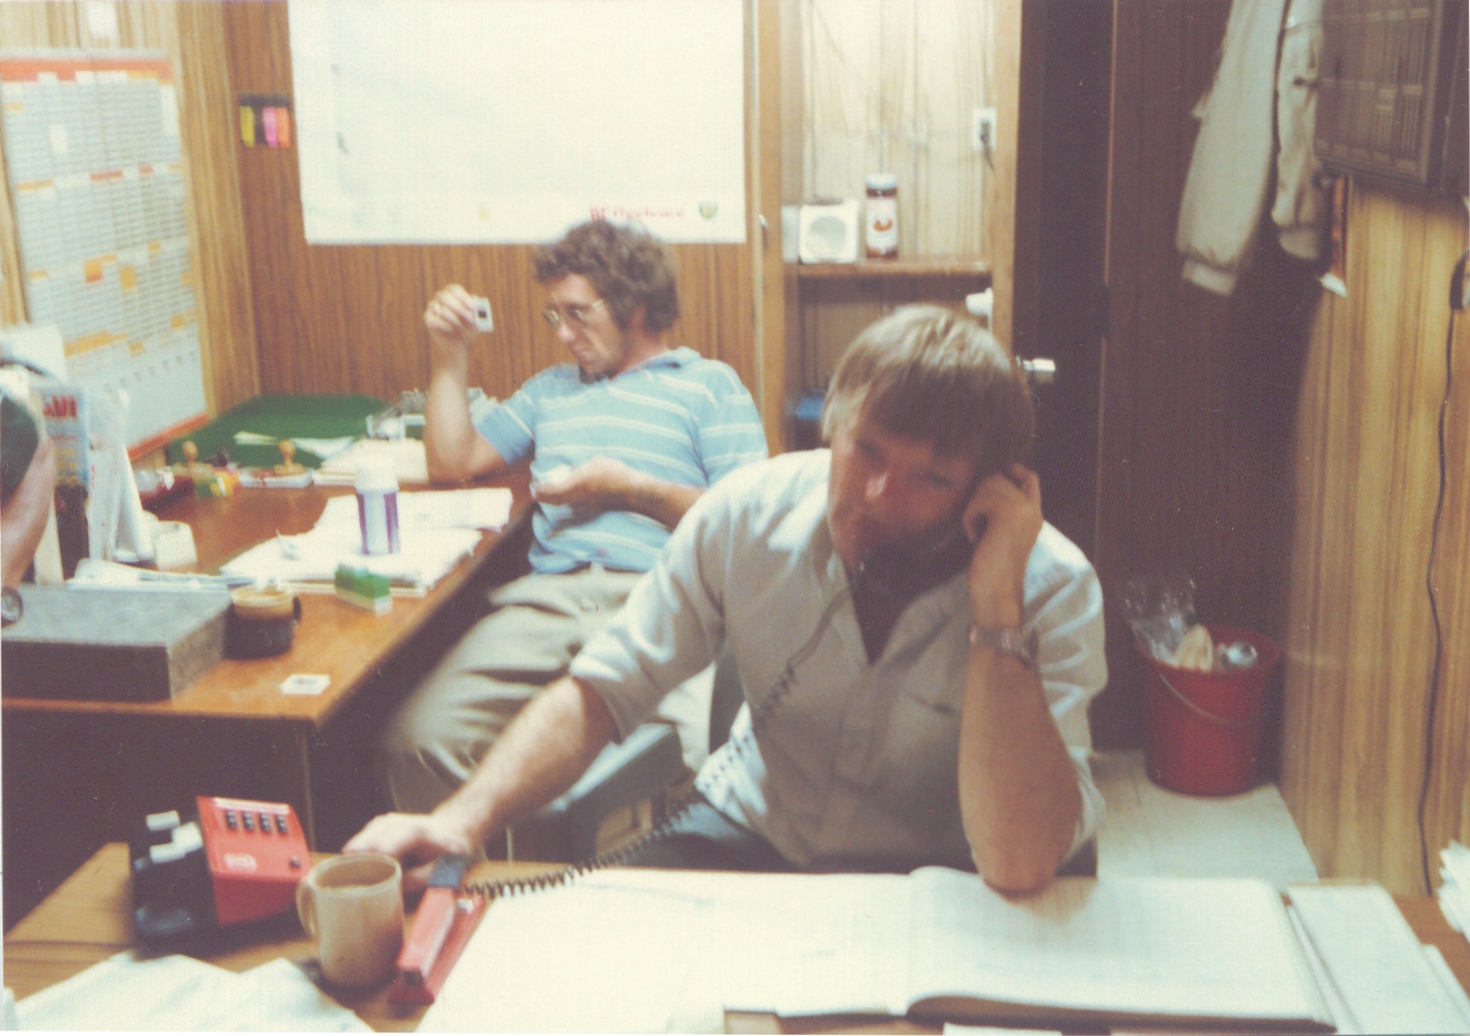
- John West and John Longhorn in Caravans container office Da
-
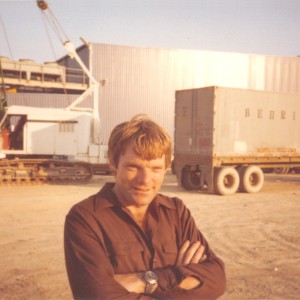
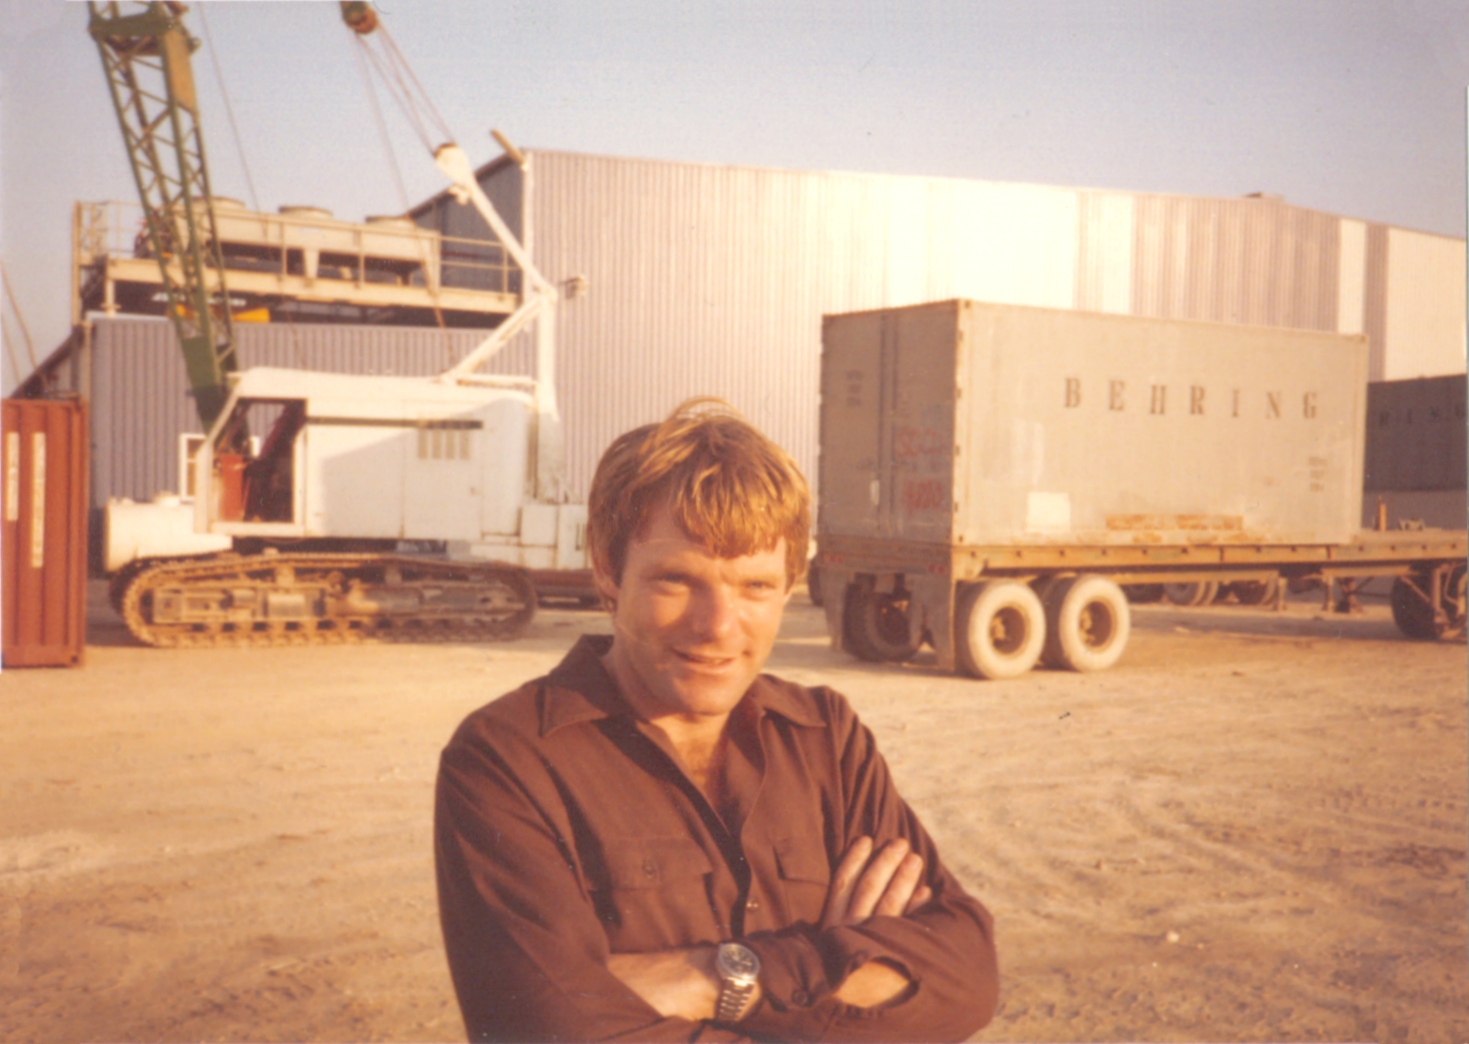
- John West in Caravan yd Dammam SA
-
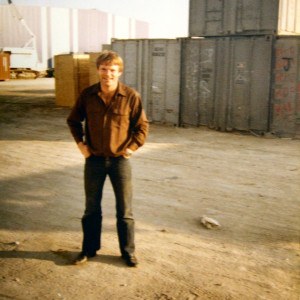
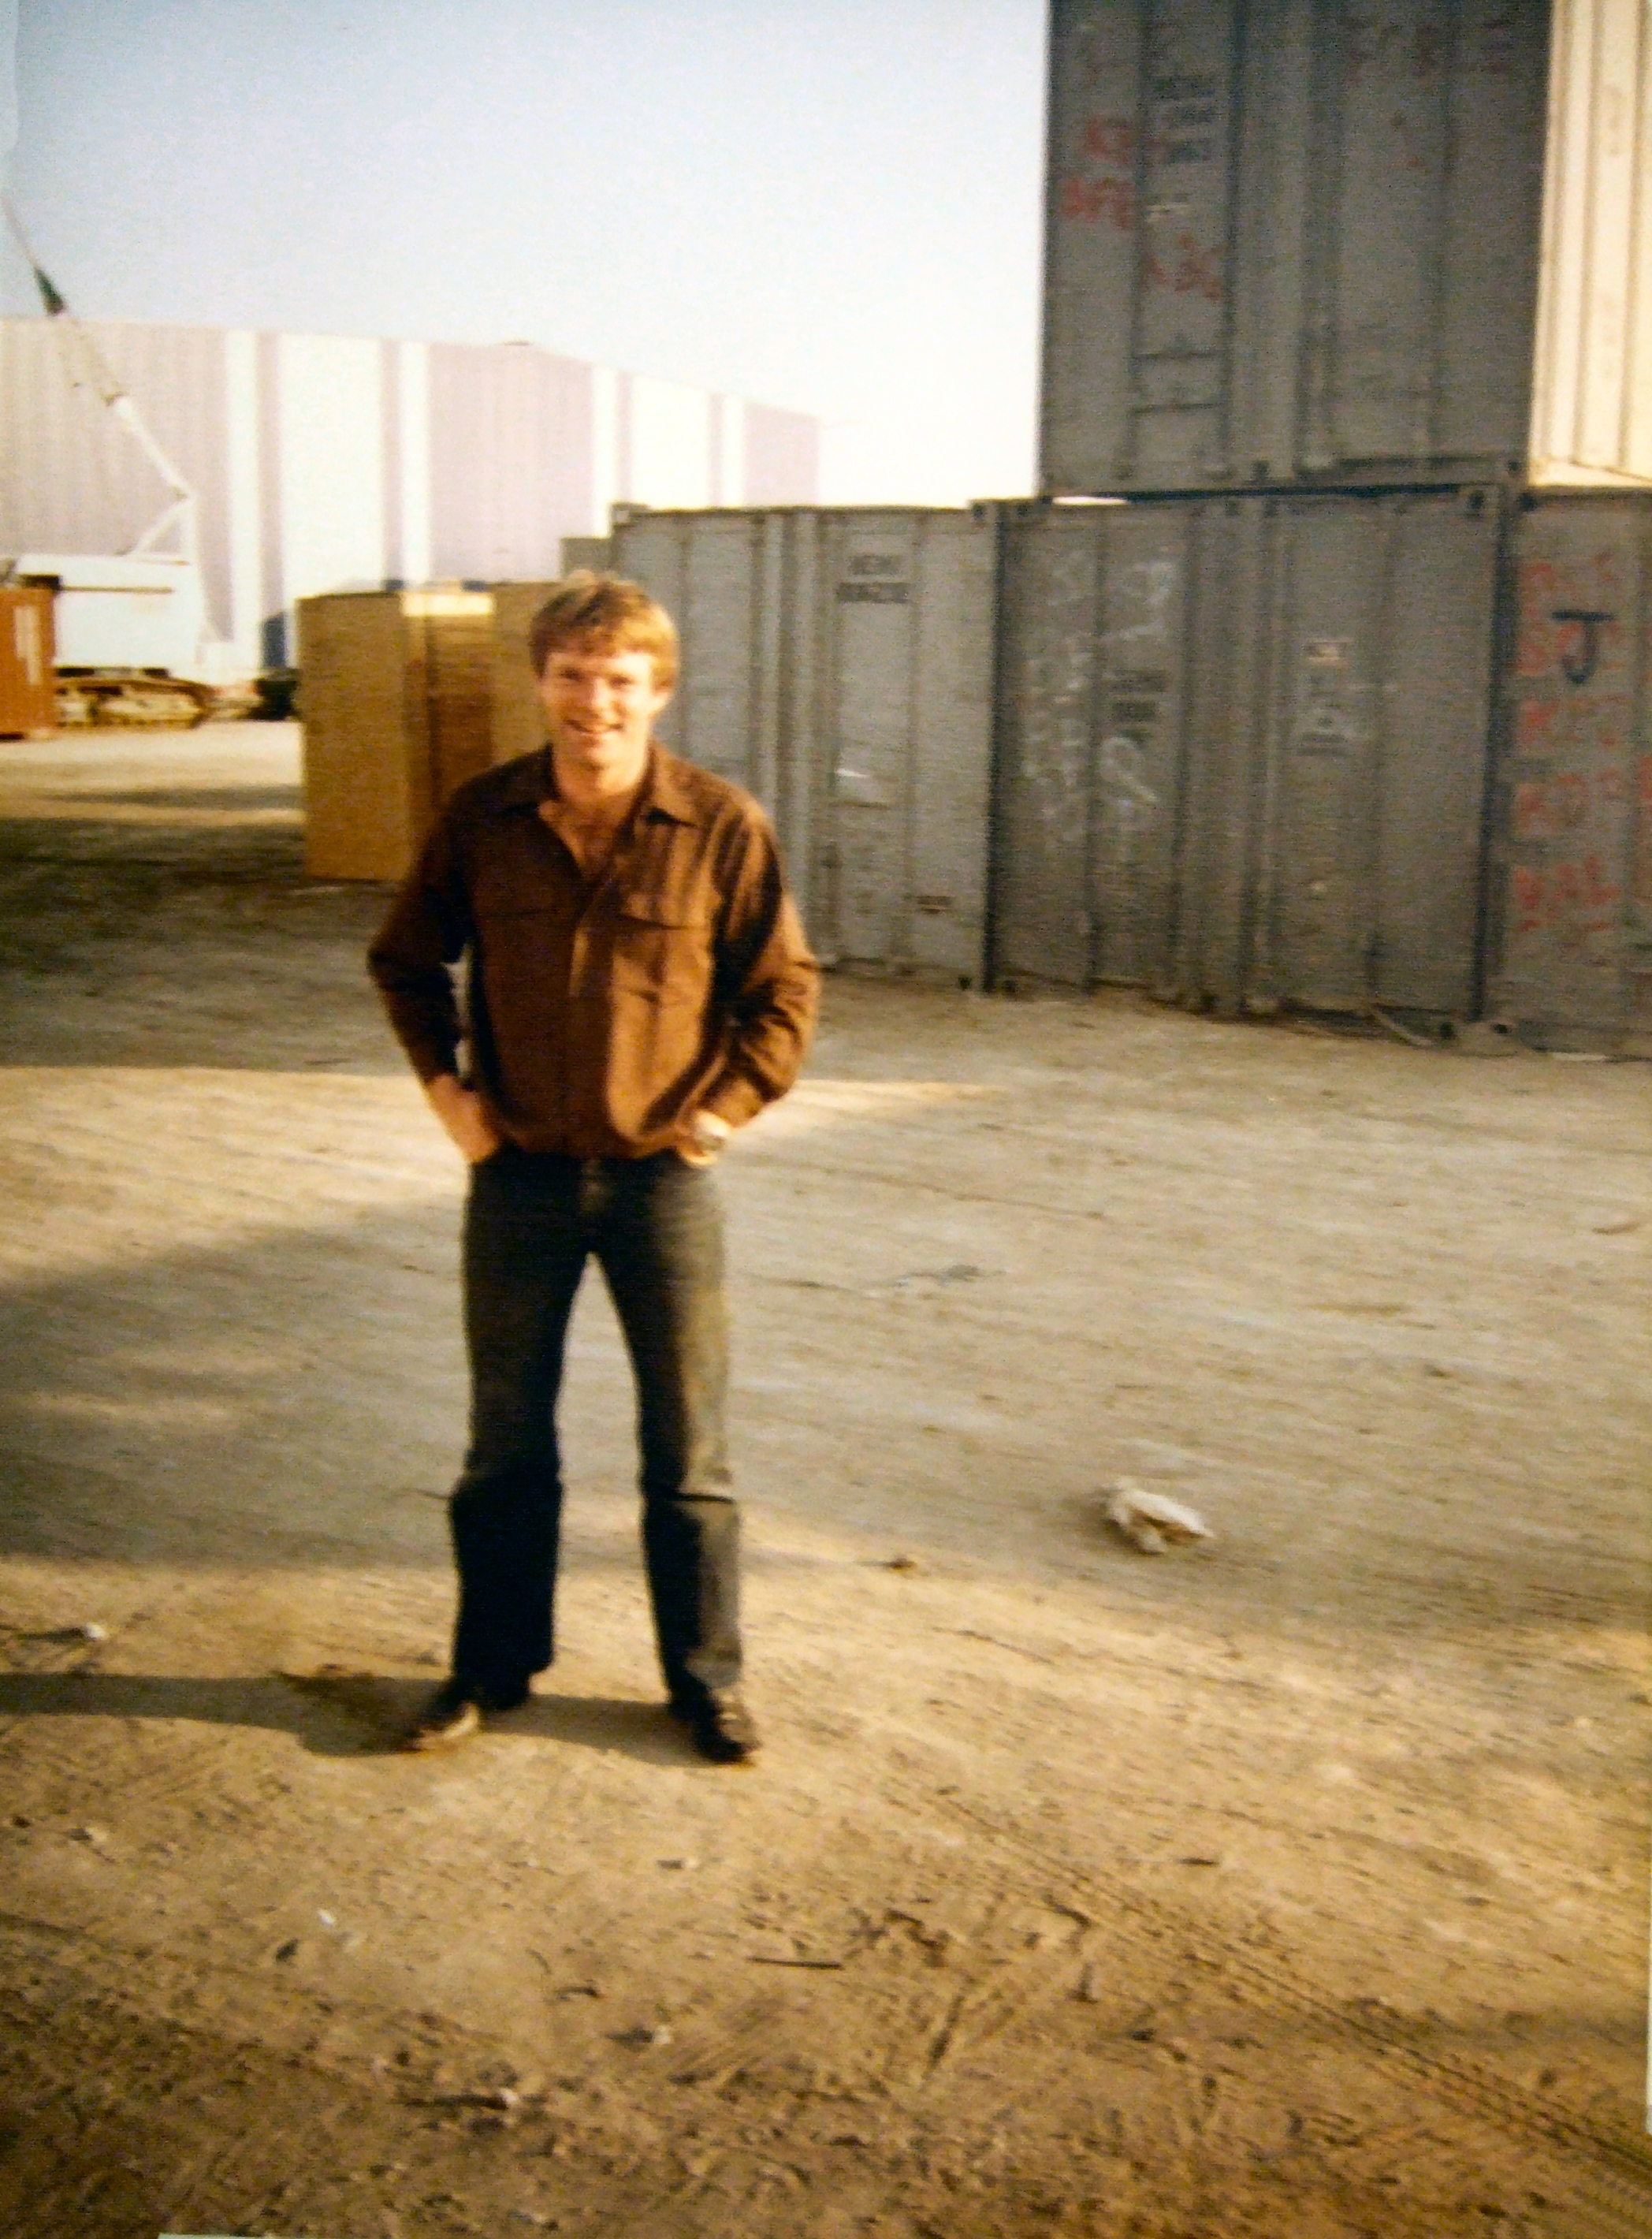
- John in front of containers in Caravan yard, Saudi
-
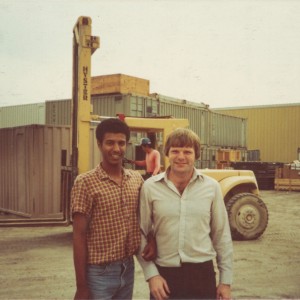
- Ahmed Yahya and John West in Caravan yard, Dammam, SA

-
- John & Andy West with Transco, in Caravan yd, Saudi
-
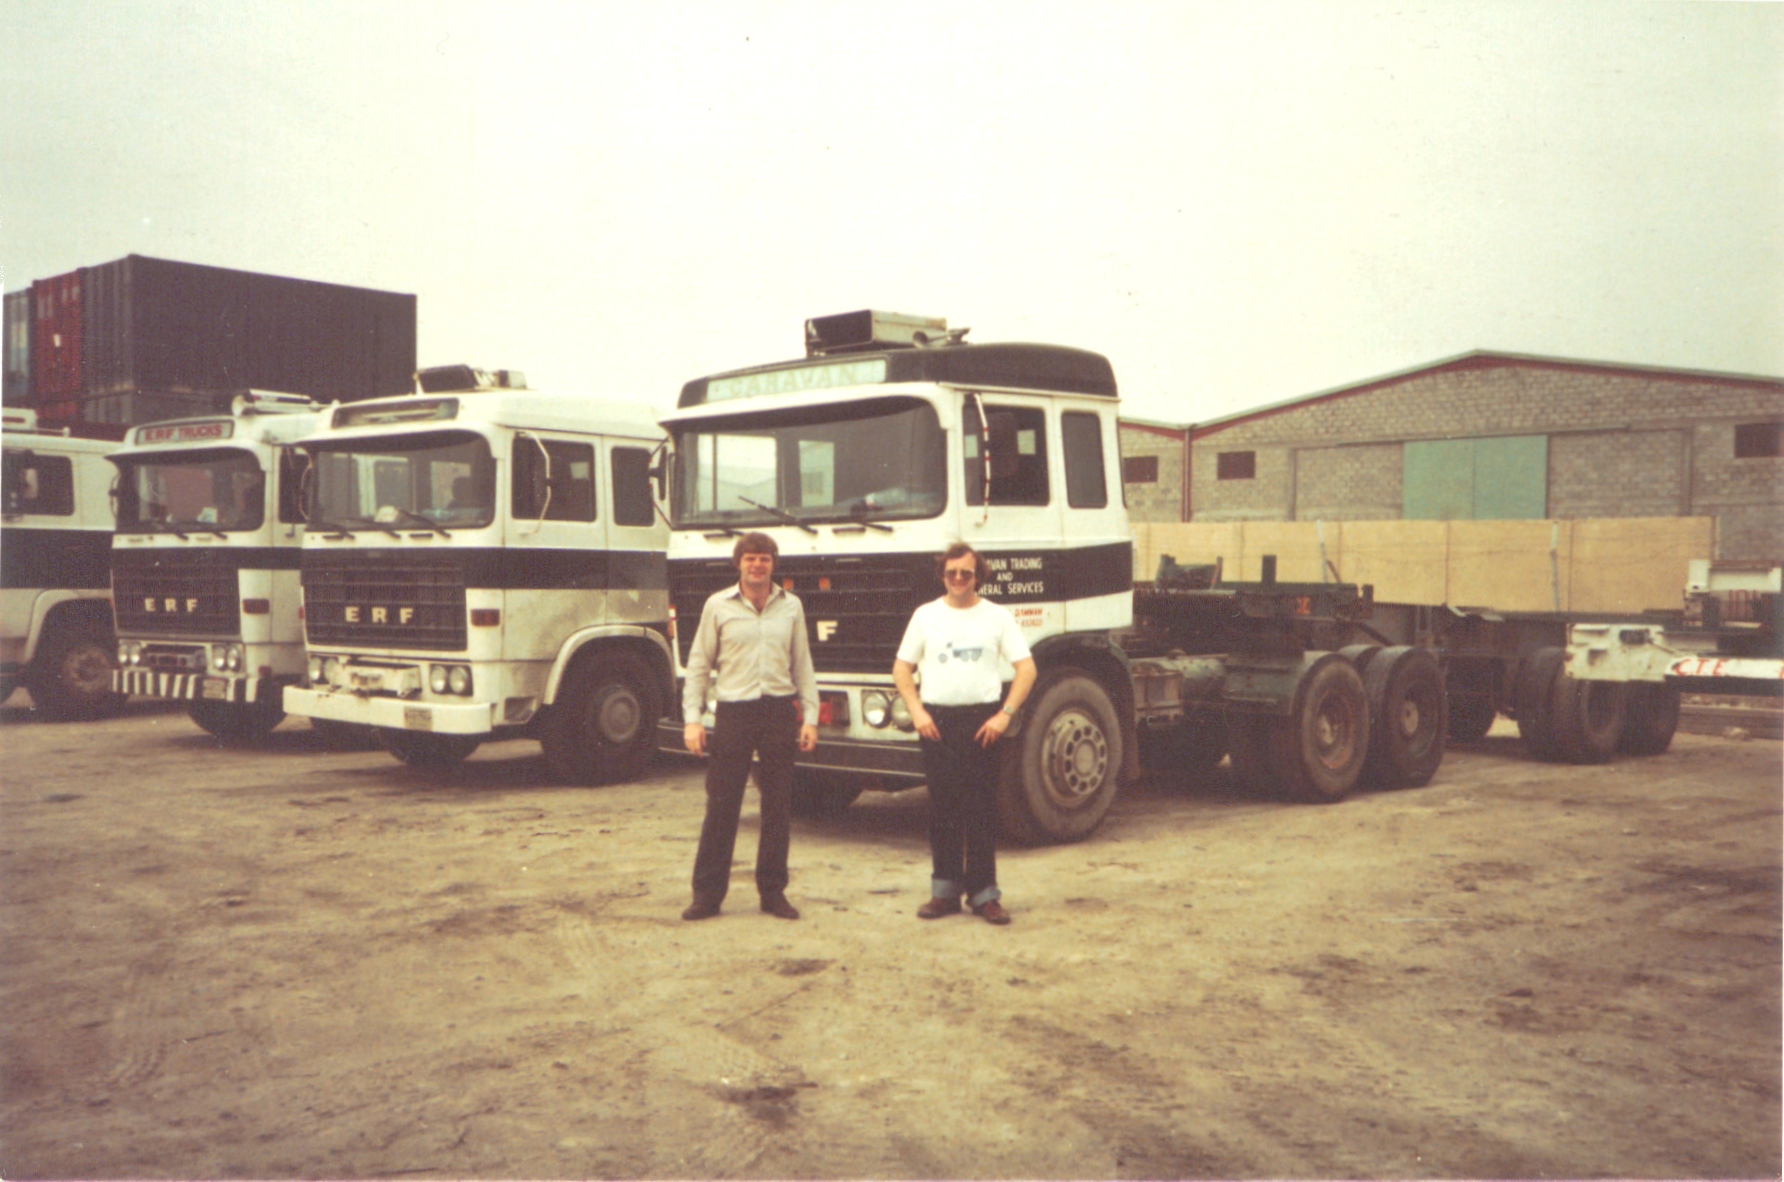
- John & Andy West in Caravan yd, Saudi
-
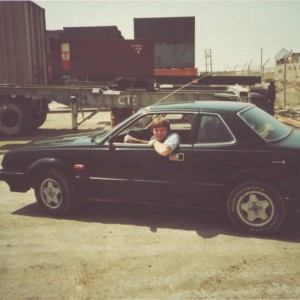
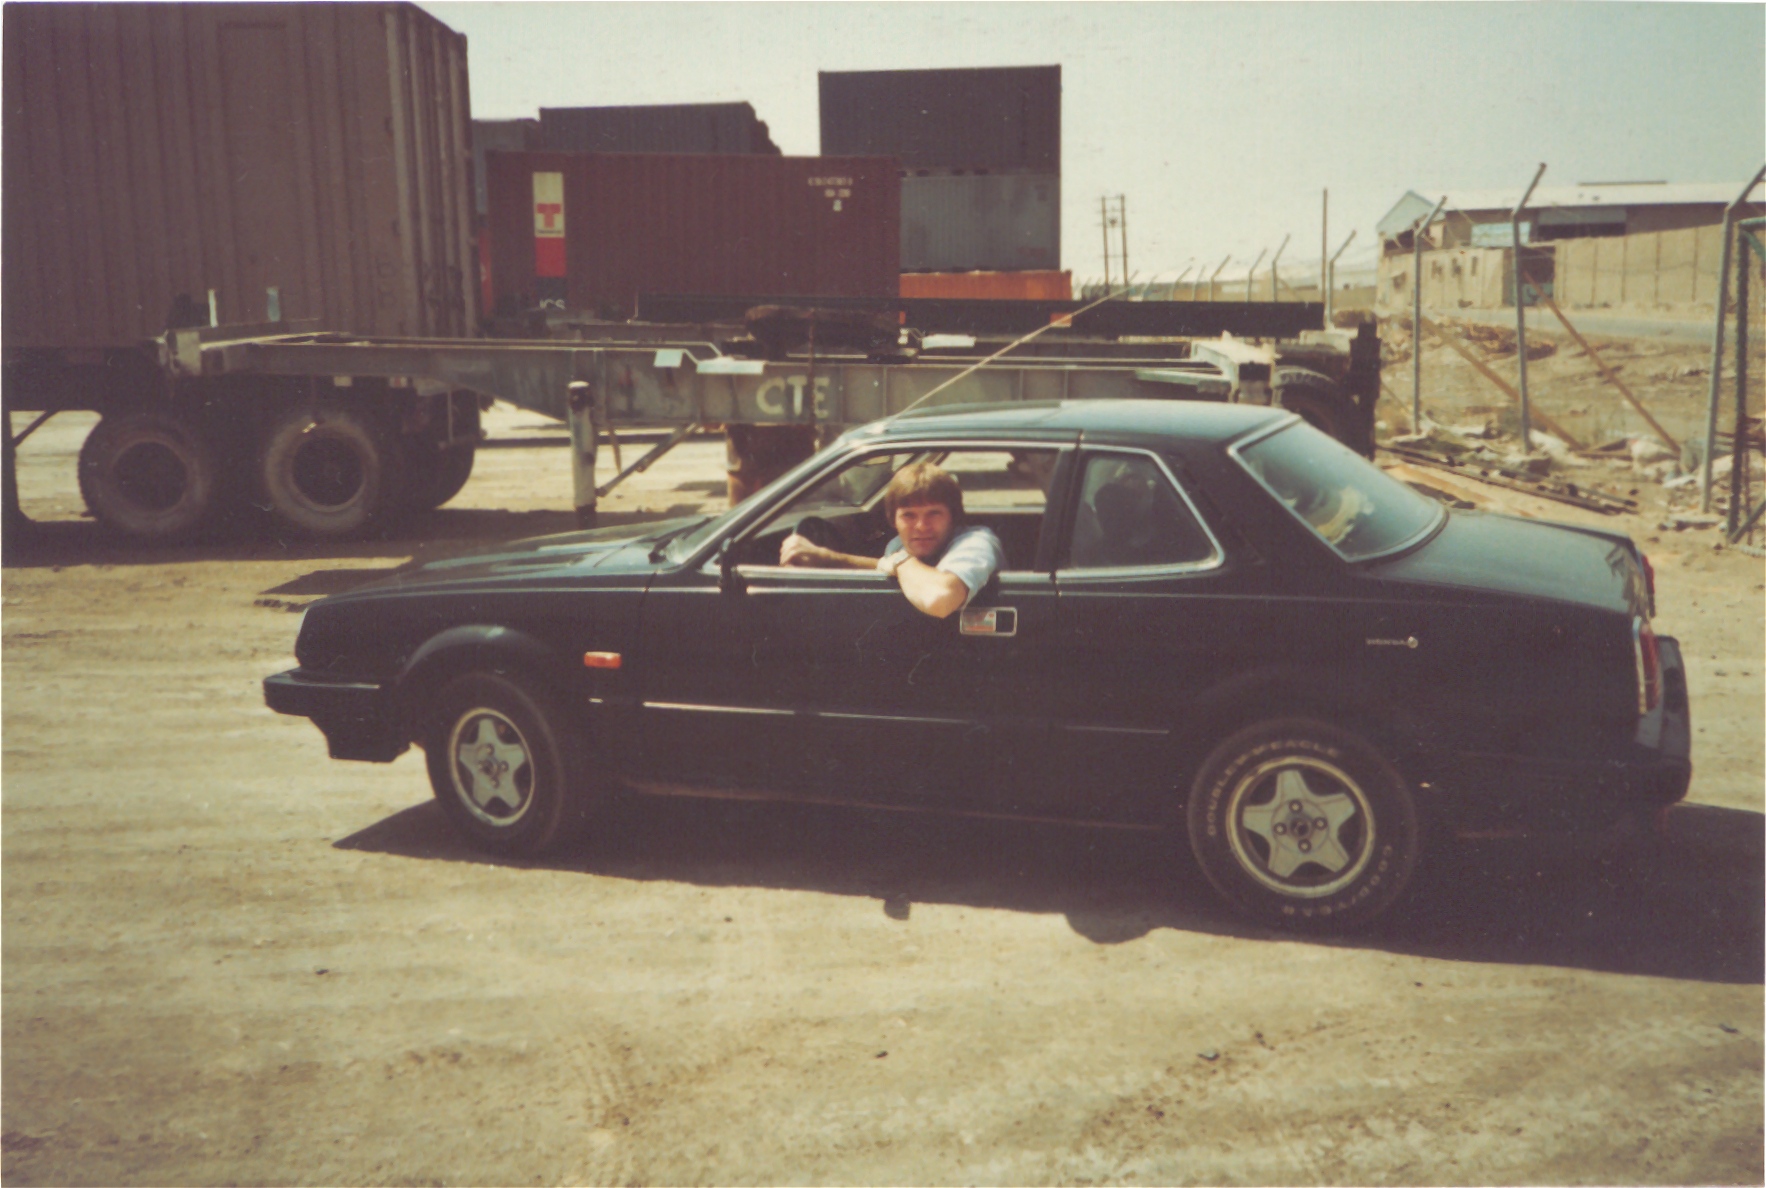
- John West in Honda Prelude Caravan yd Dammam SA
-
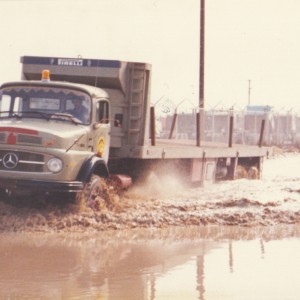
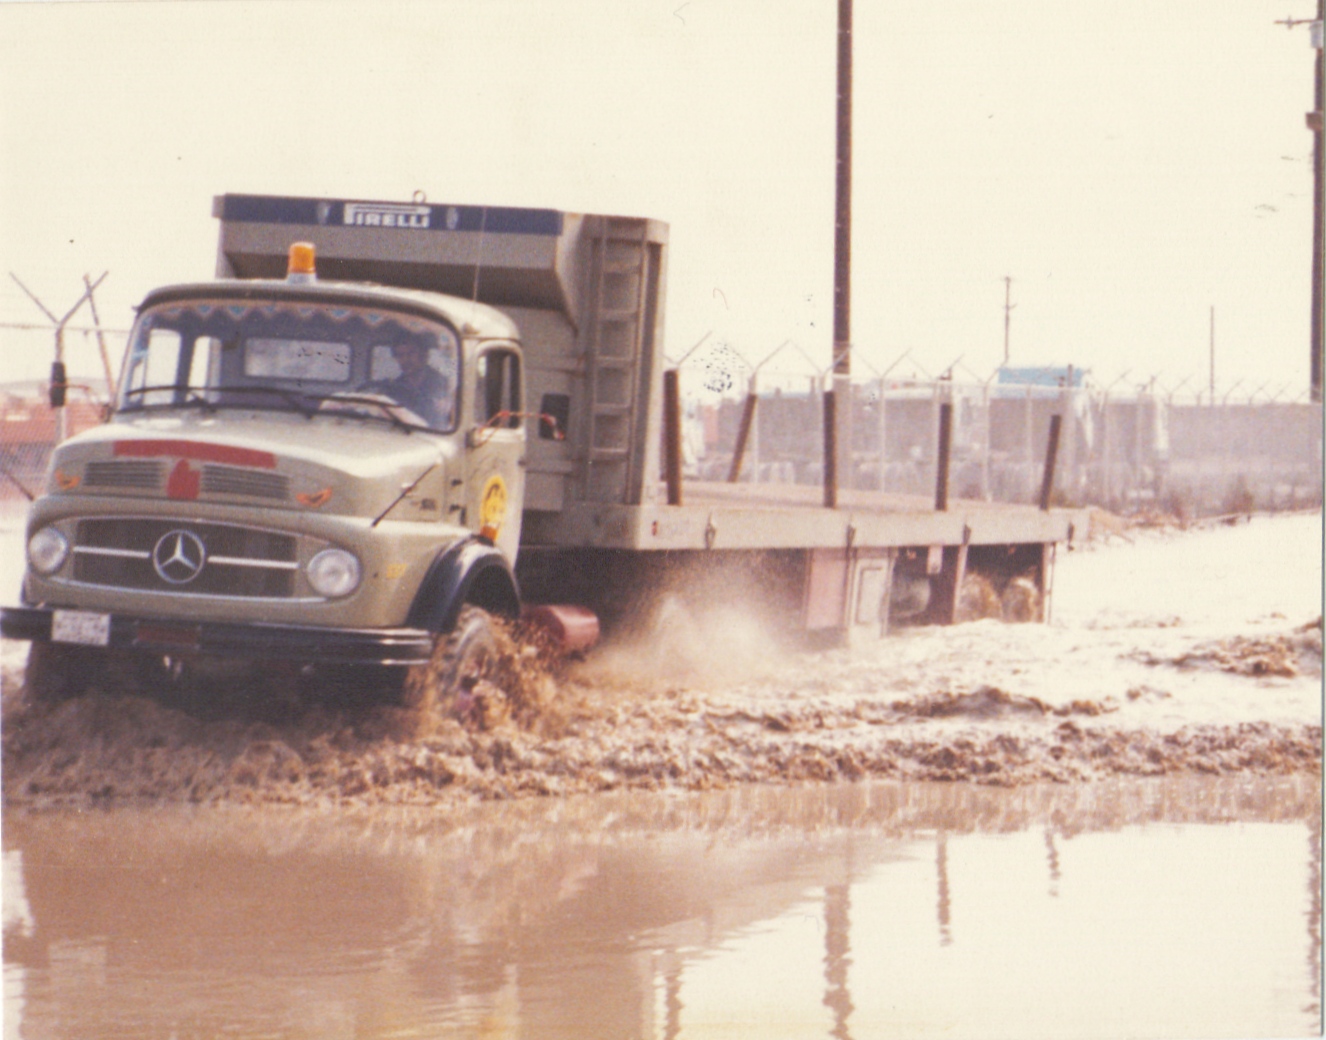
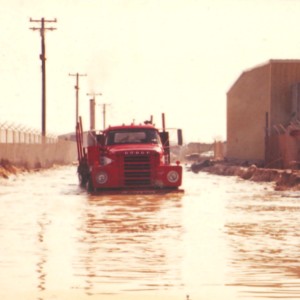
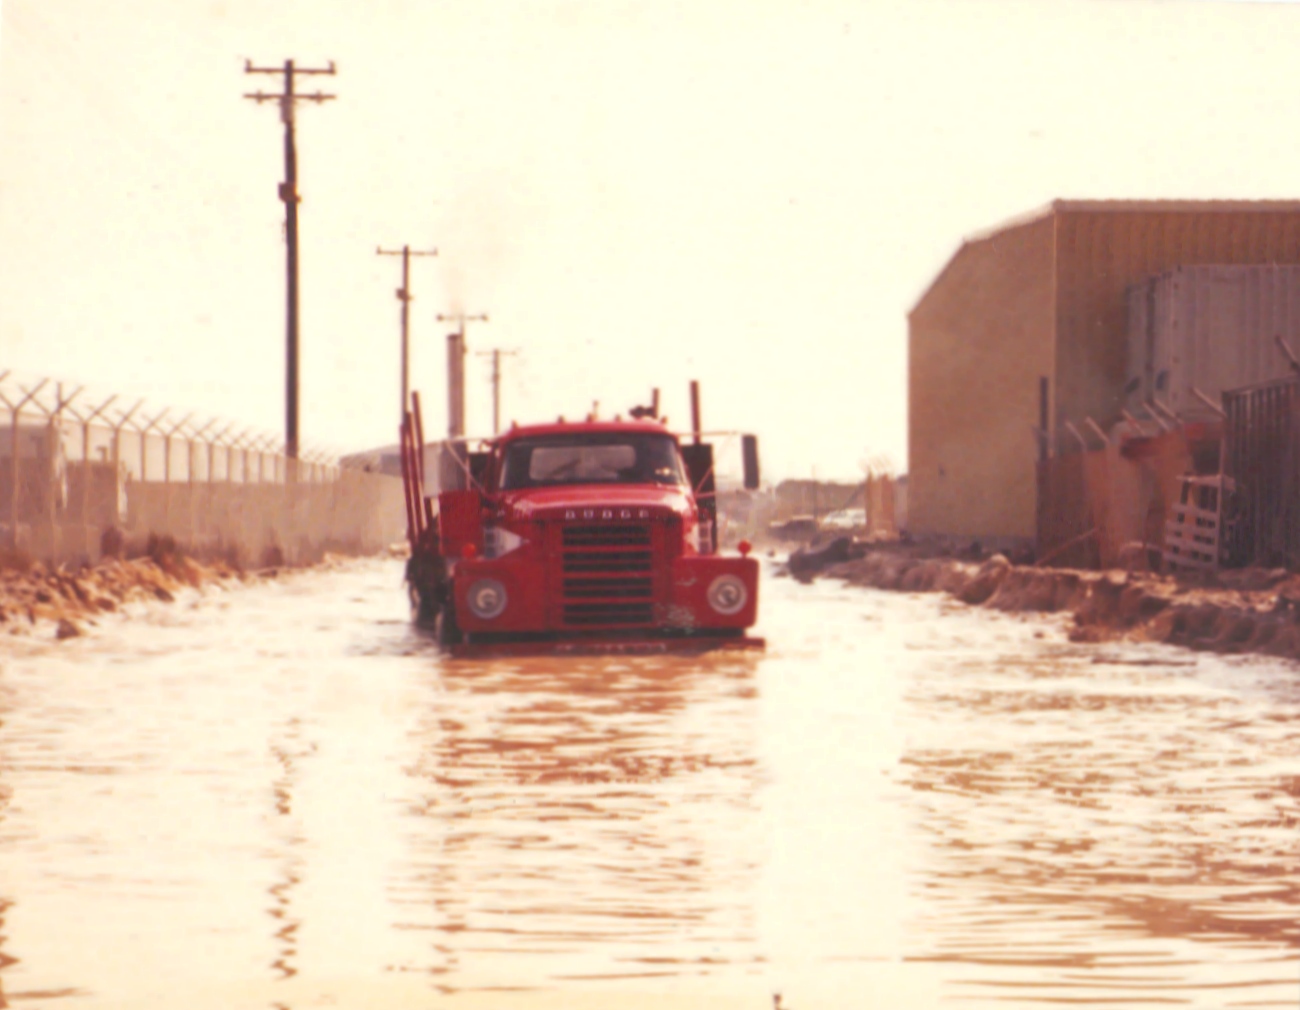
- Saudi Merc truck outside Caravan yd after winter flood
-
- Sealand-Crescent truck outside Caravan yd after flood
-
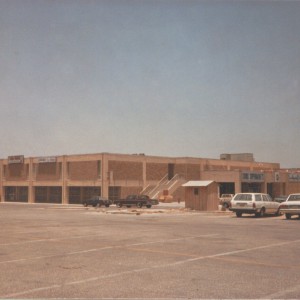
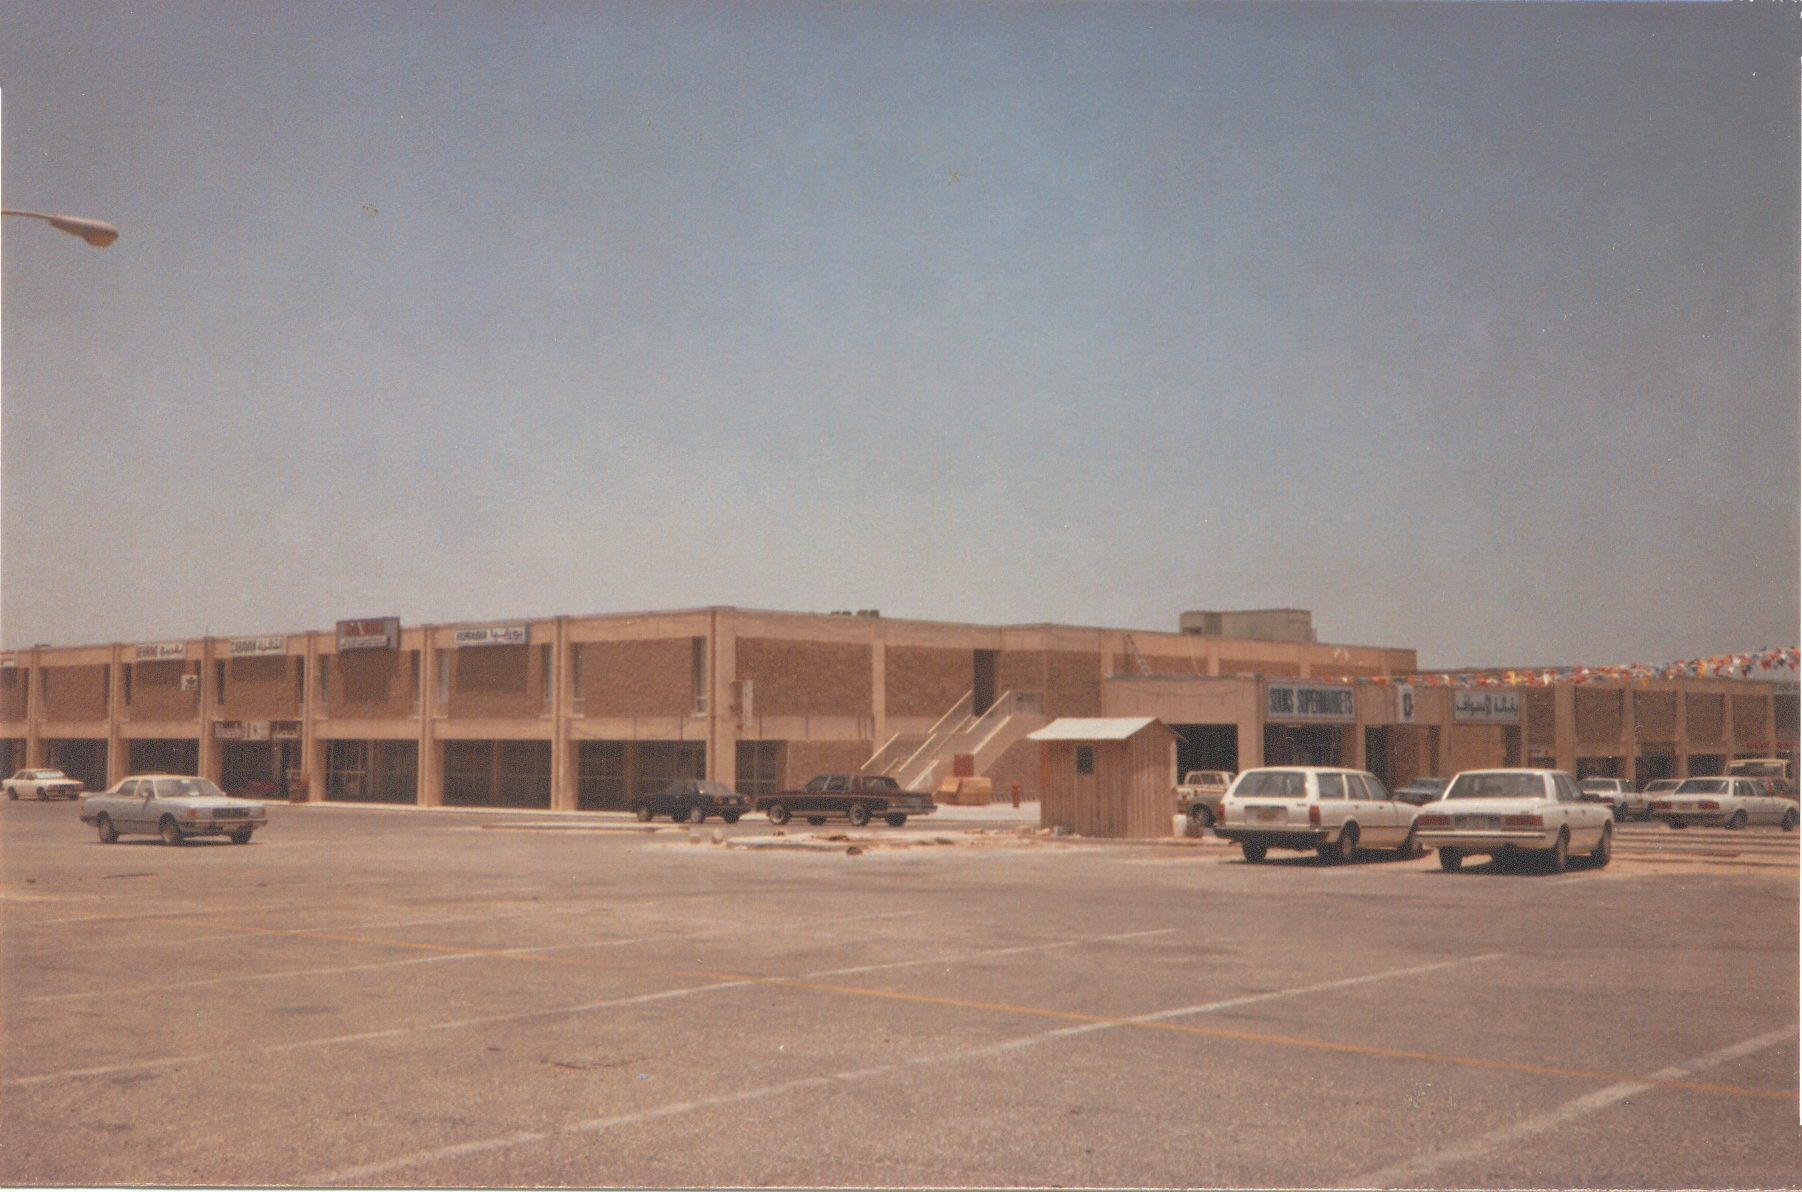
- Souks Supermarket, Caravan and Behring offices Dammam SA
-
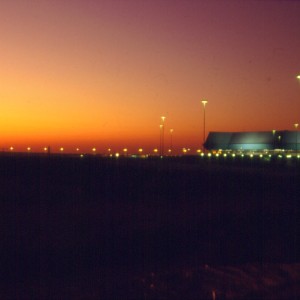
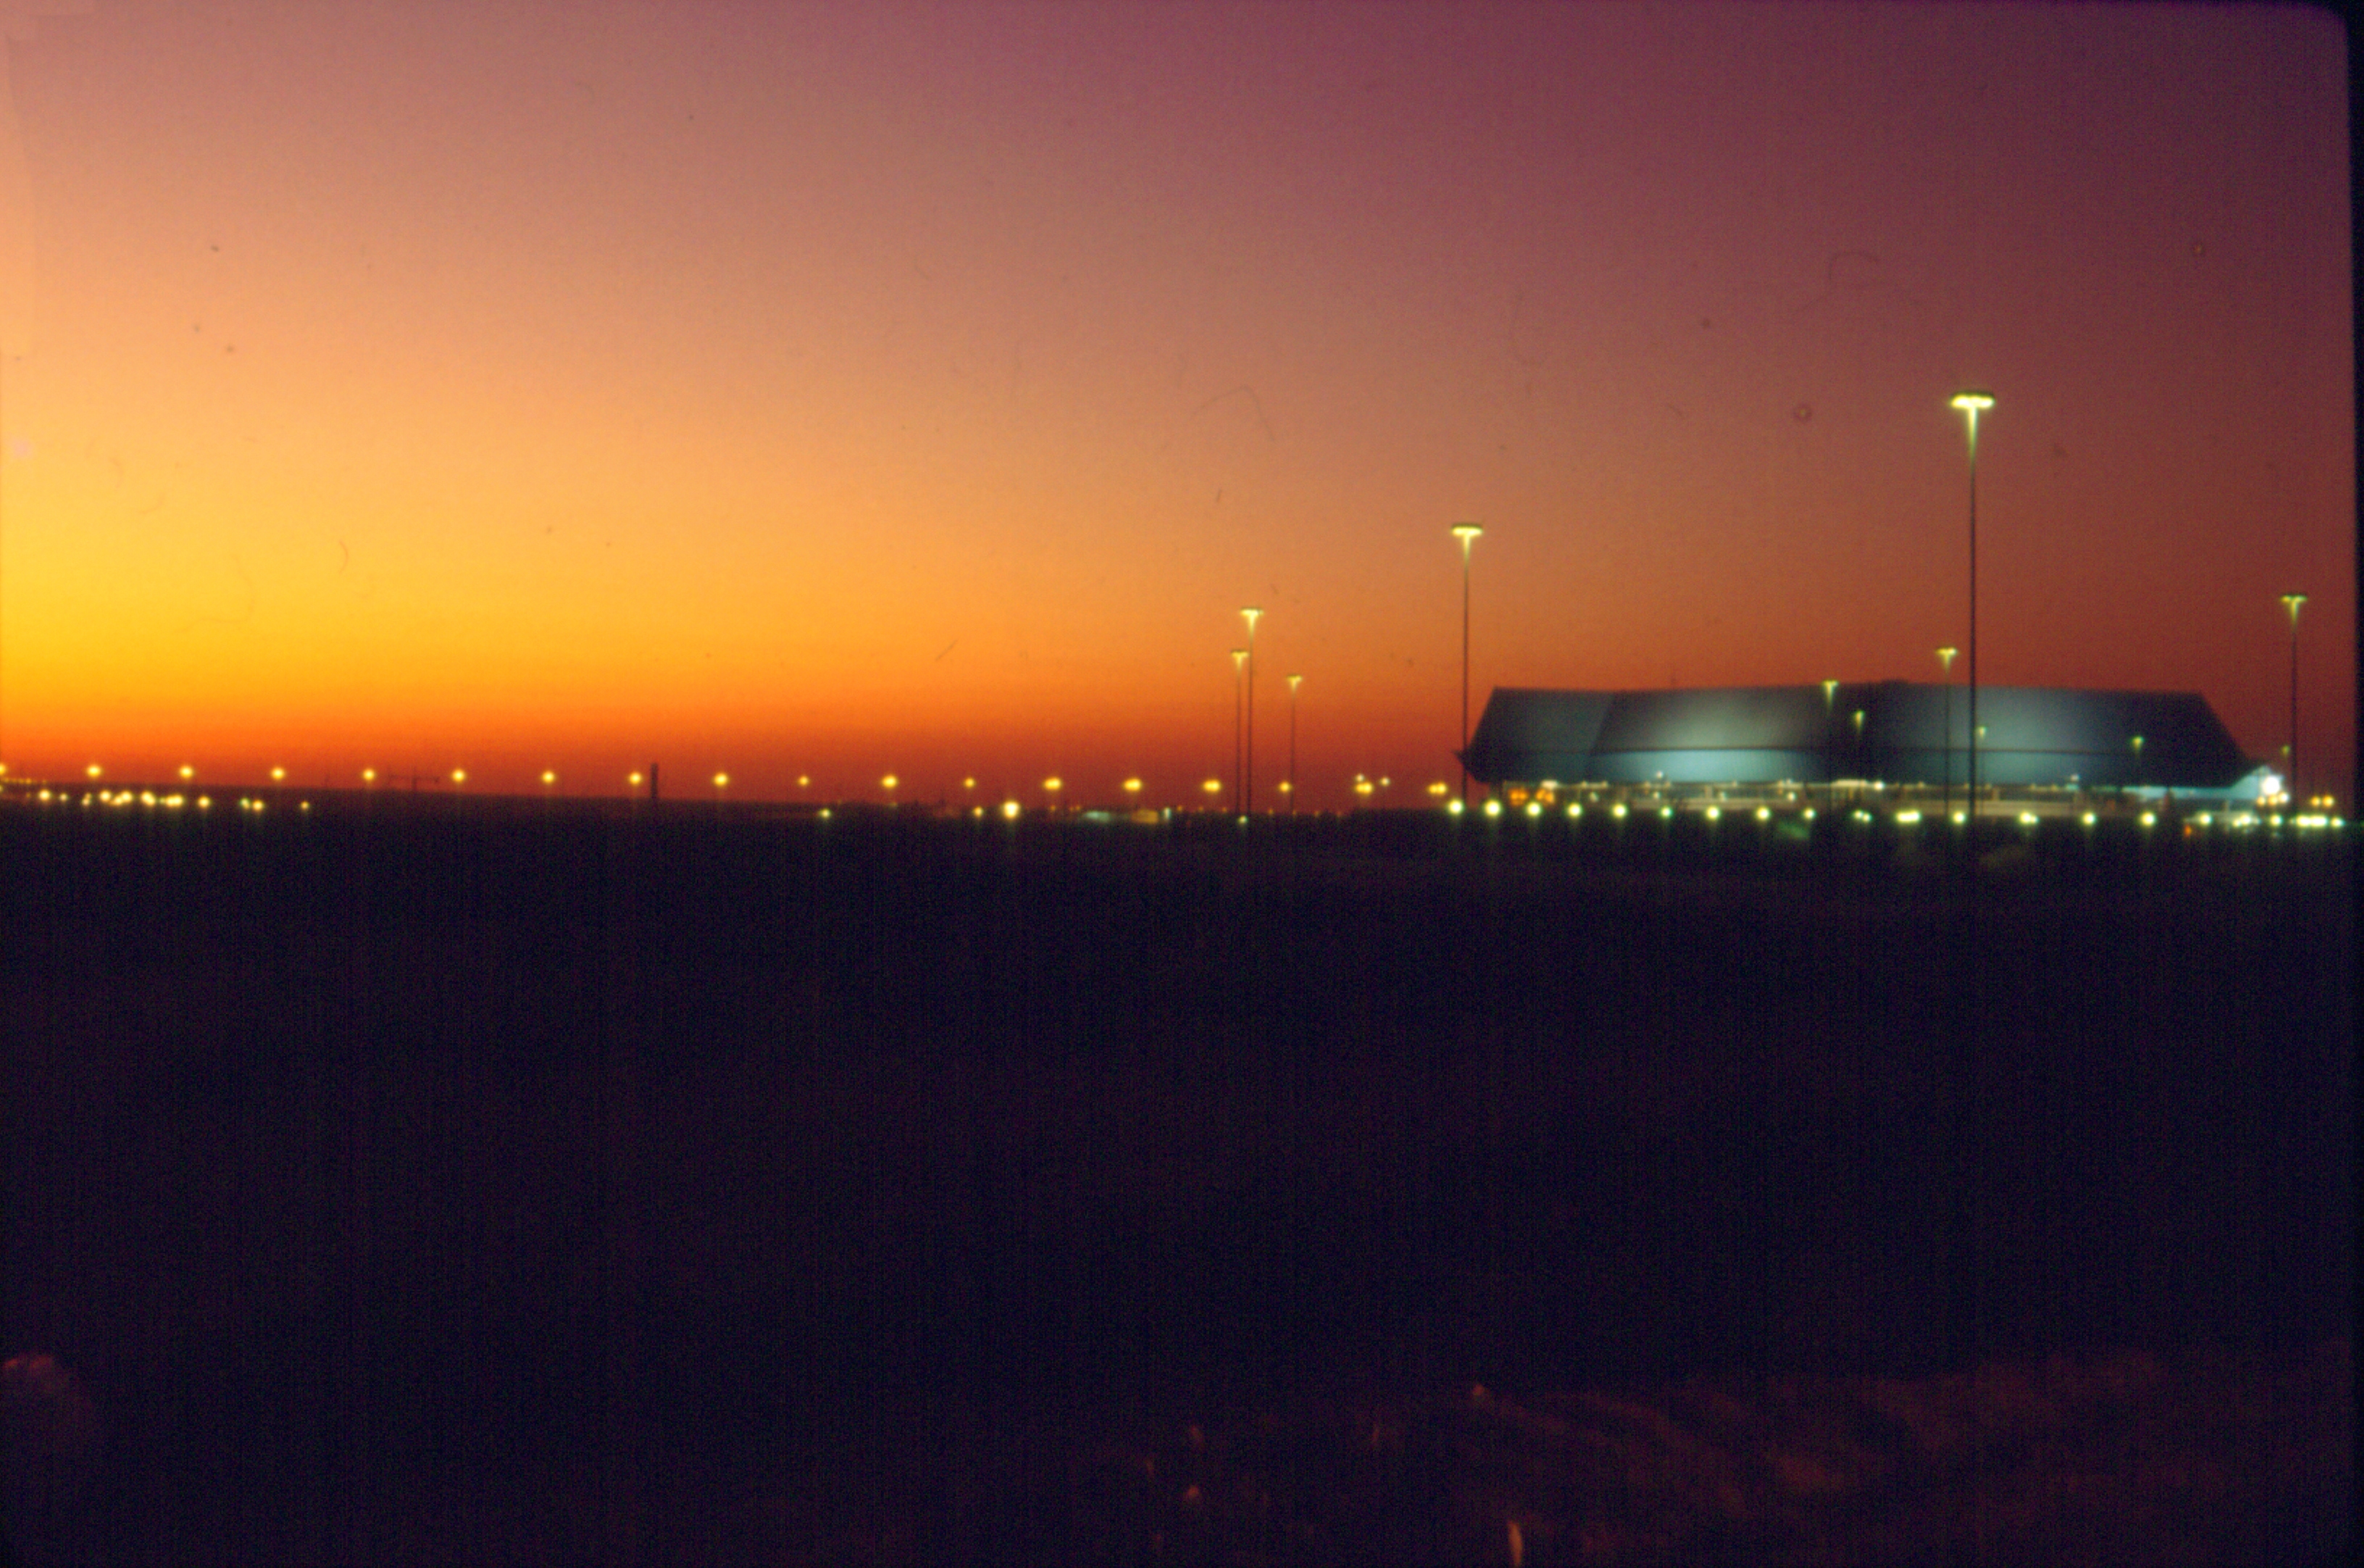
- Sunset over Sport City, Al Khobar 161283
-
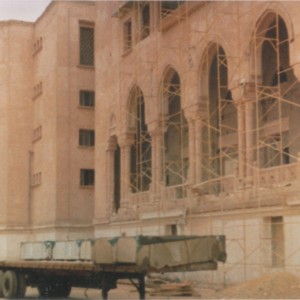
- Pink Palace, Riyadh during renovation, with Caravan trailer,

-
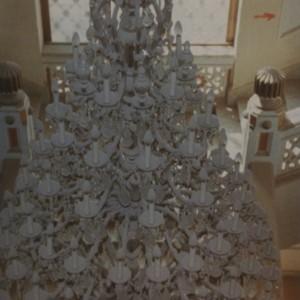
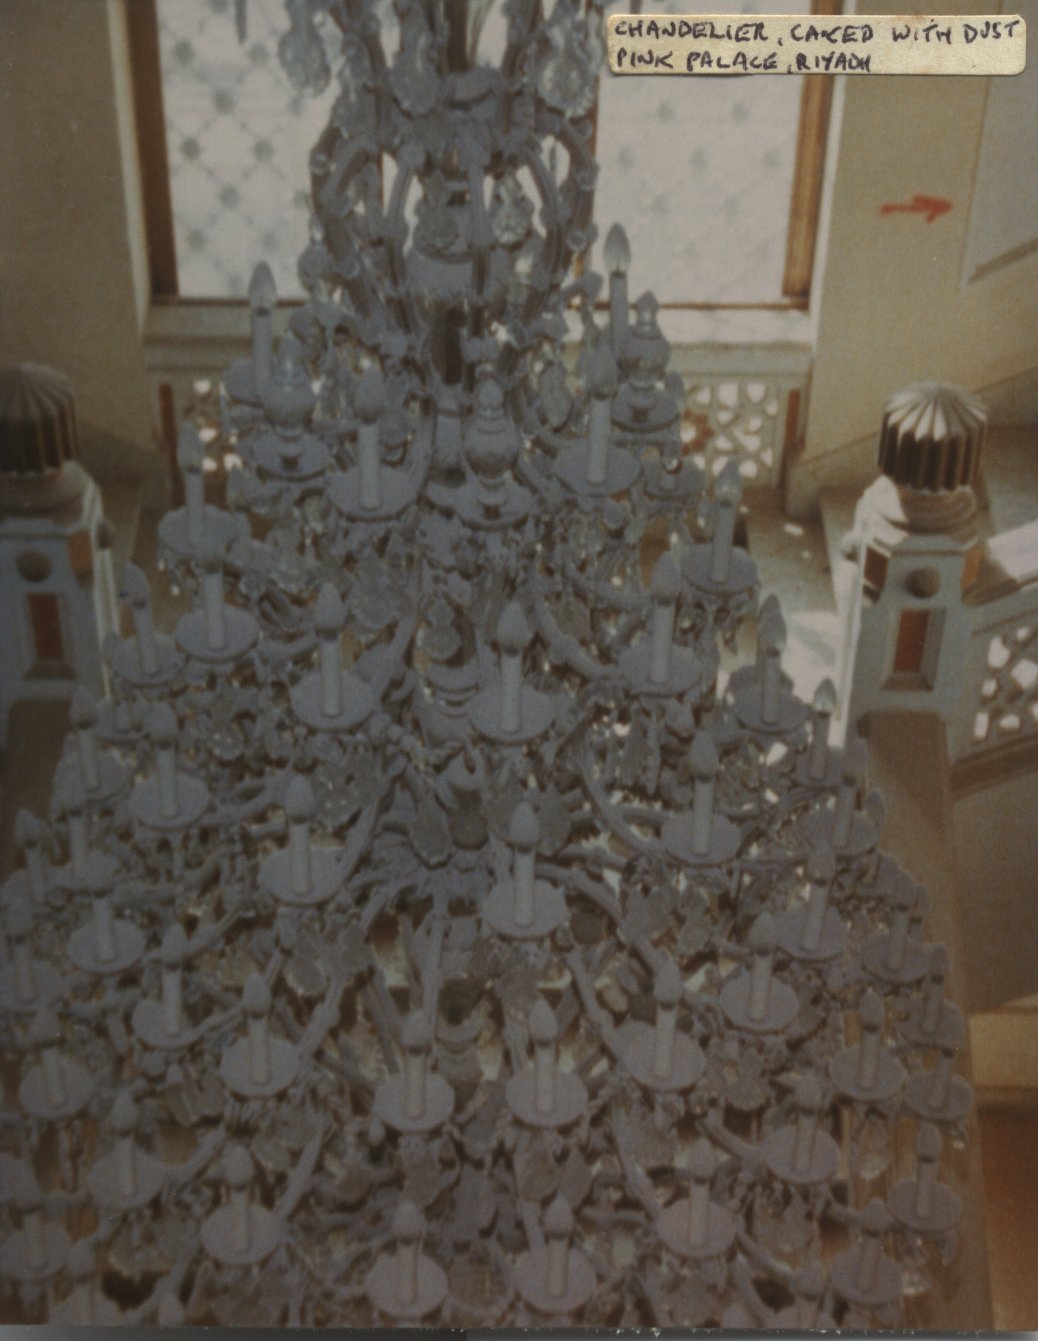
- Chandelier caked in dust, Pink Palace Riyadh
-
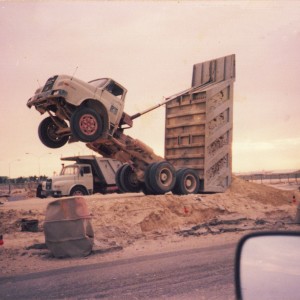
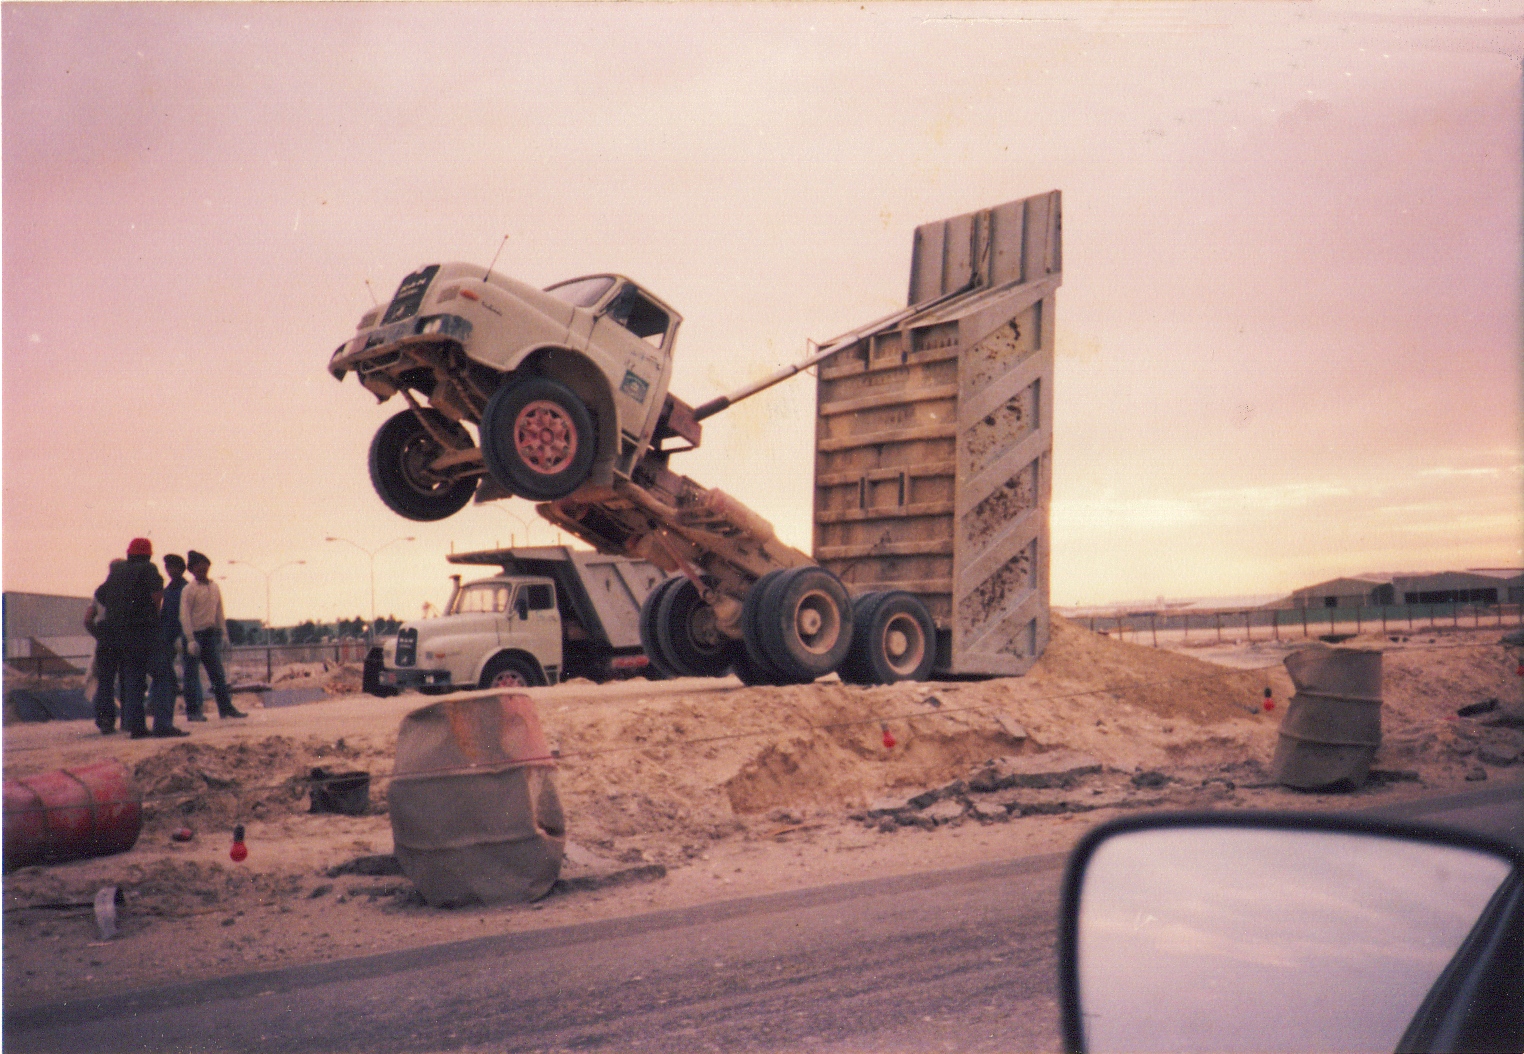
- Oops! MAN tipper, Dammam, Saudi Arabia
-
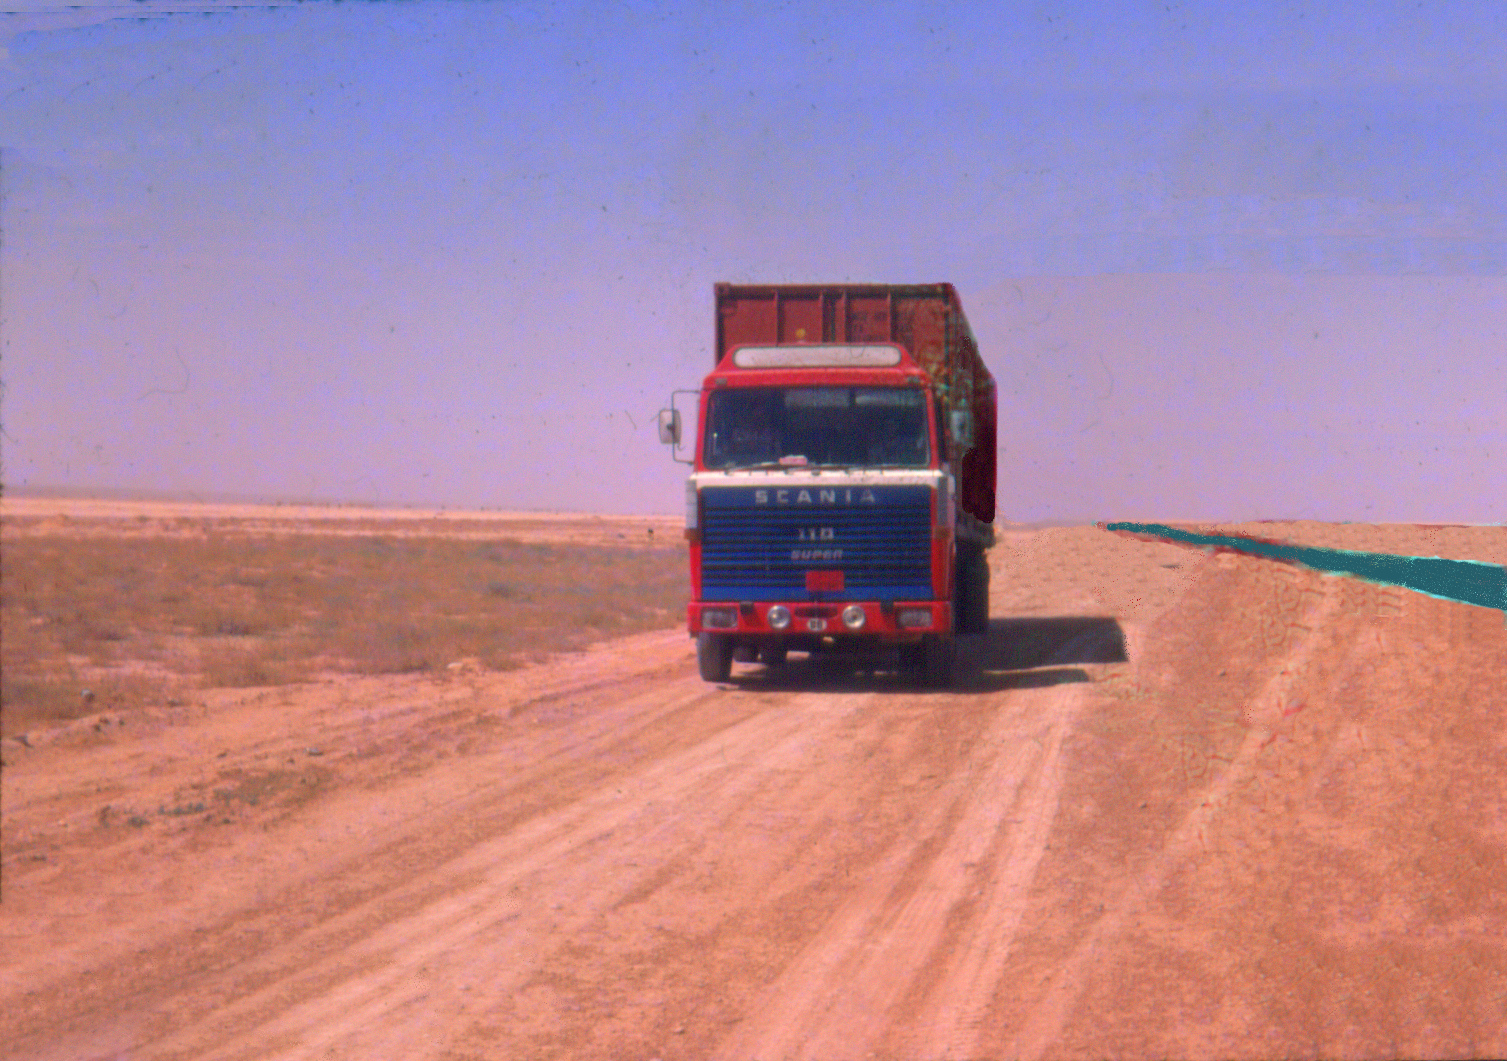
- Scania KRM731L with Saudi number and driver nr Riyadh SA 0877
-
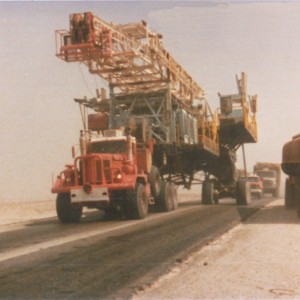
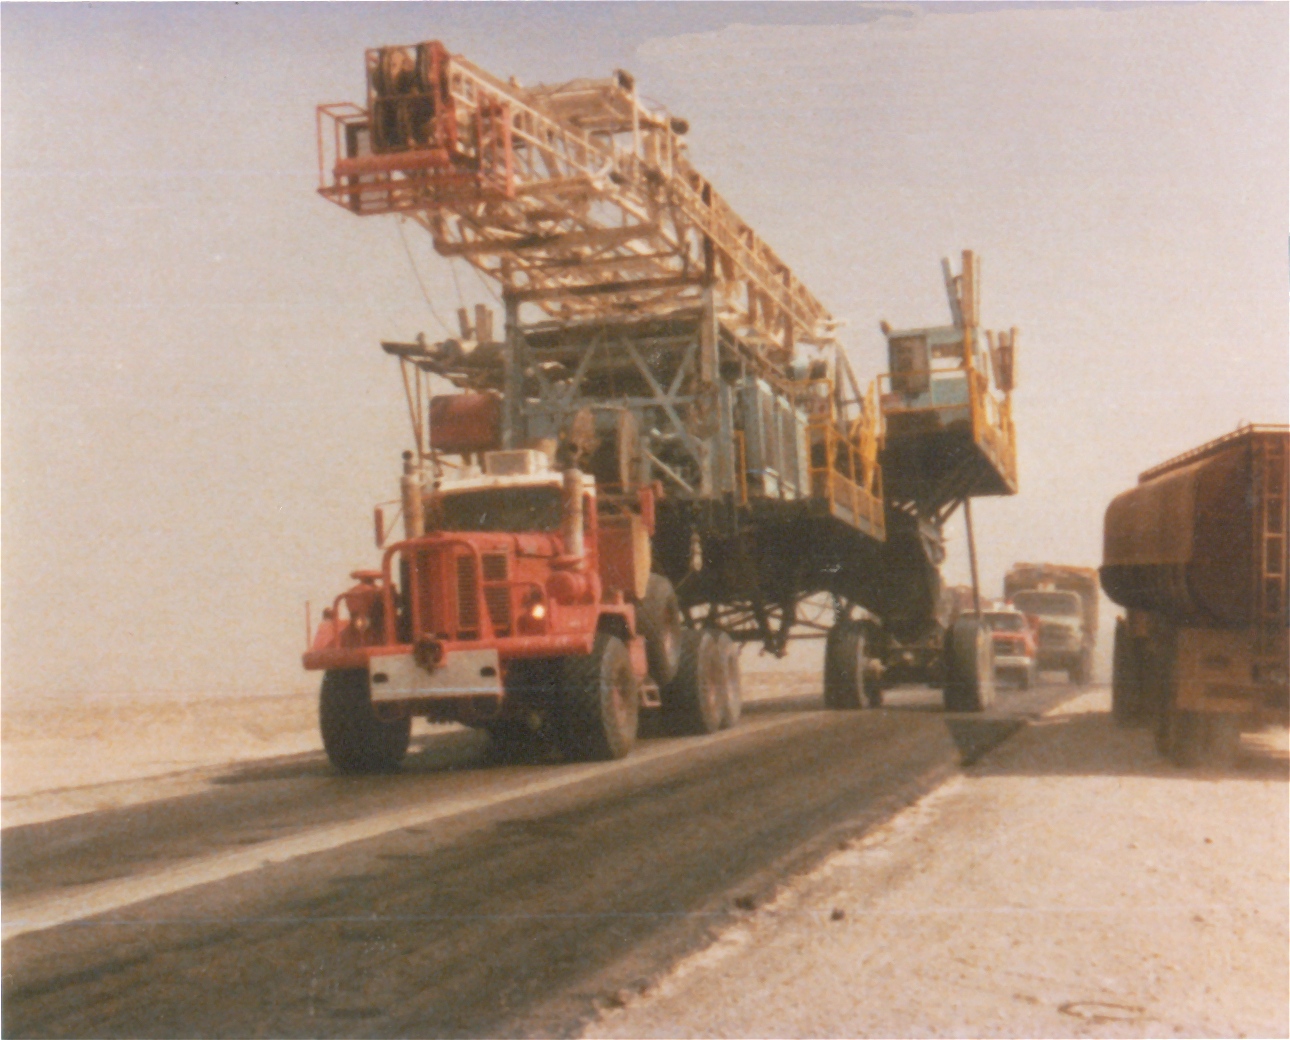
- Oil rig on Dammam – Riyadh road using both lanes
-
- AW near Addasco office, Jeddah, SA w. JHW249P 0877
-

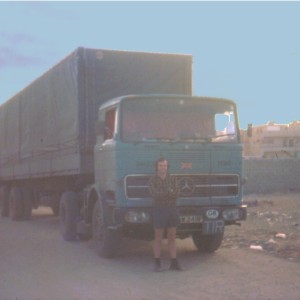
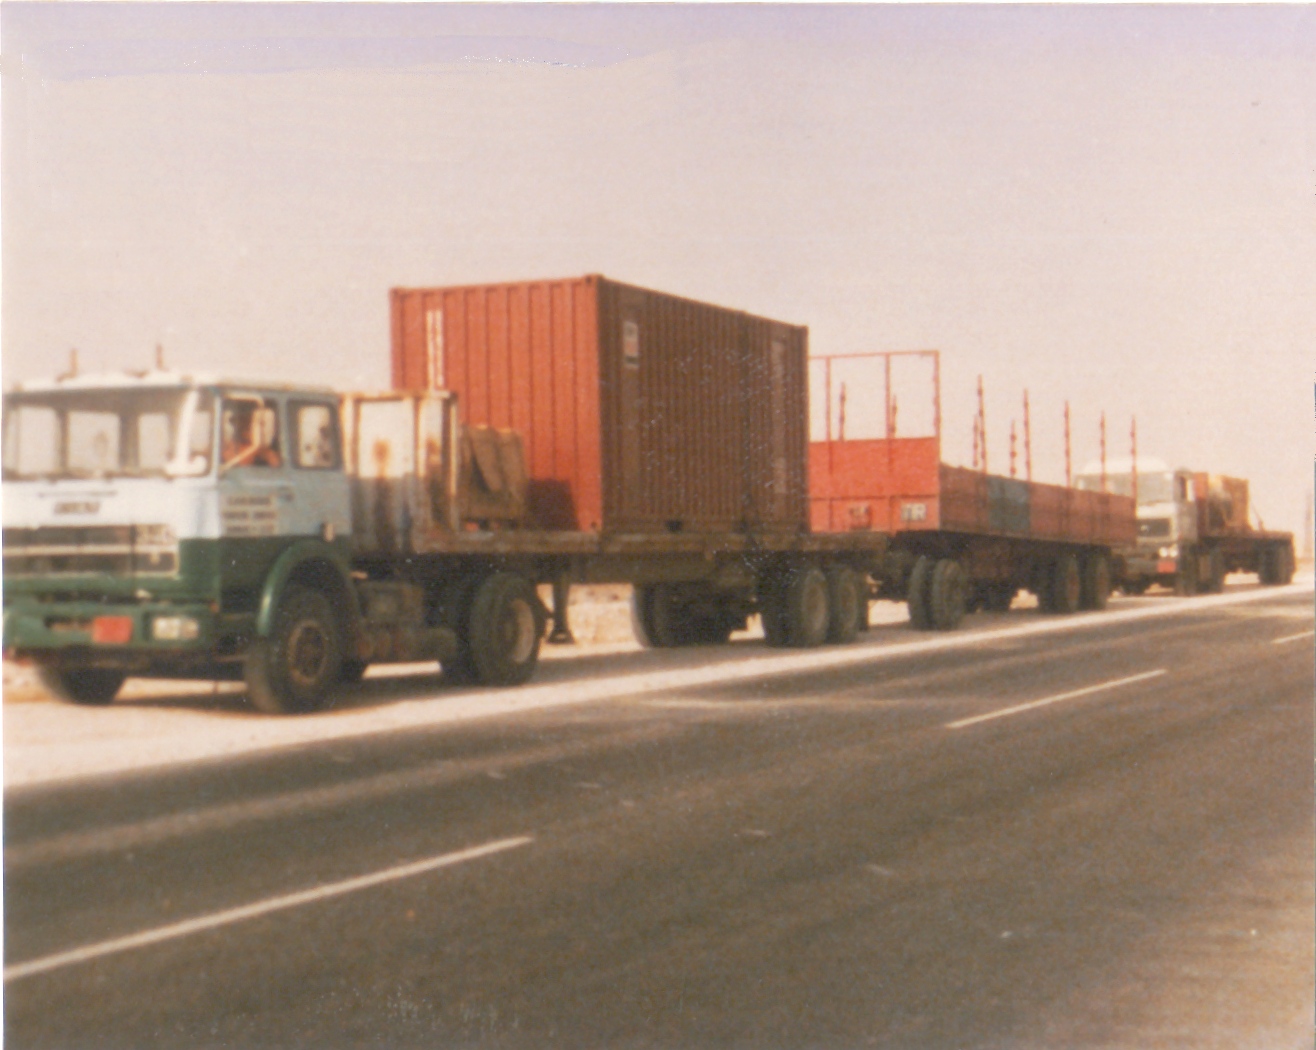
- Geoff’s Fiat with double bottom & Ginger’s Daf, SA
-
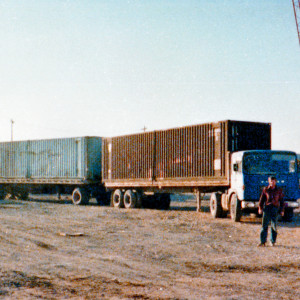
- John and Saviem. double bottom with 2x40fts
All Photos © John West or Andrew West.