-
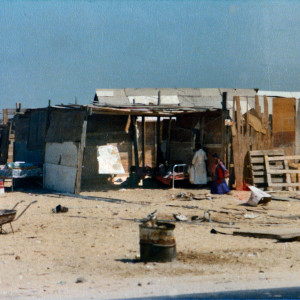
- Yemeni ‘villa’, Dammam. 1980
-

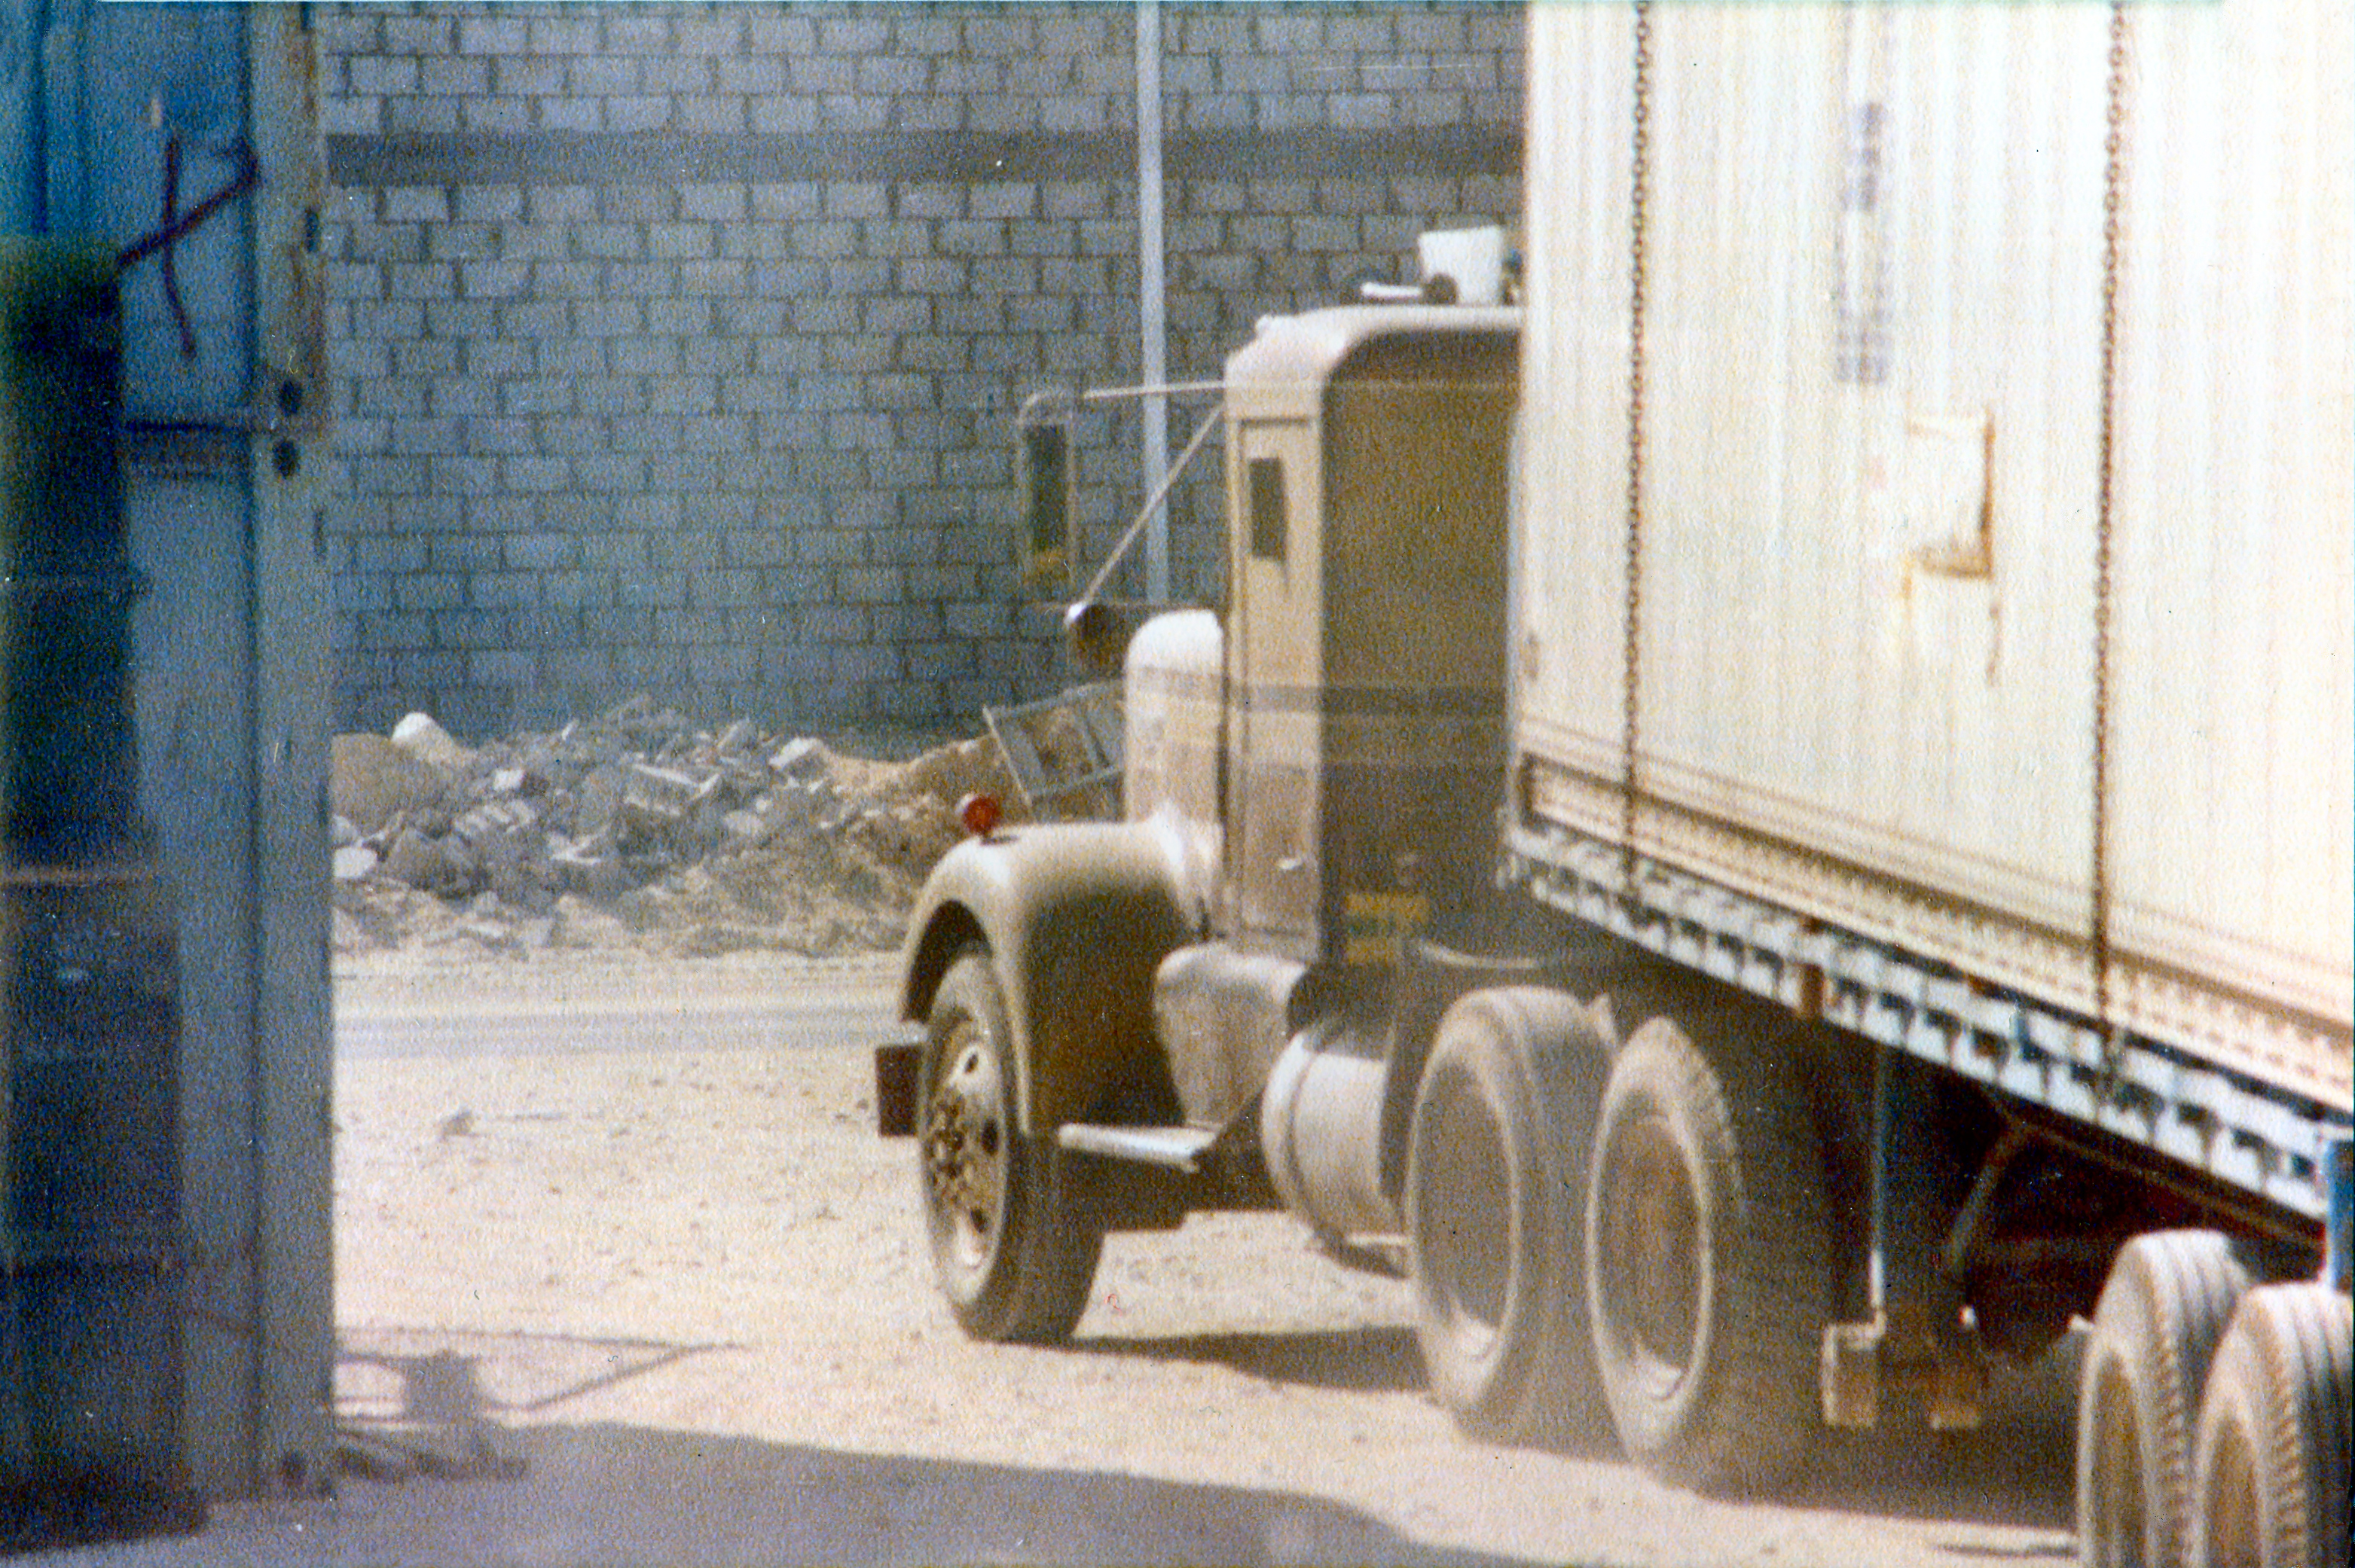
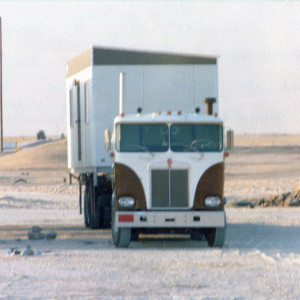
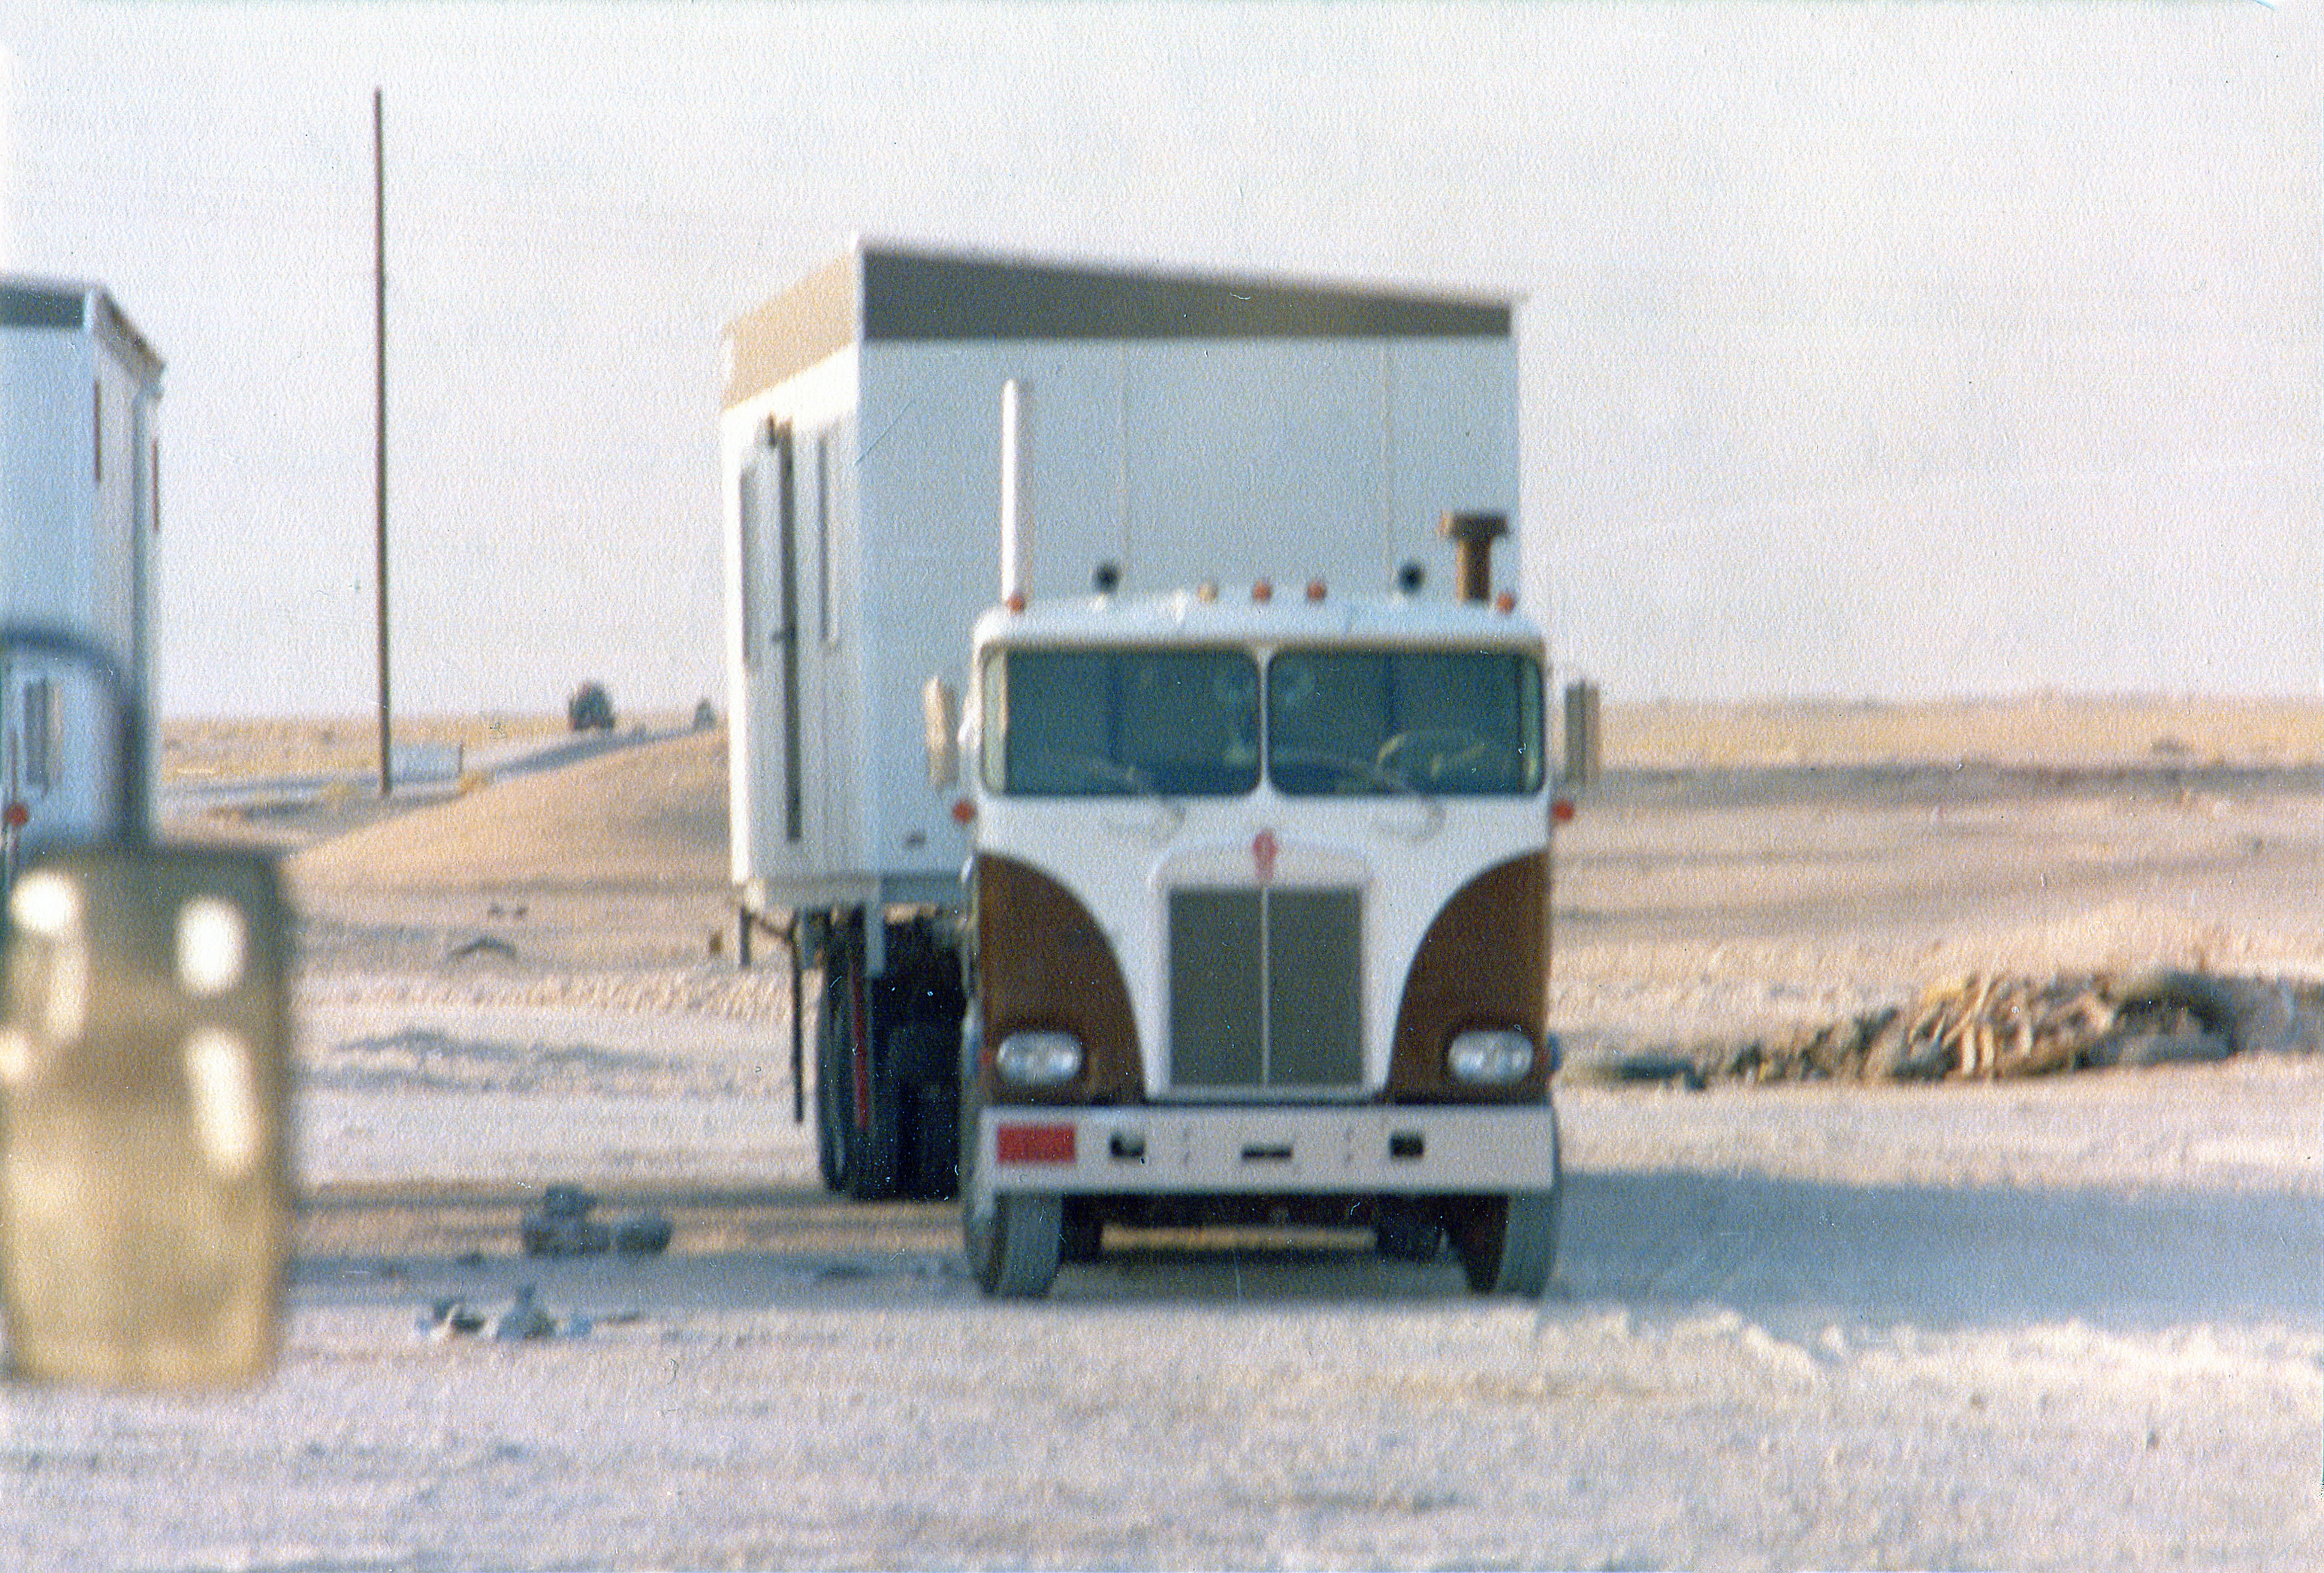
- 02 – M.S.I. (one of our customers) Kenworth – its old too, c. 1972, pulling out of Caravan yard
-

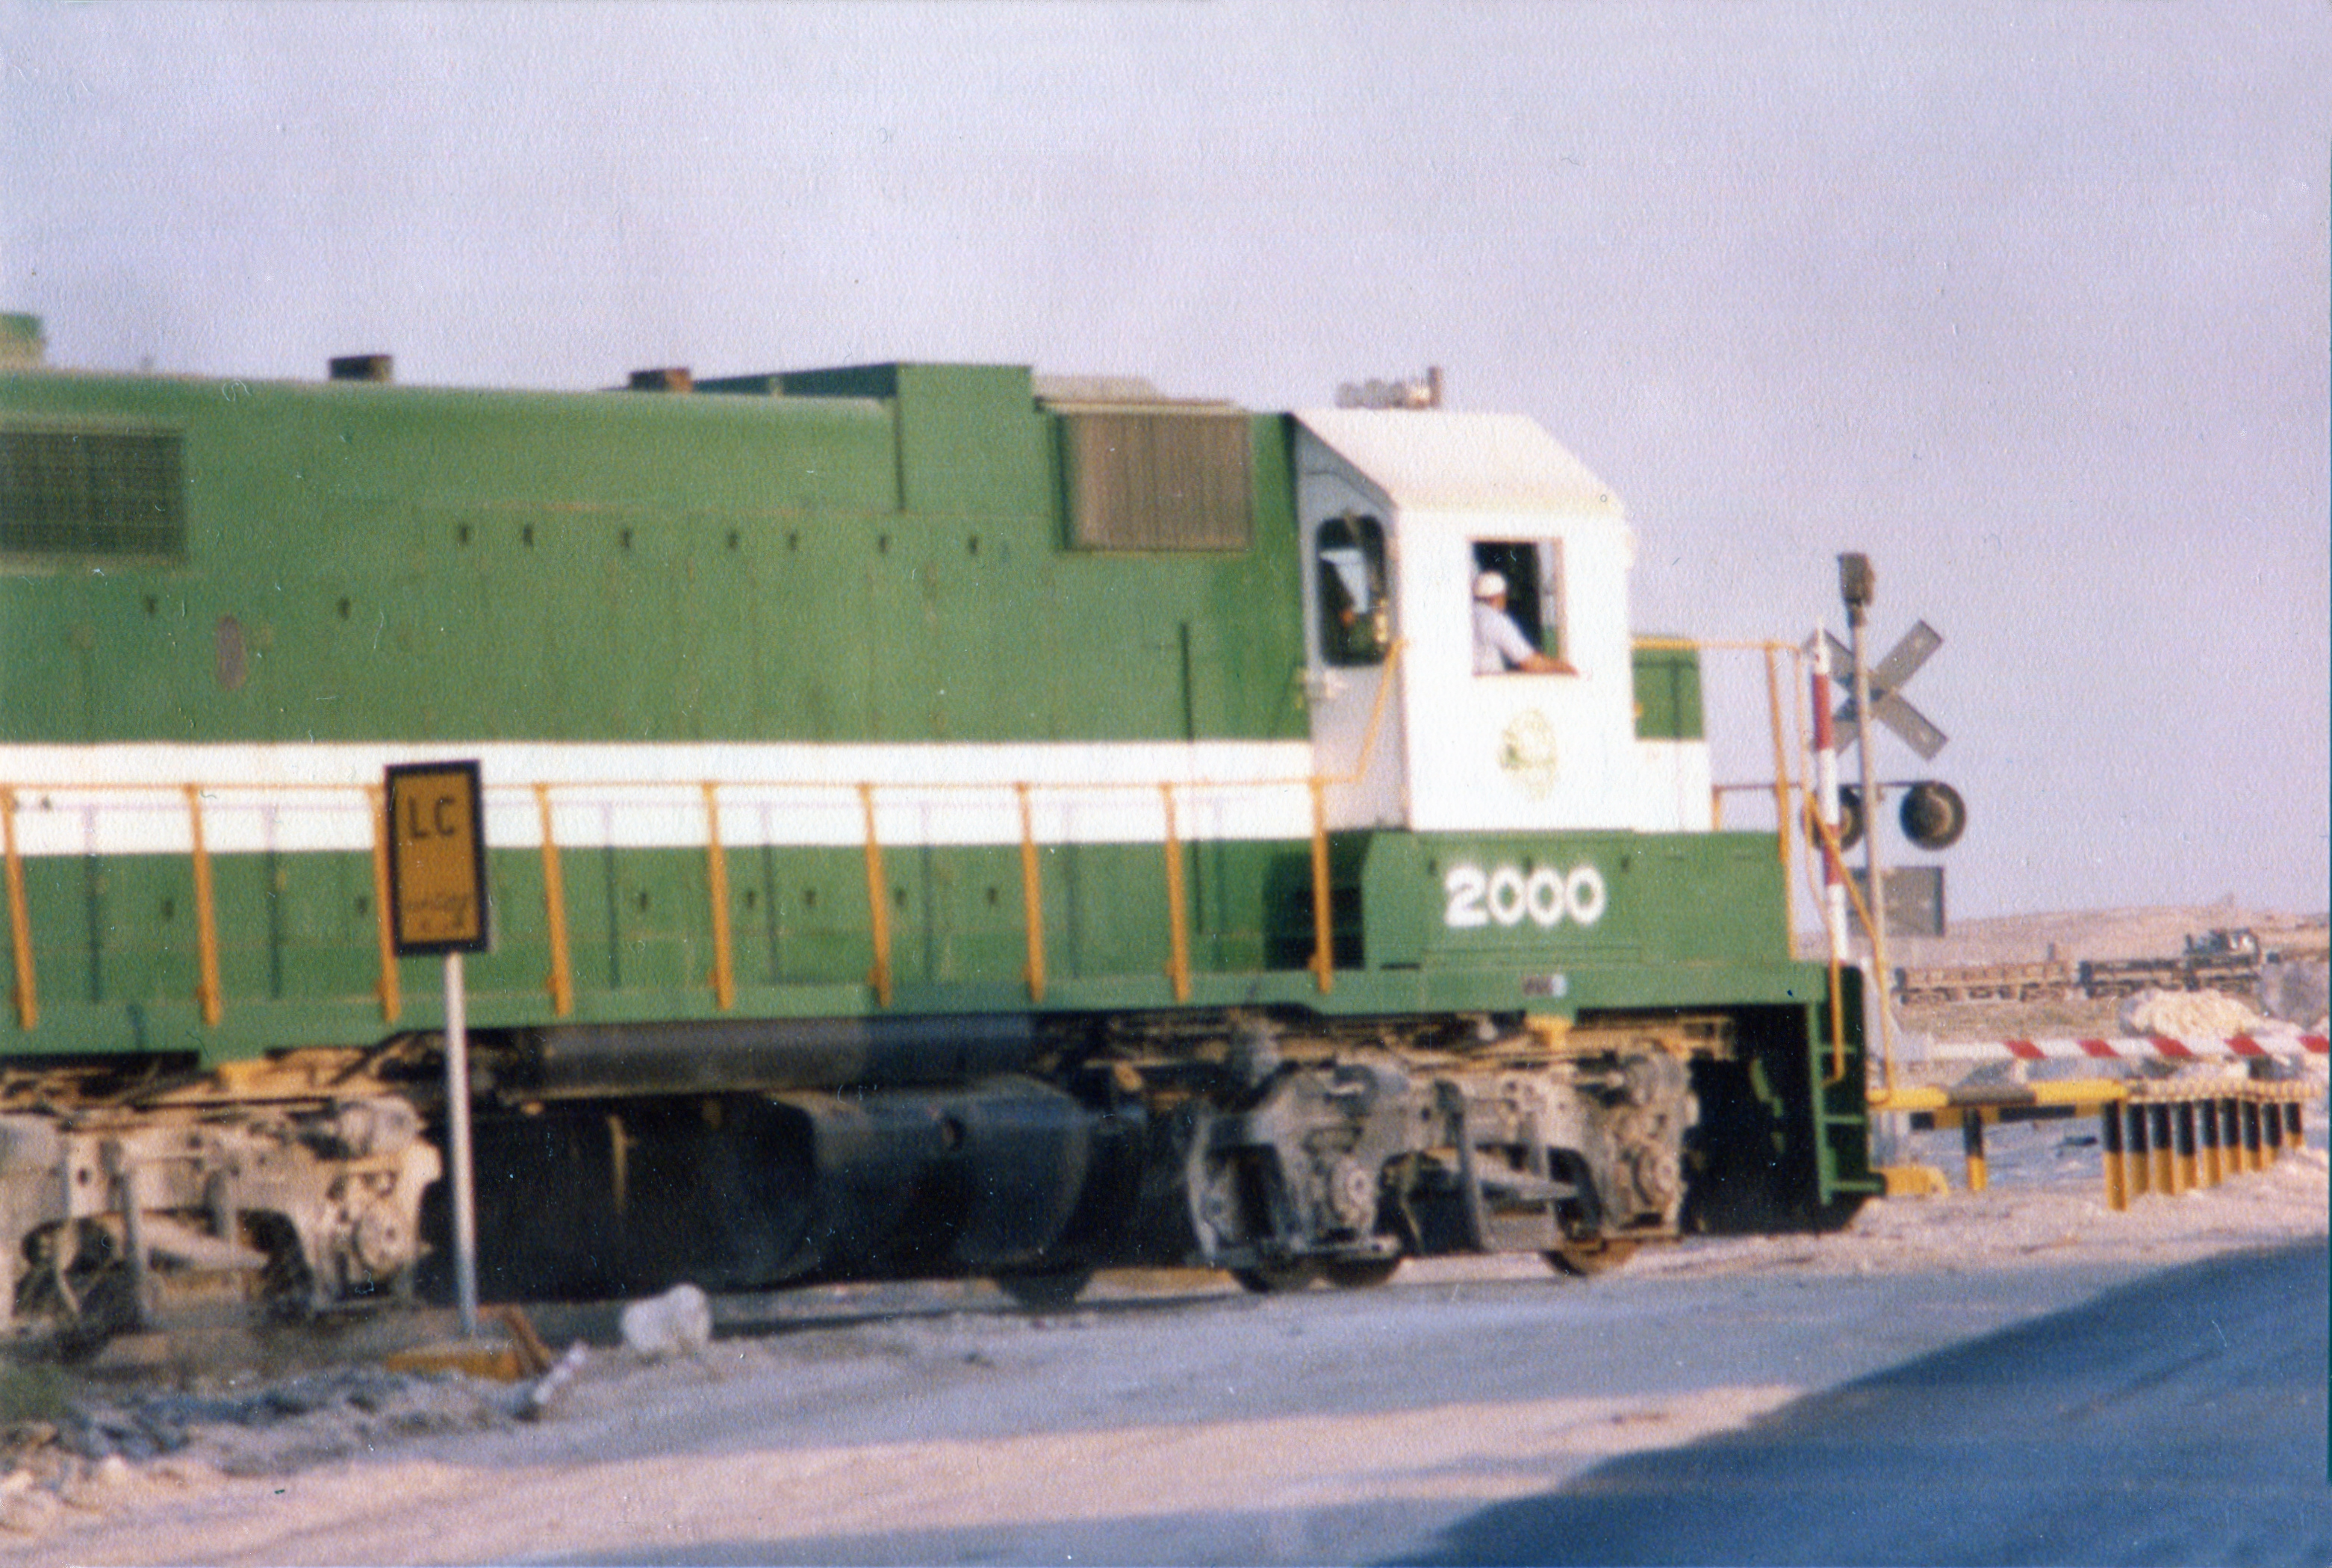
- 03 – Loco on the railway crossing near the start of the dual carriageway, Dammam
-
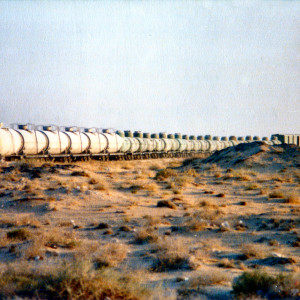
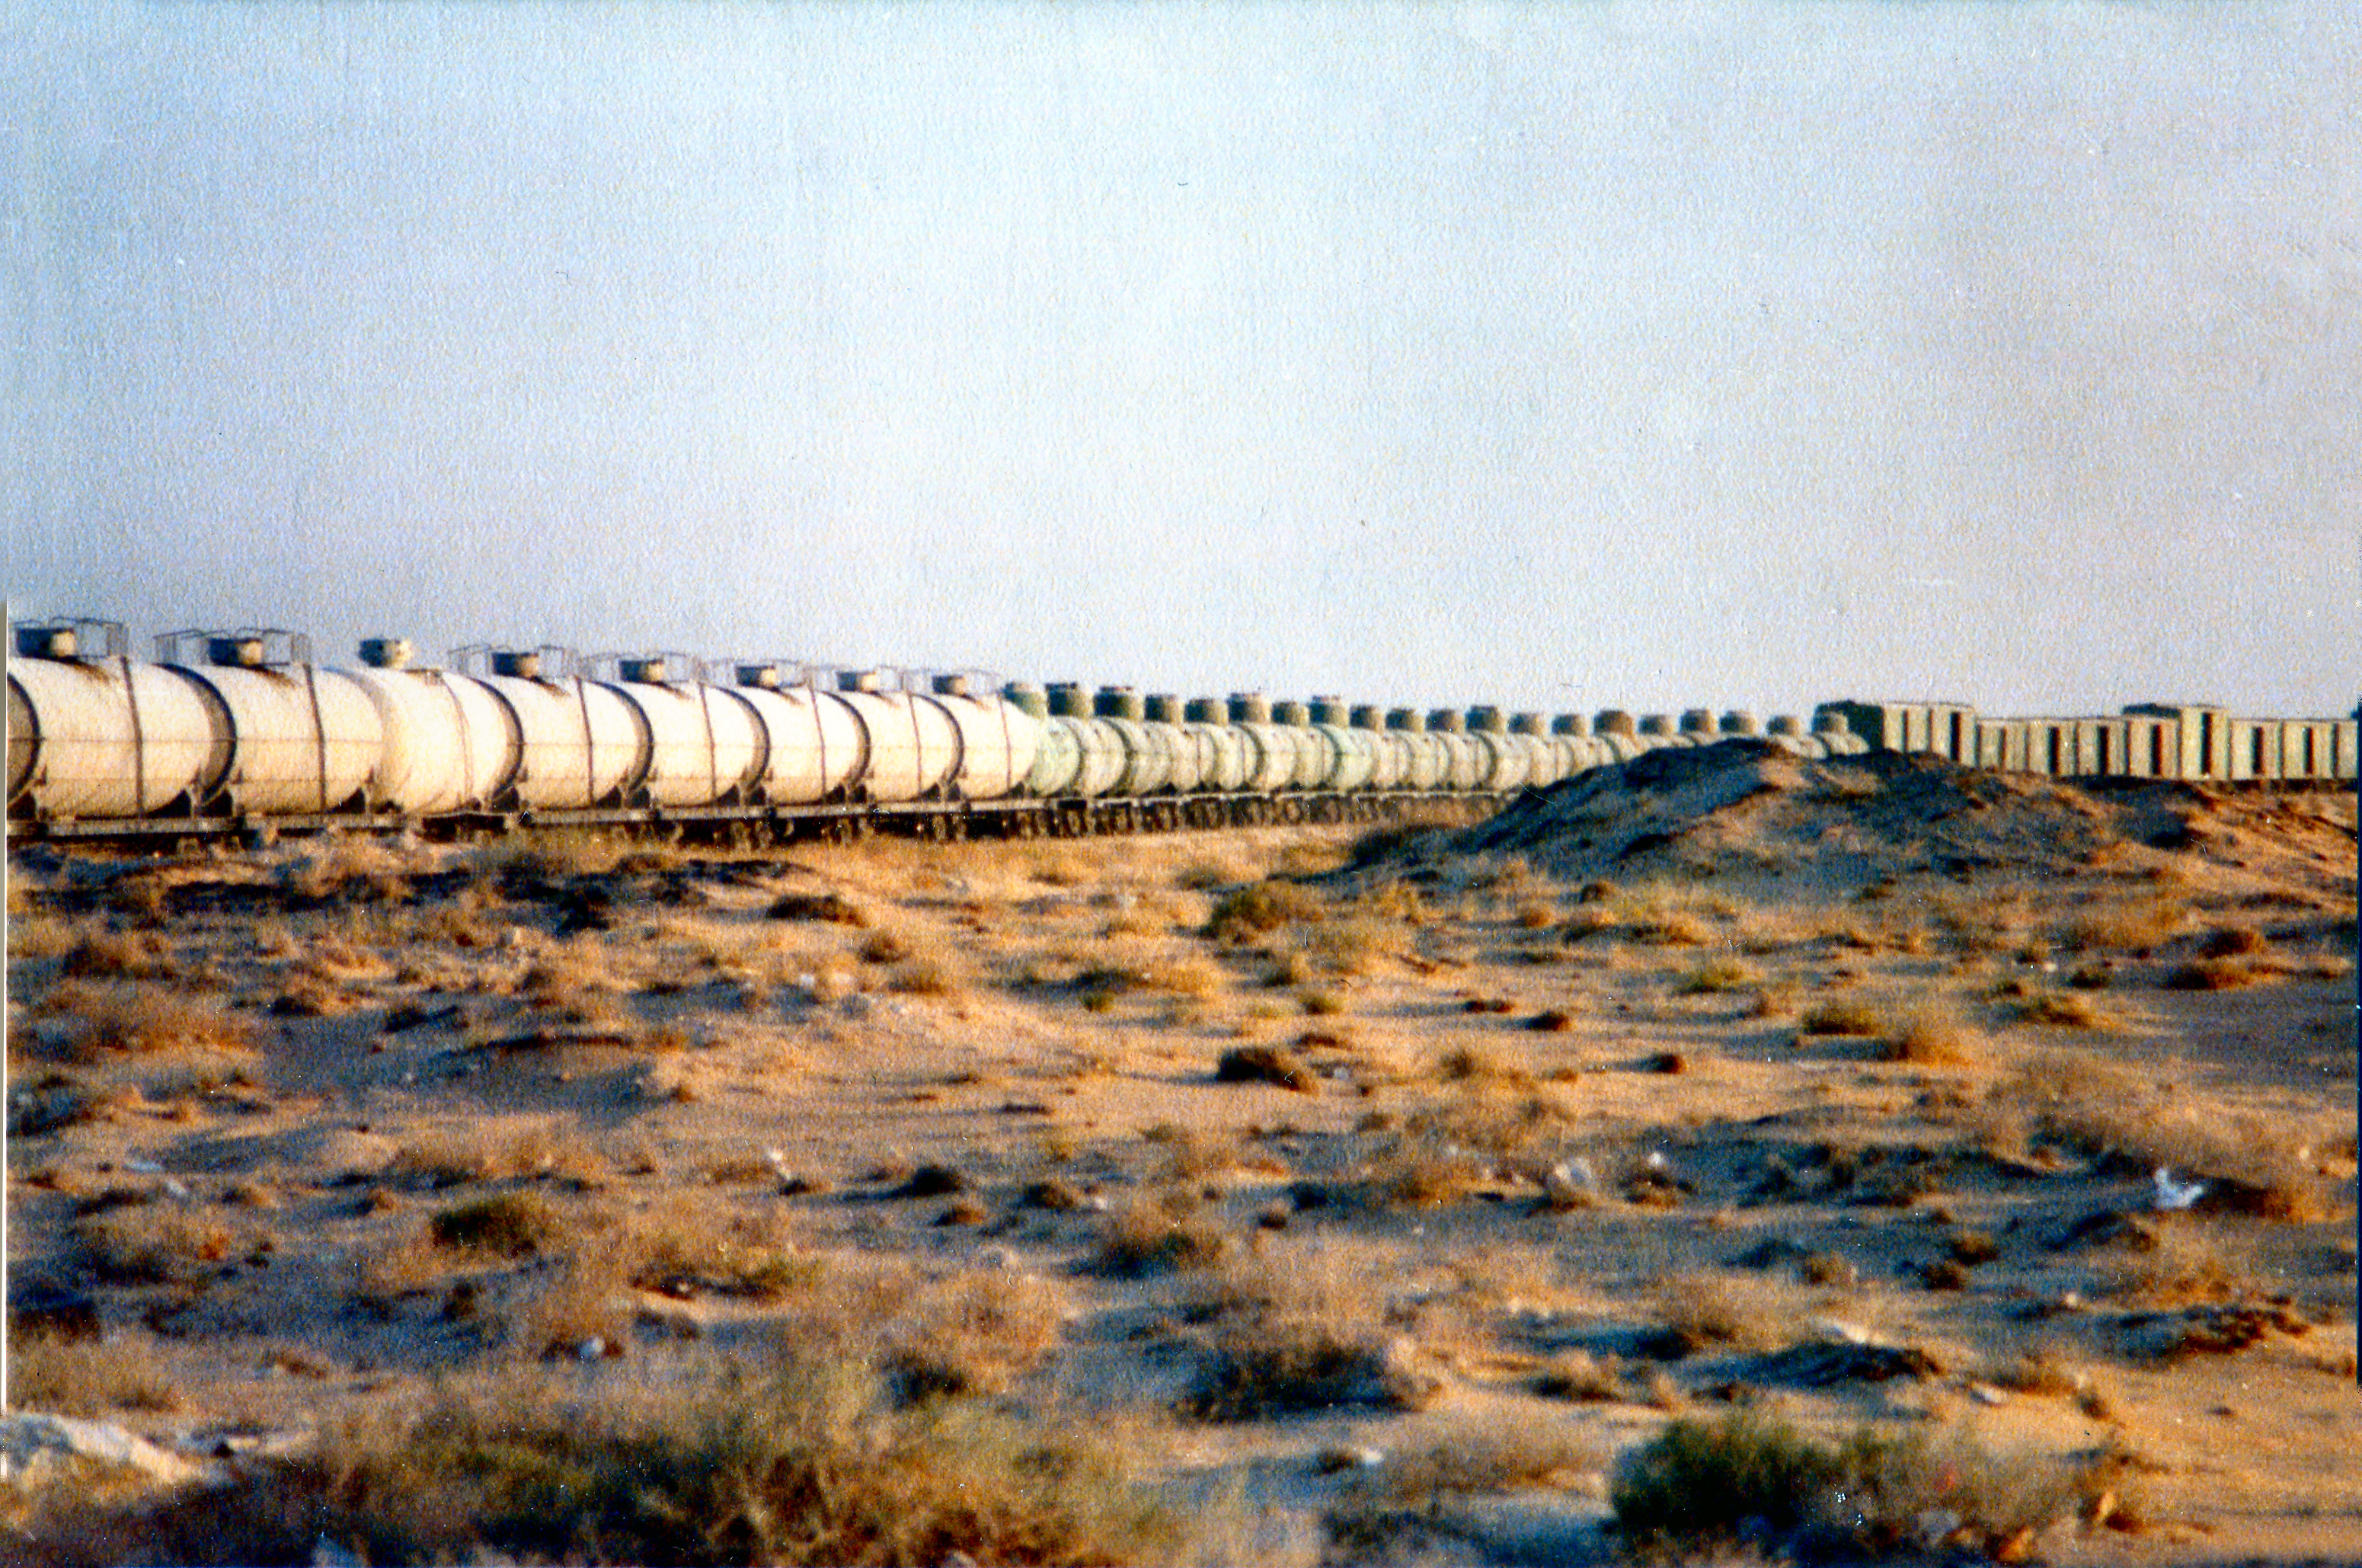
- 05 – Saudi goods train – and thats just half of it
-
- 06 – Hofuf Corner_ this is the Kenworth I had for 2 weeks trial
-
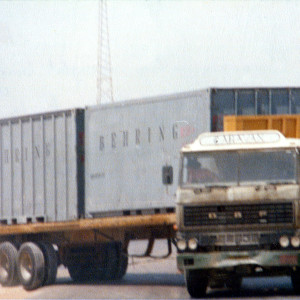
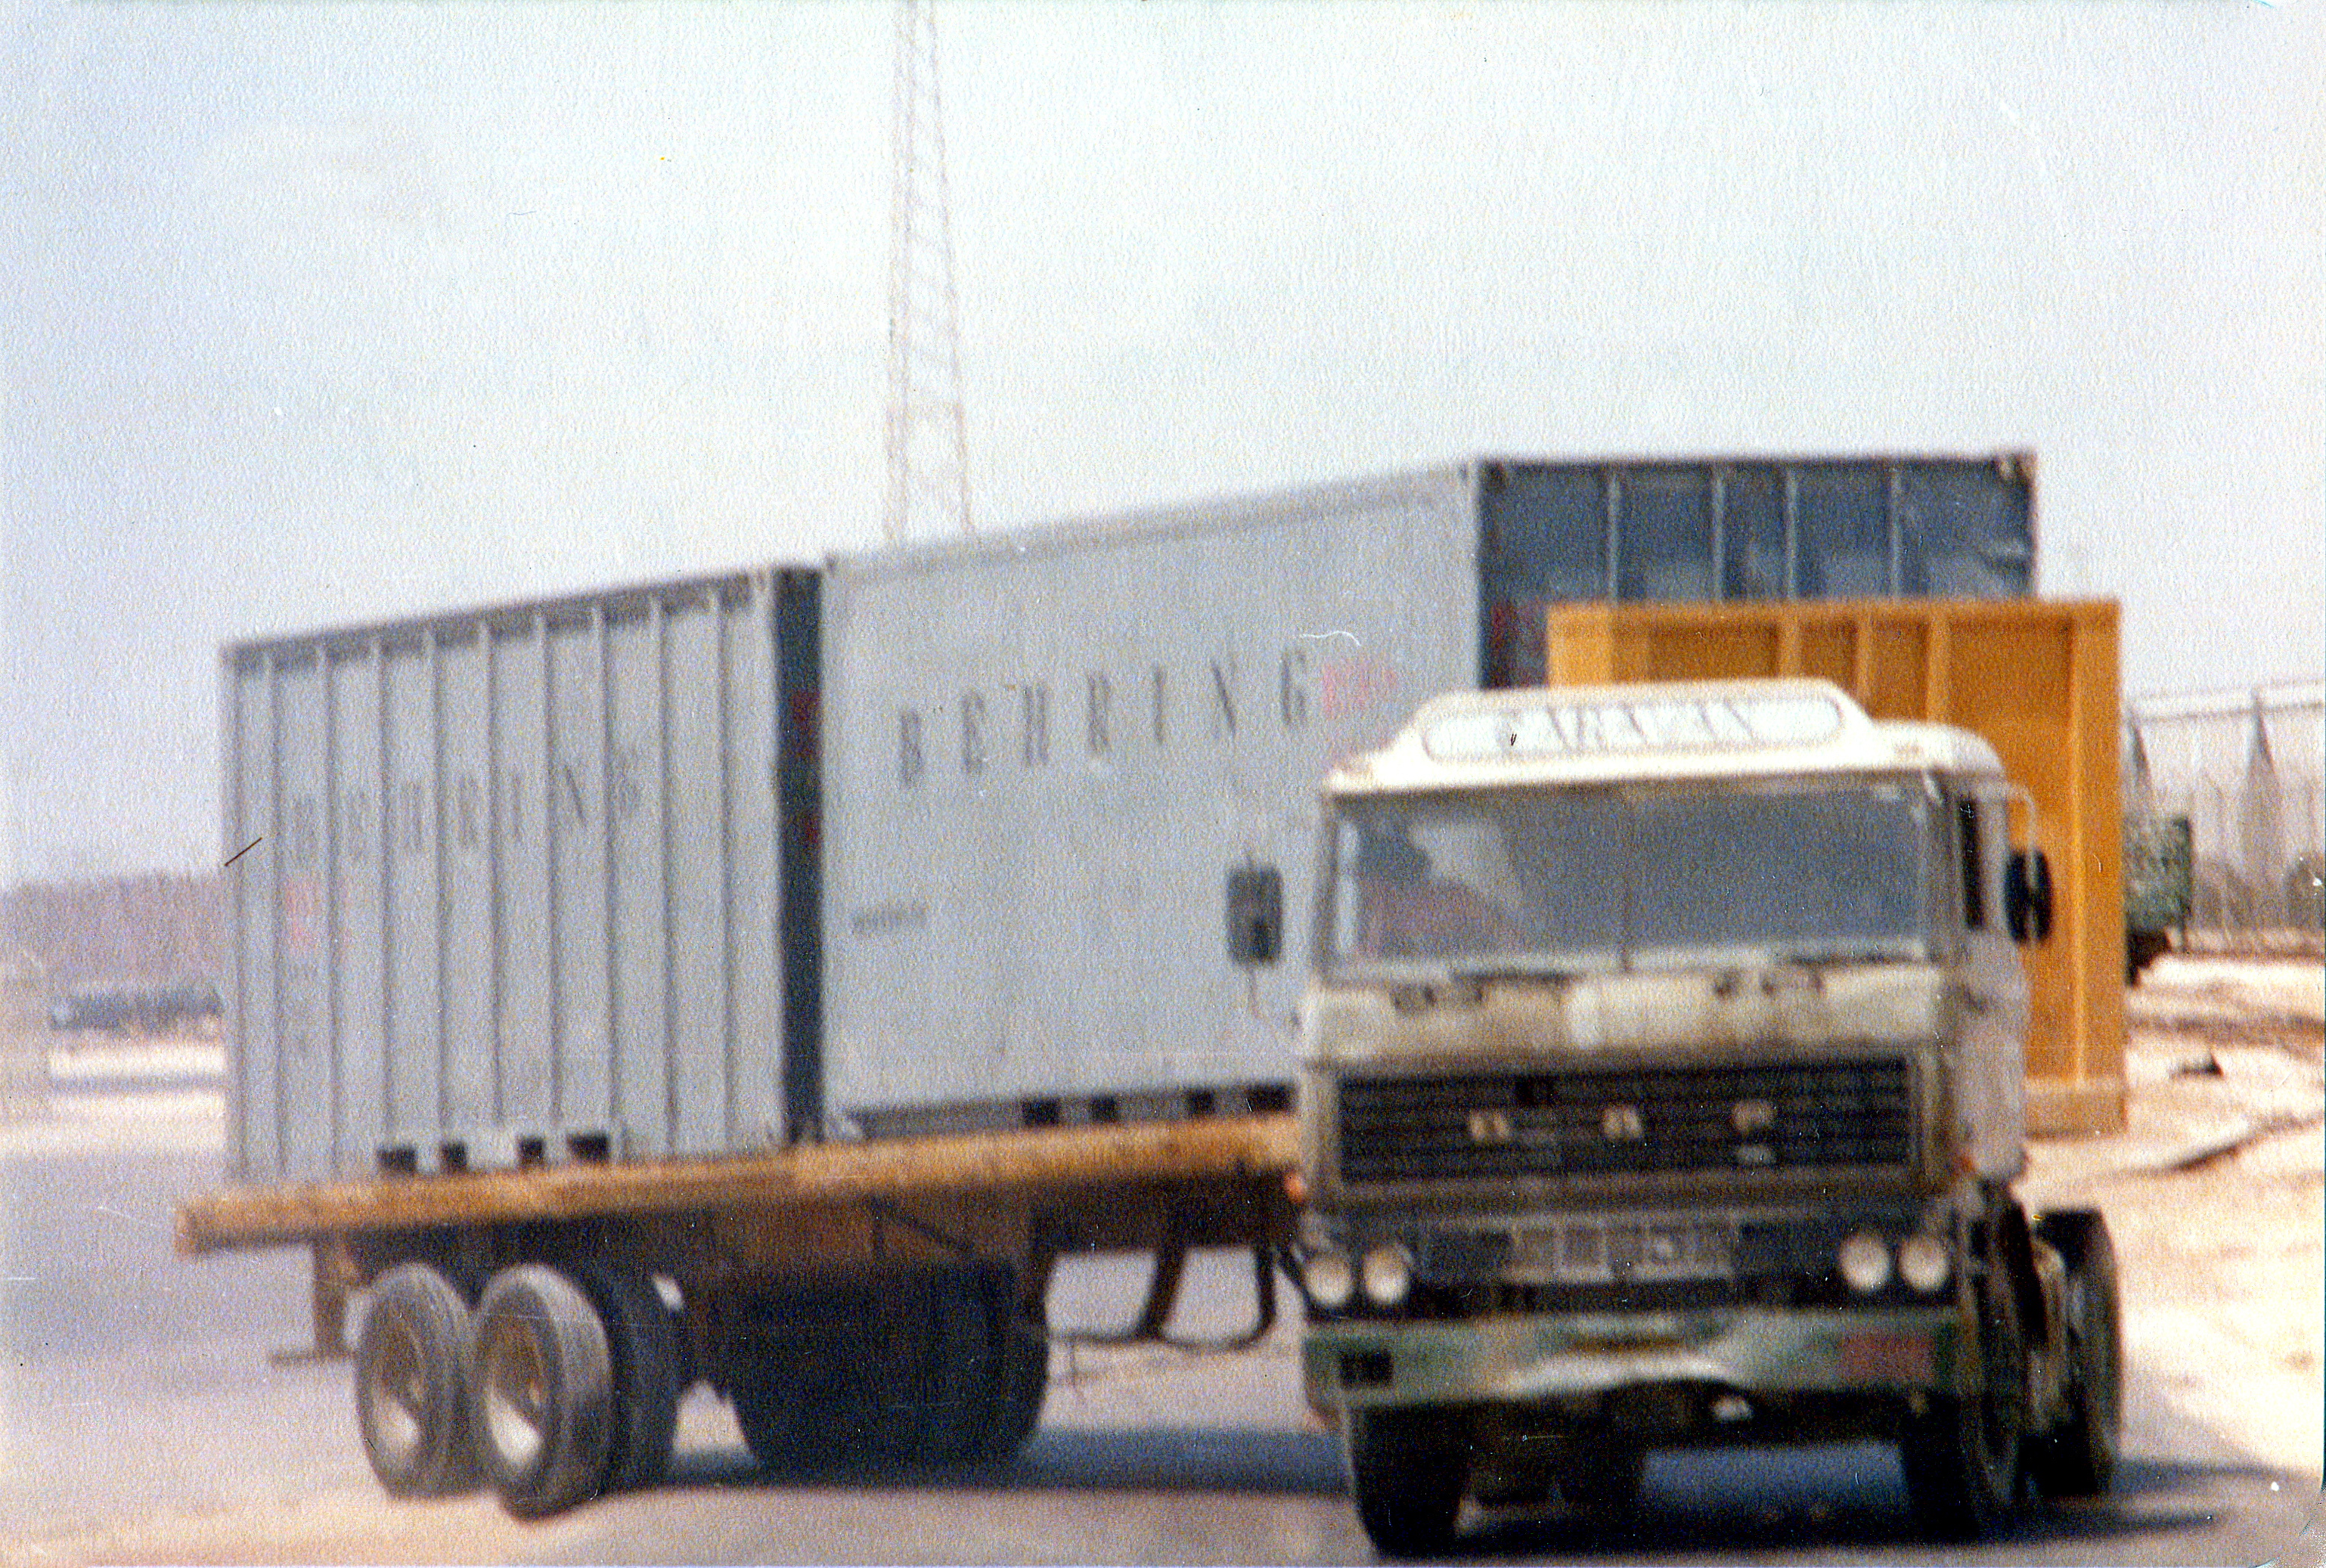
- 07 – Caravan also bought Gingers DAF – shifting Behring boxes from the train to the yard
-
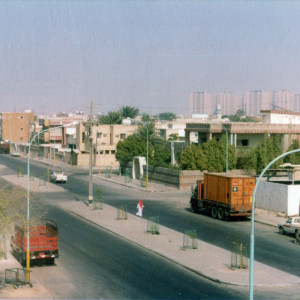
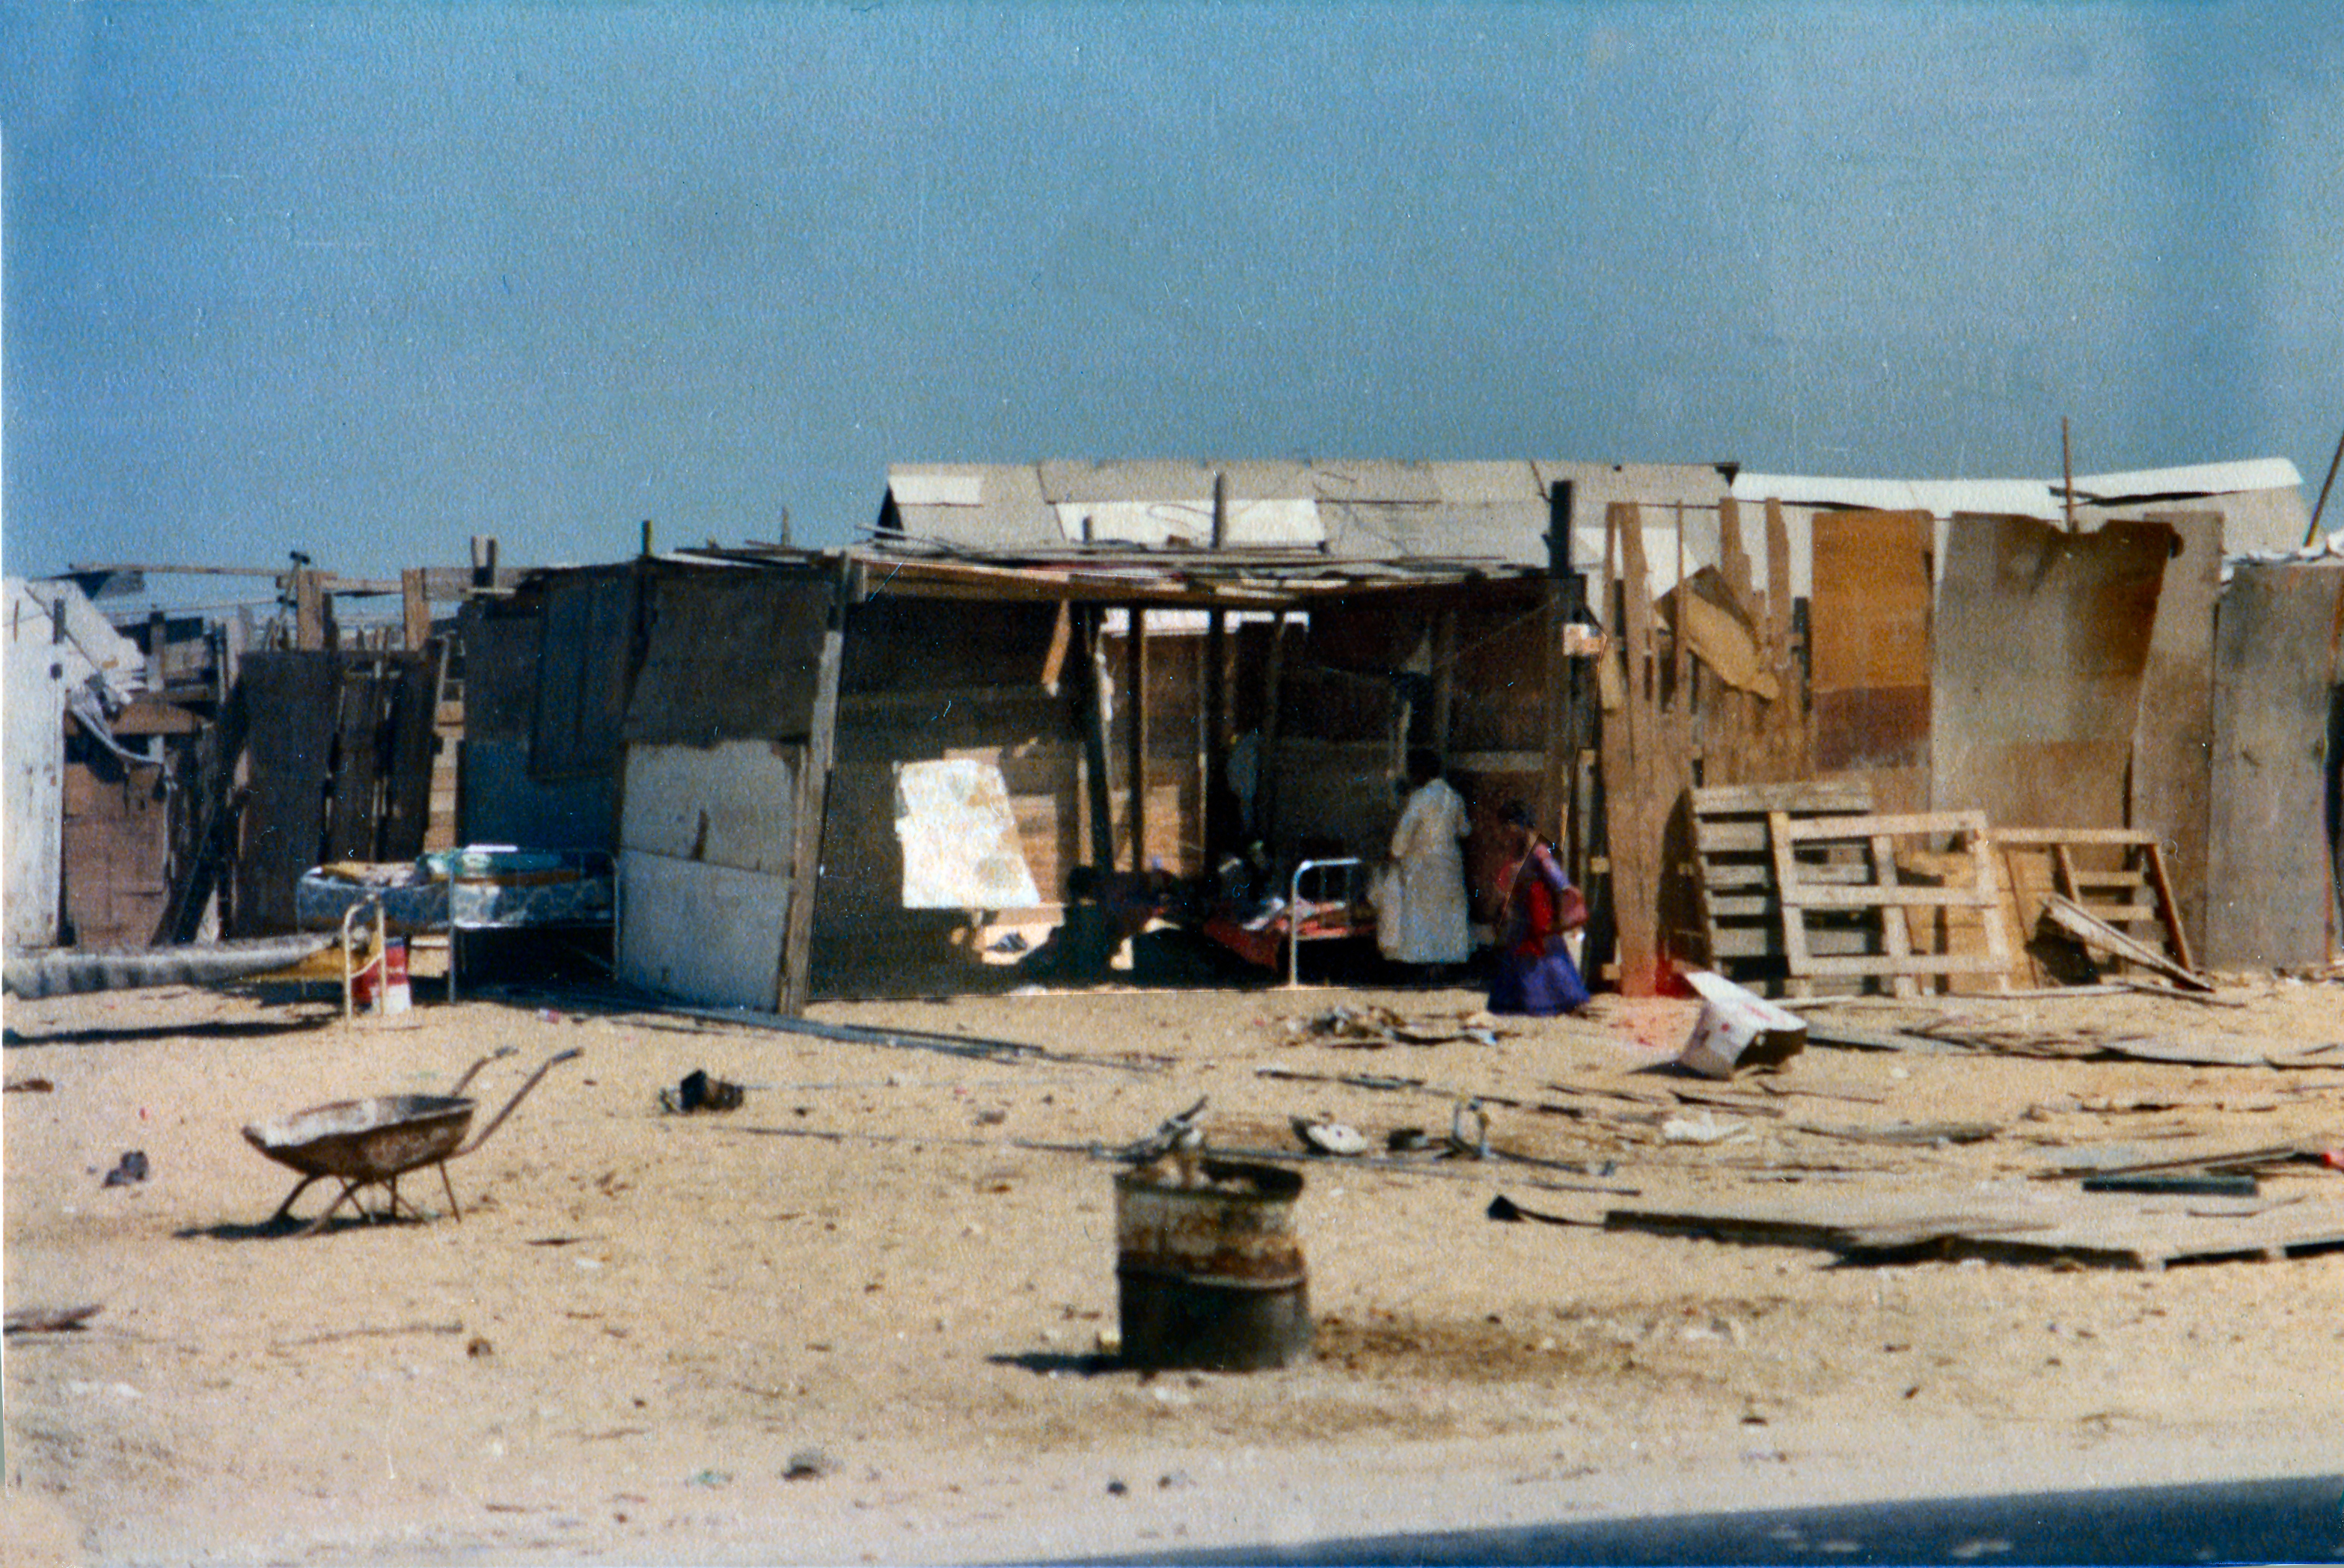
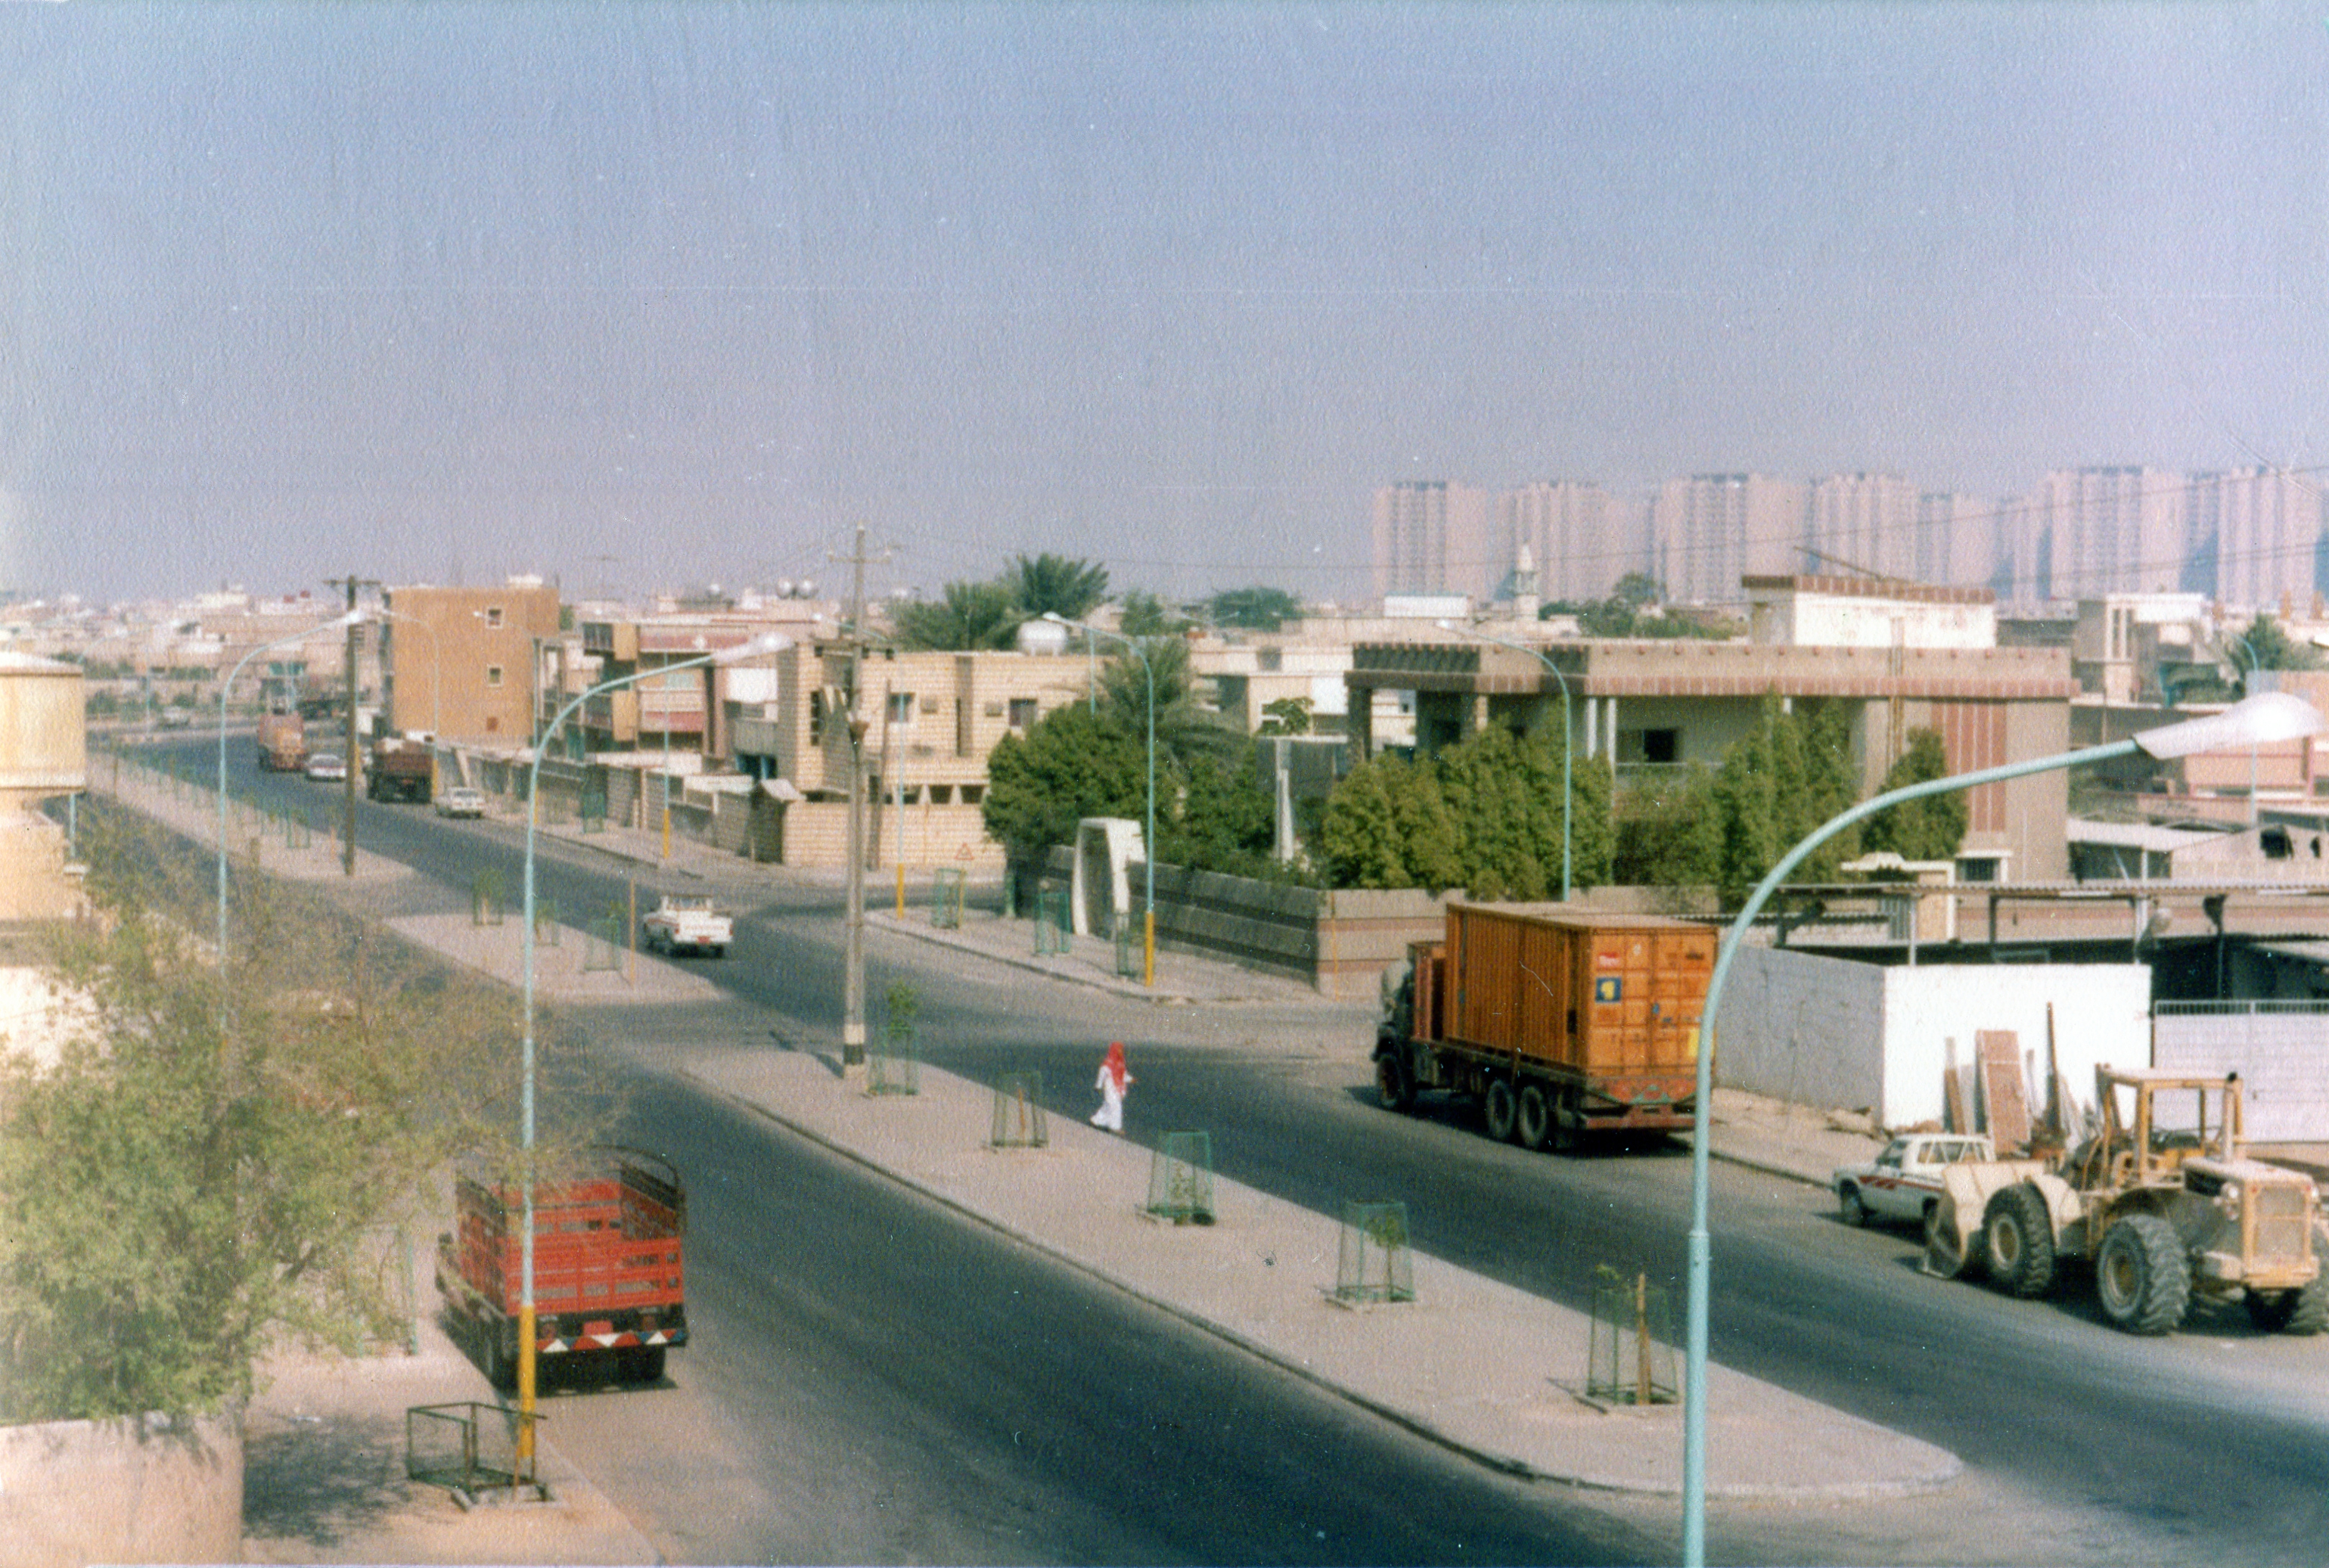
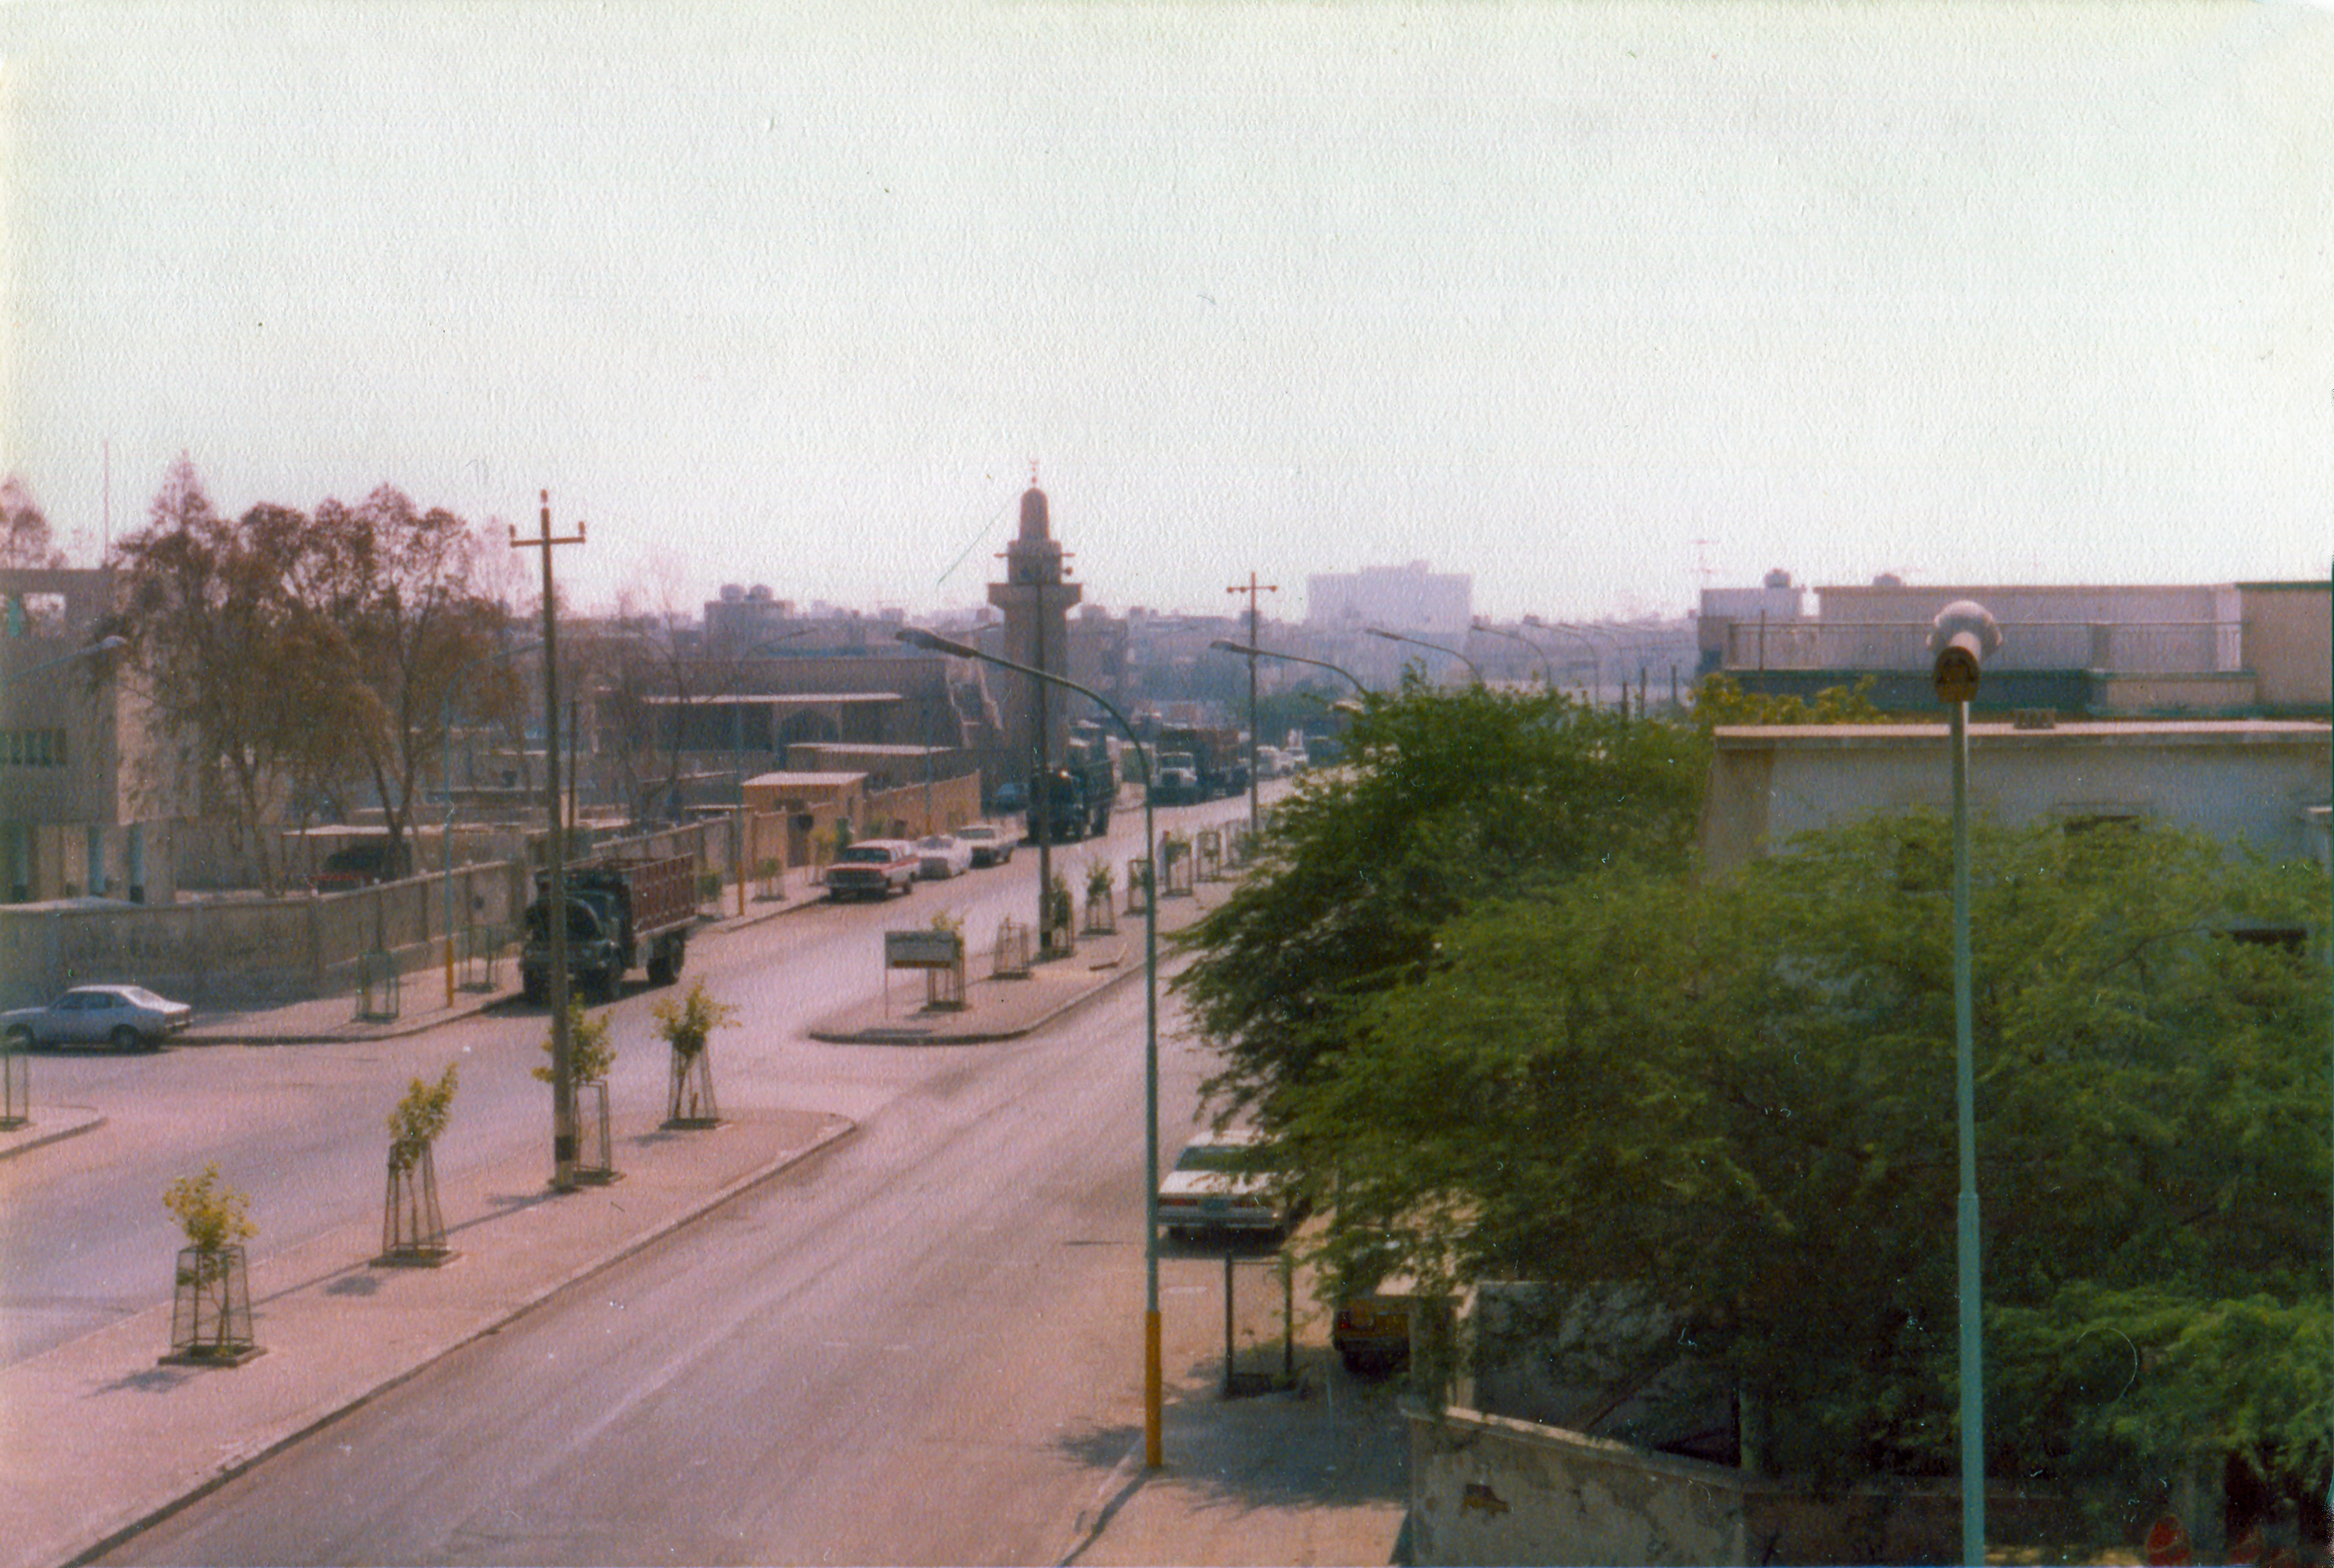
- 10 – View from the villa
-
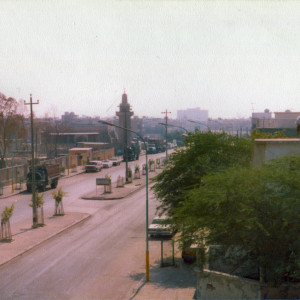
- 18 – View from the villa
-
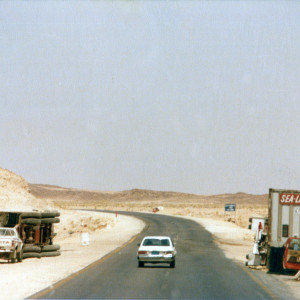
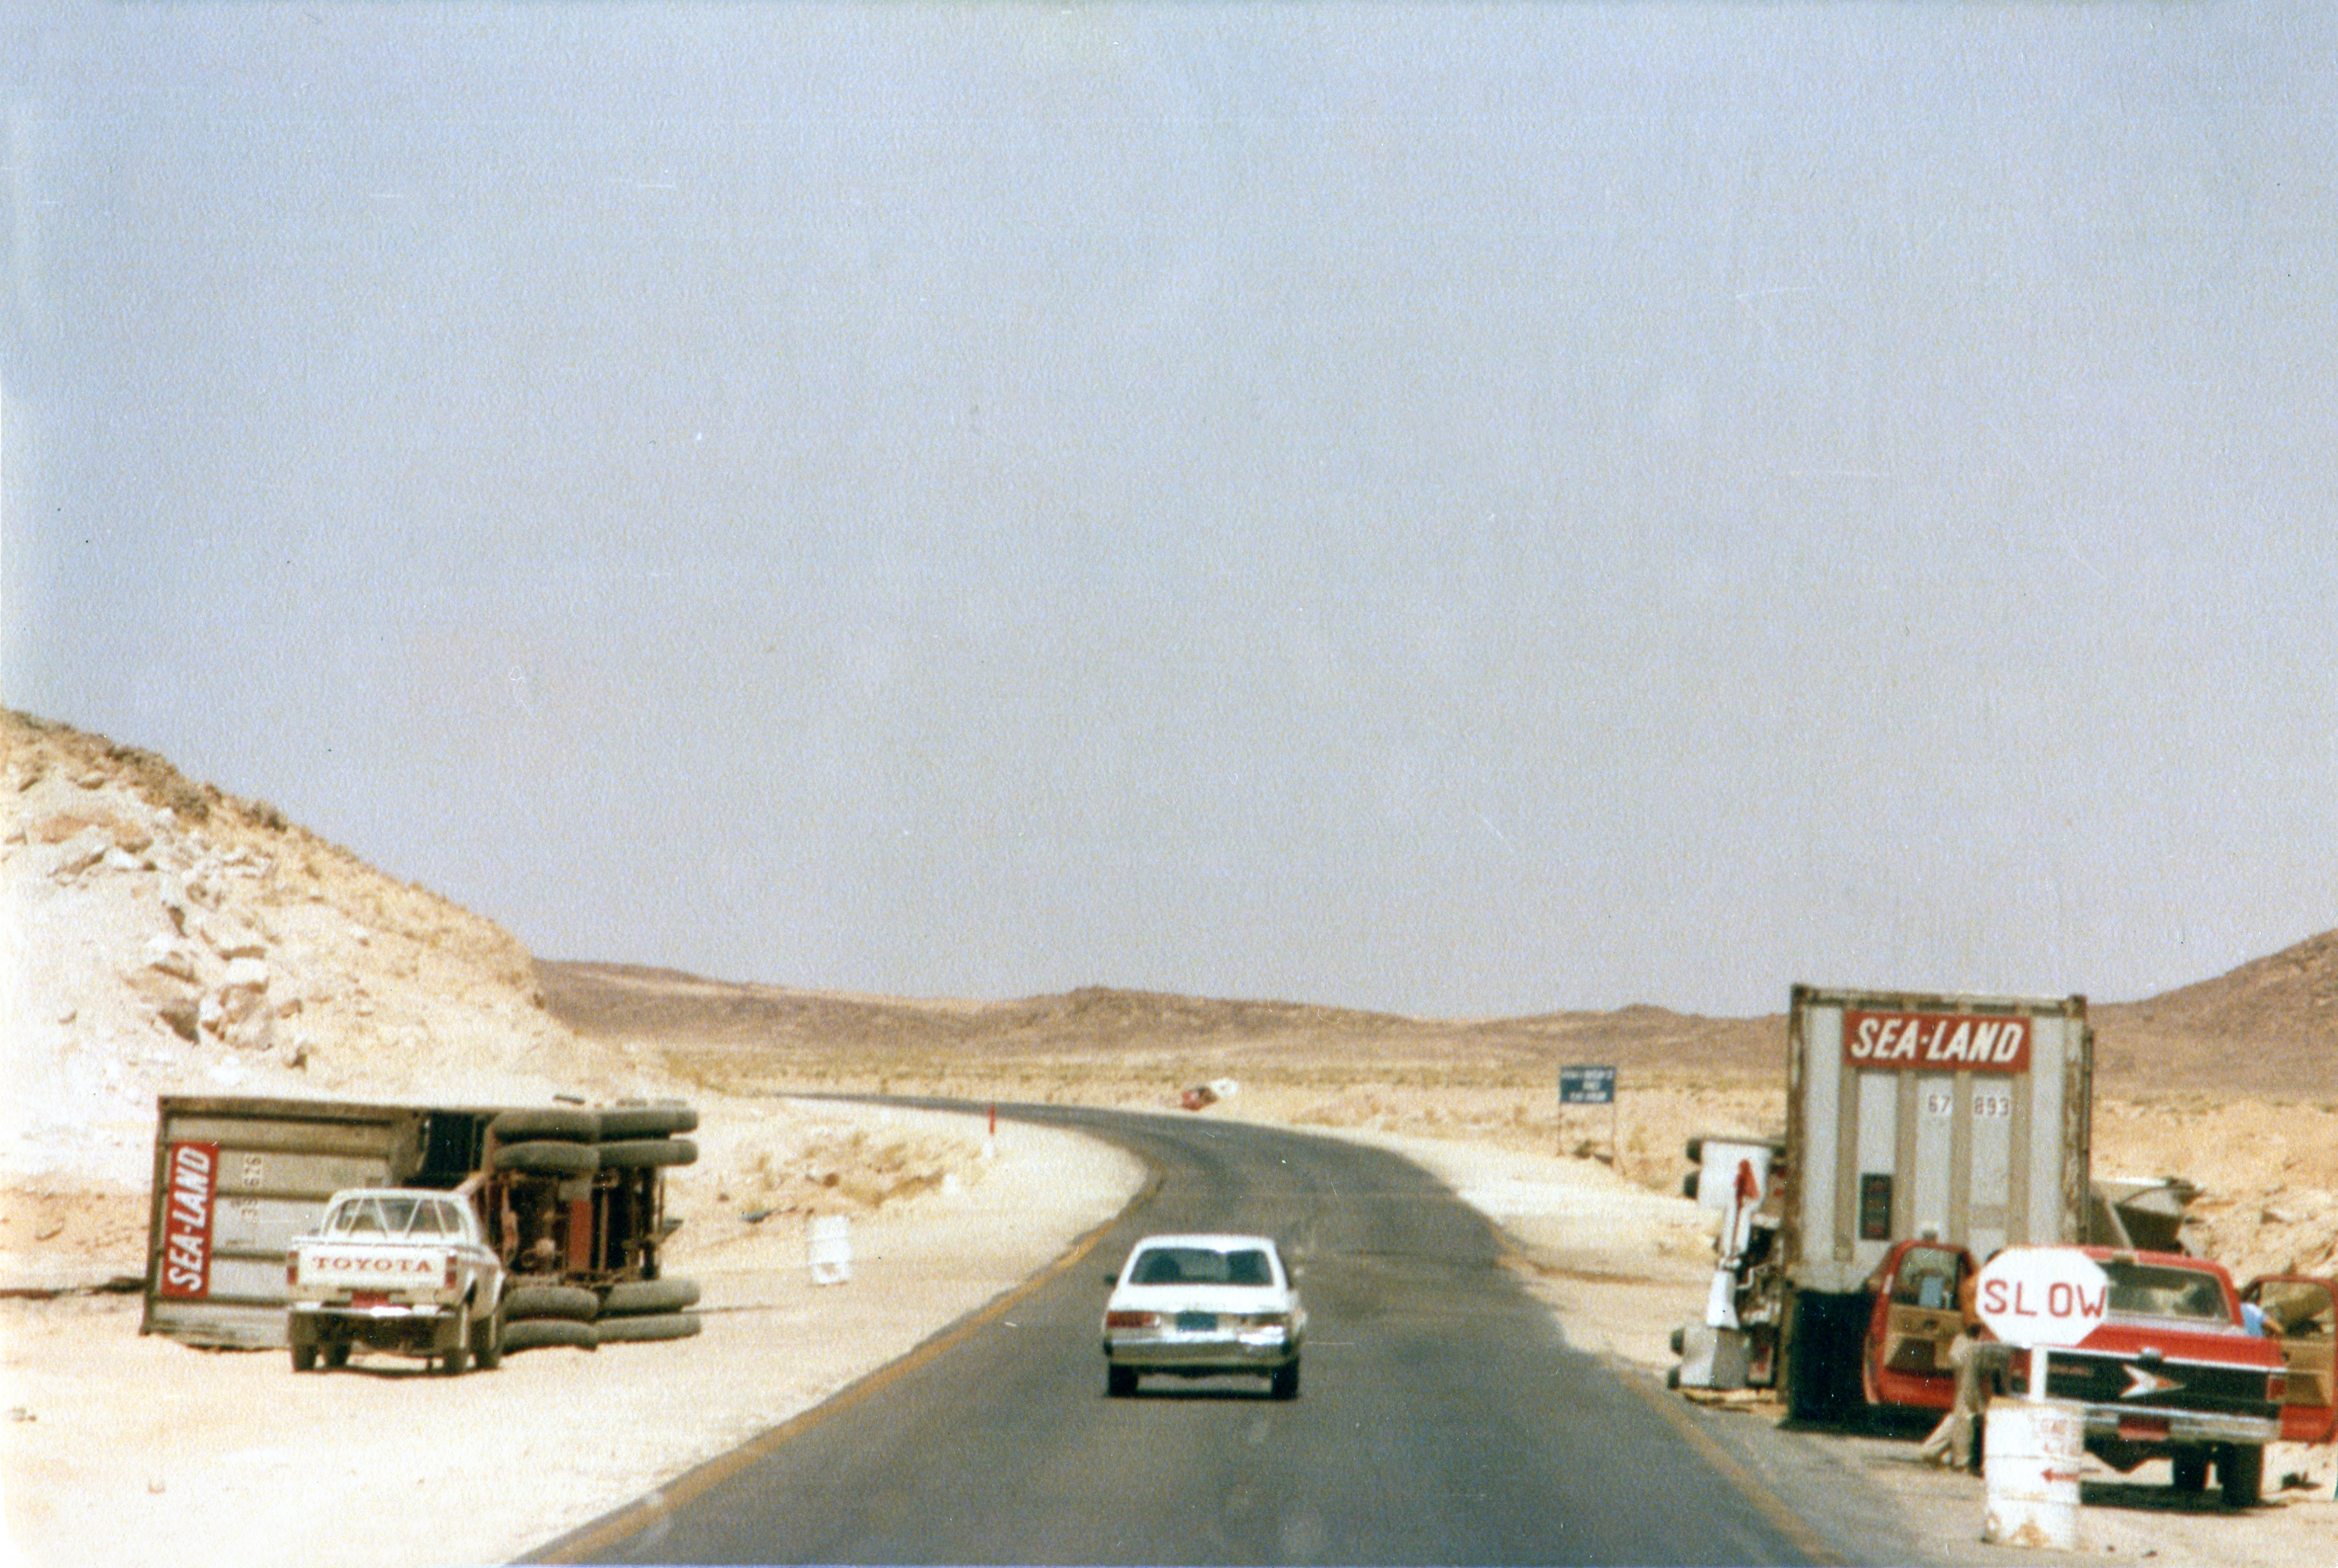
- 12 – Overturned Sealand rig, Saudi desert
-
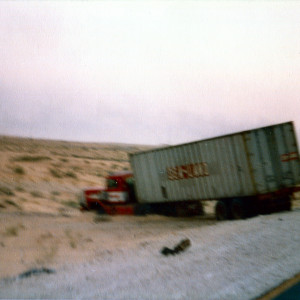
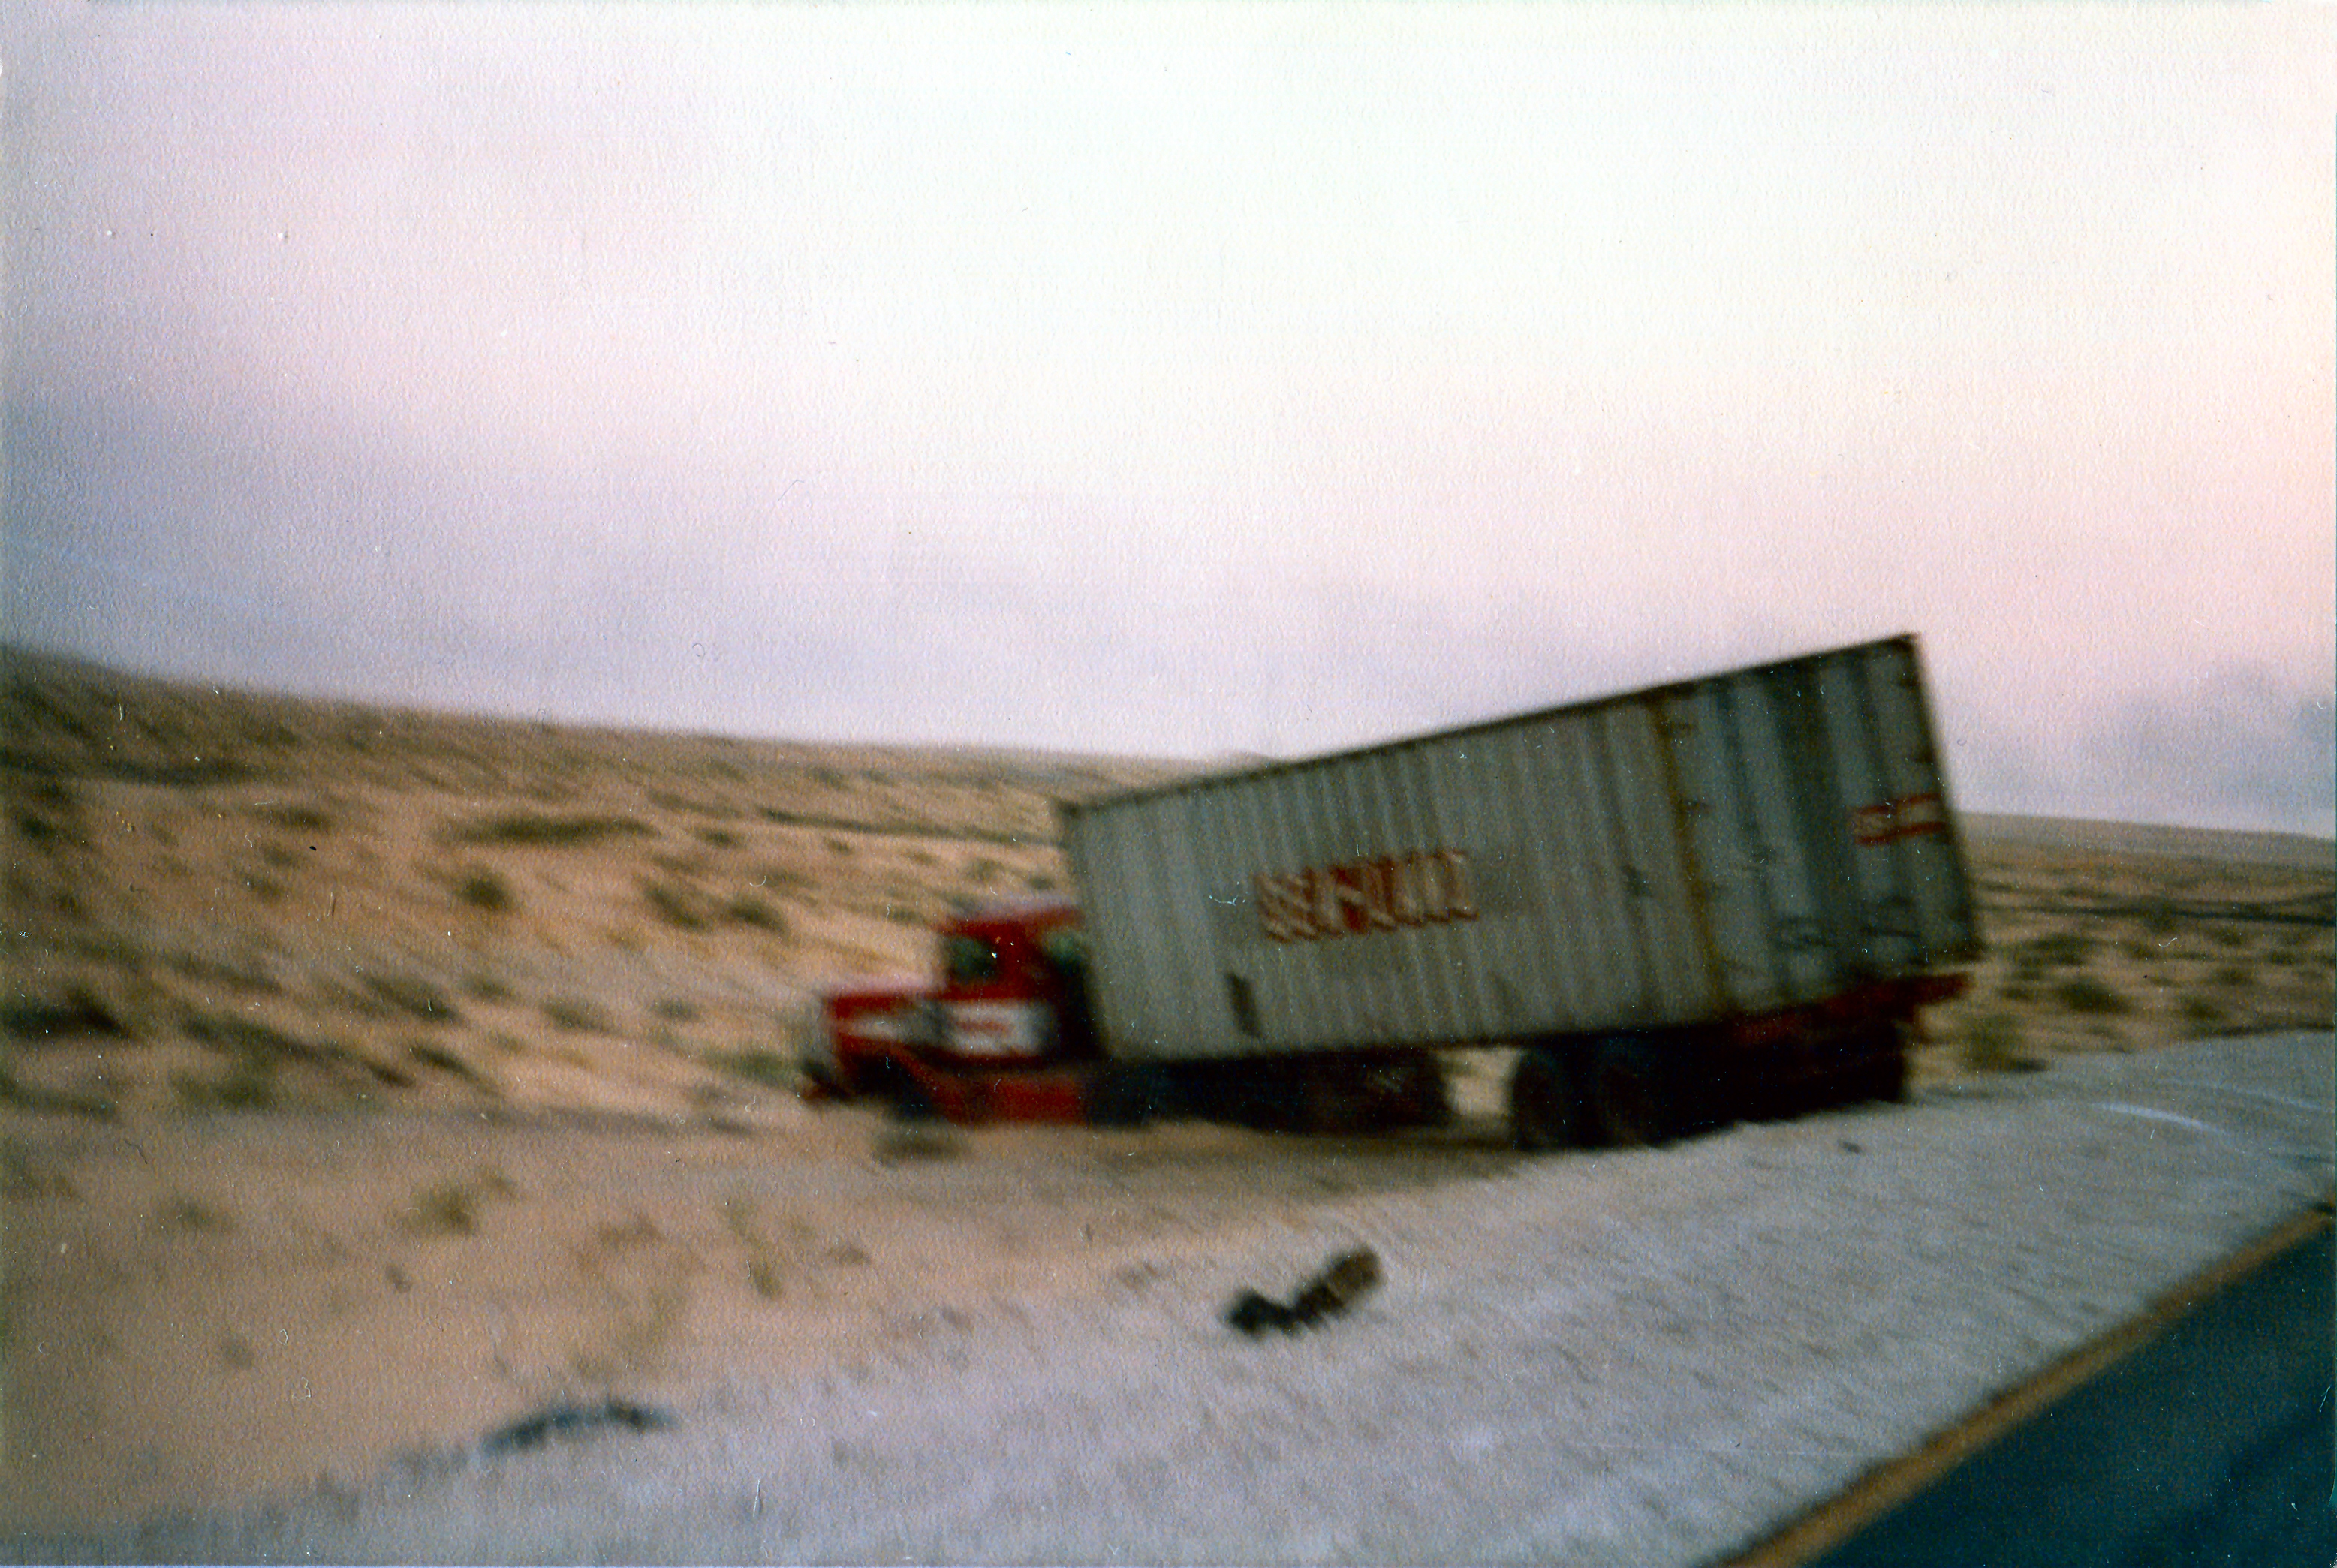
- 17 – Oops, Sealand rig stuck off road in the sand
-
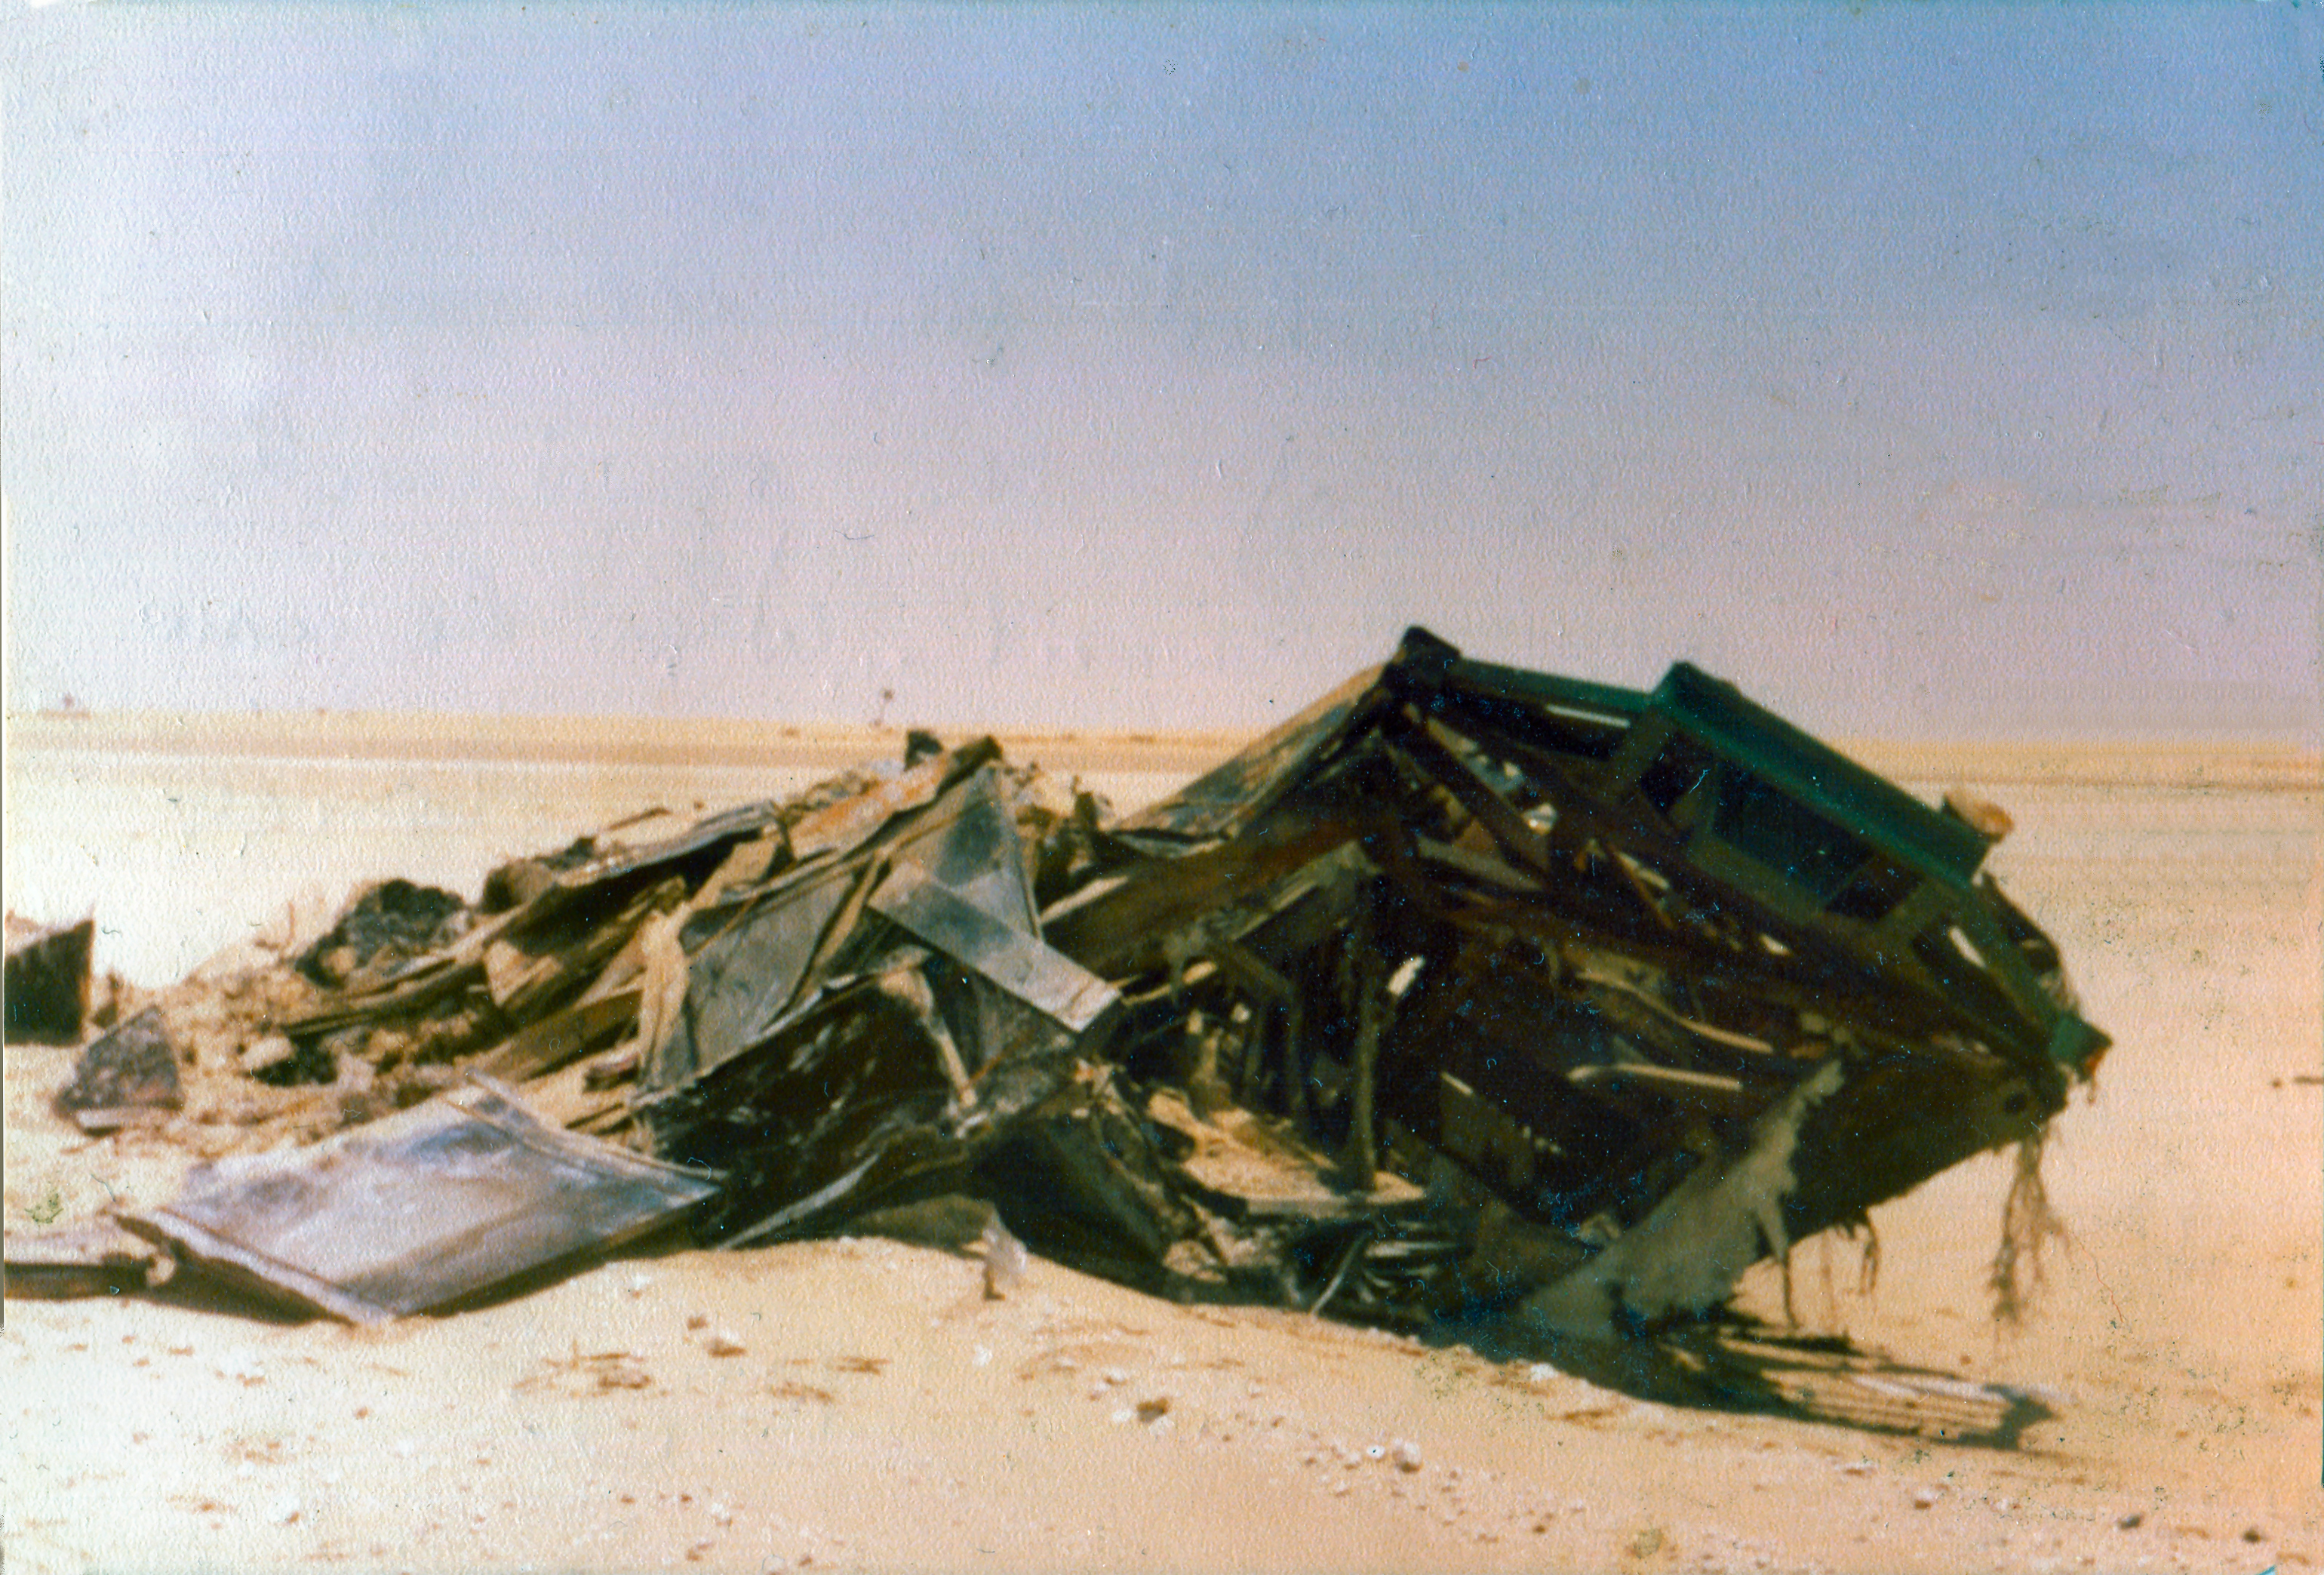
- 15 – Angus parked this 20ft at roadside withn a double blowout, when he came back it had gone up in flames
-

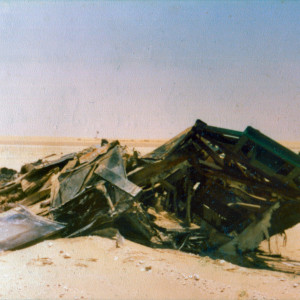
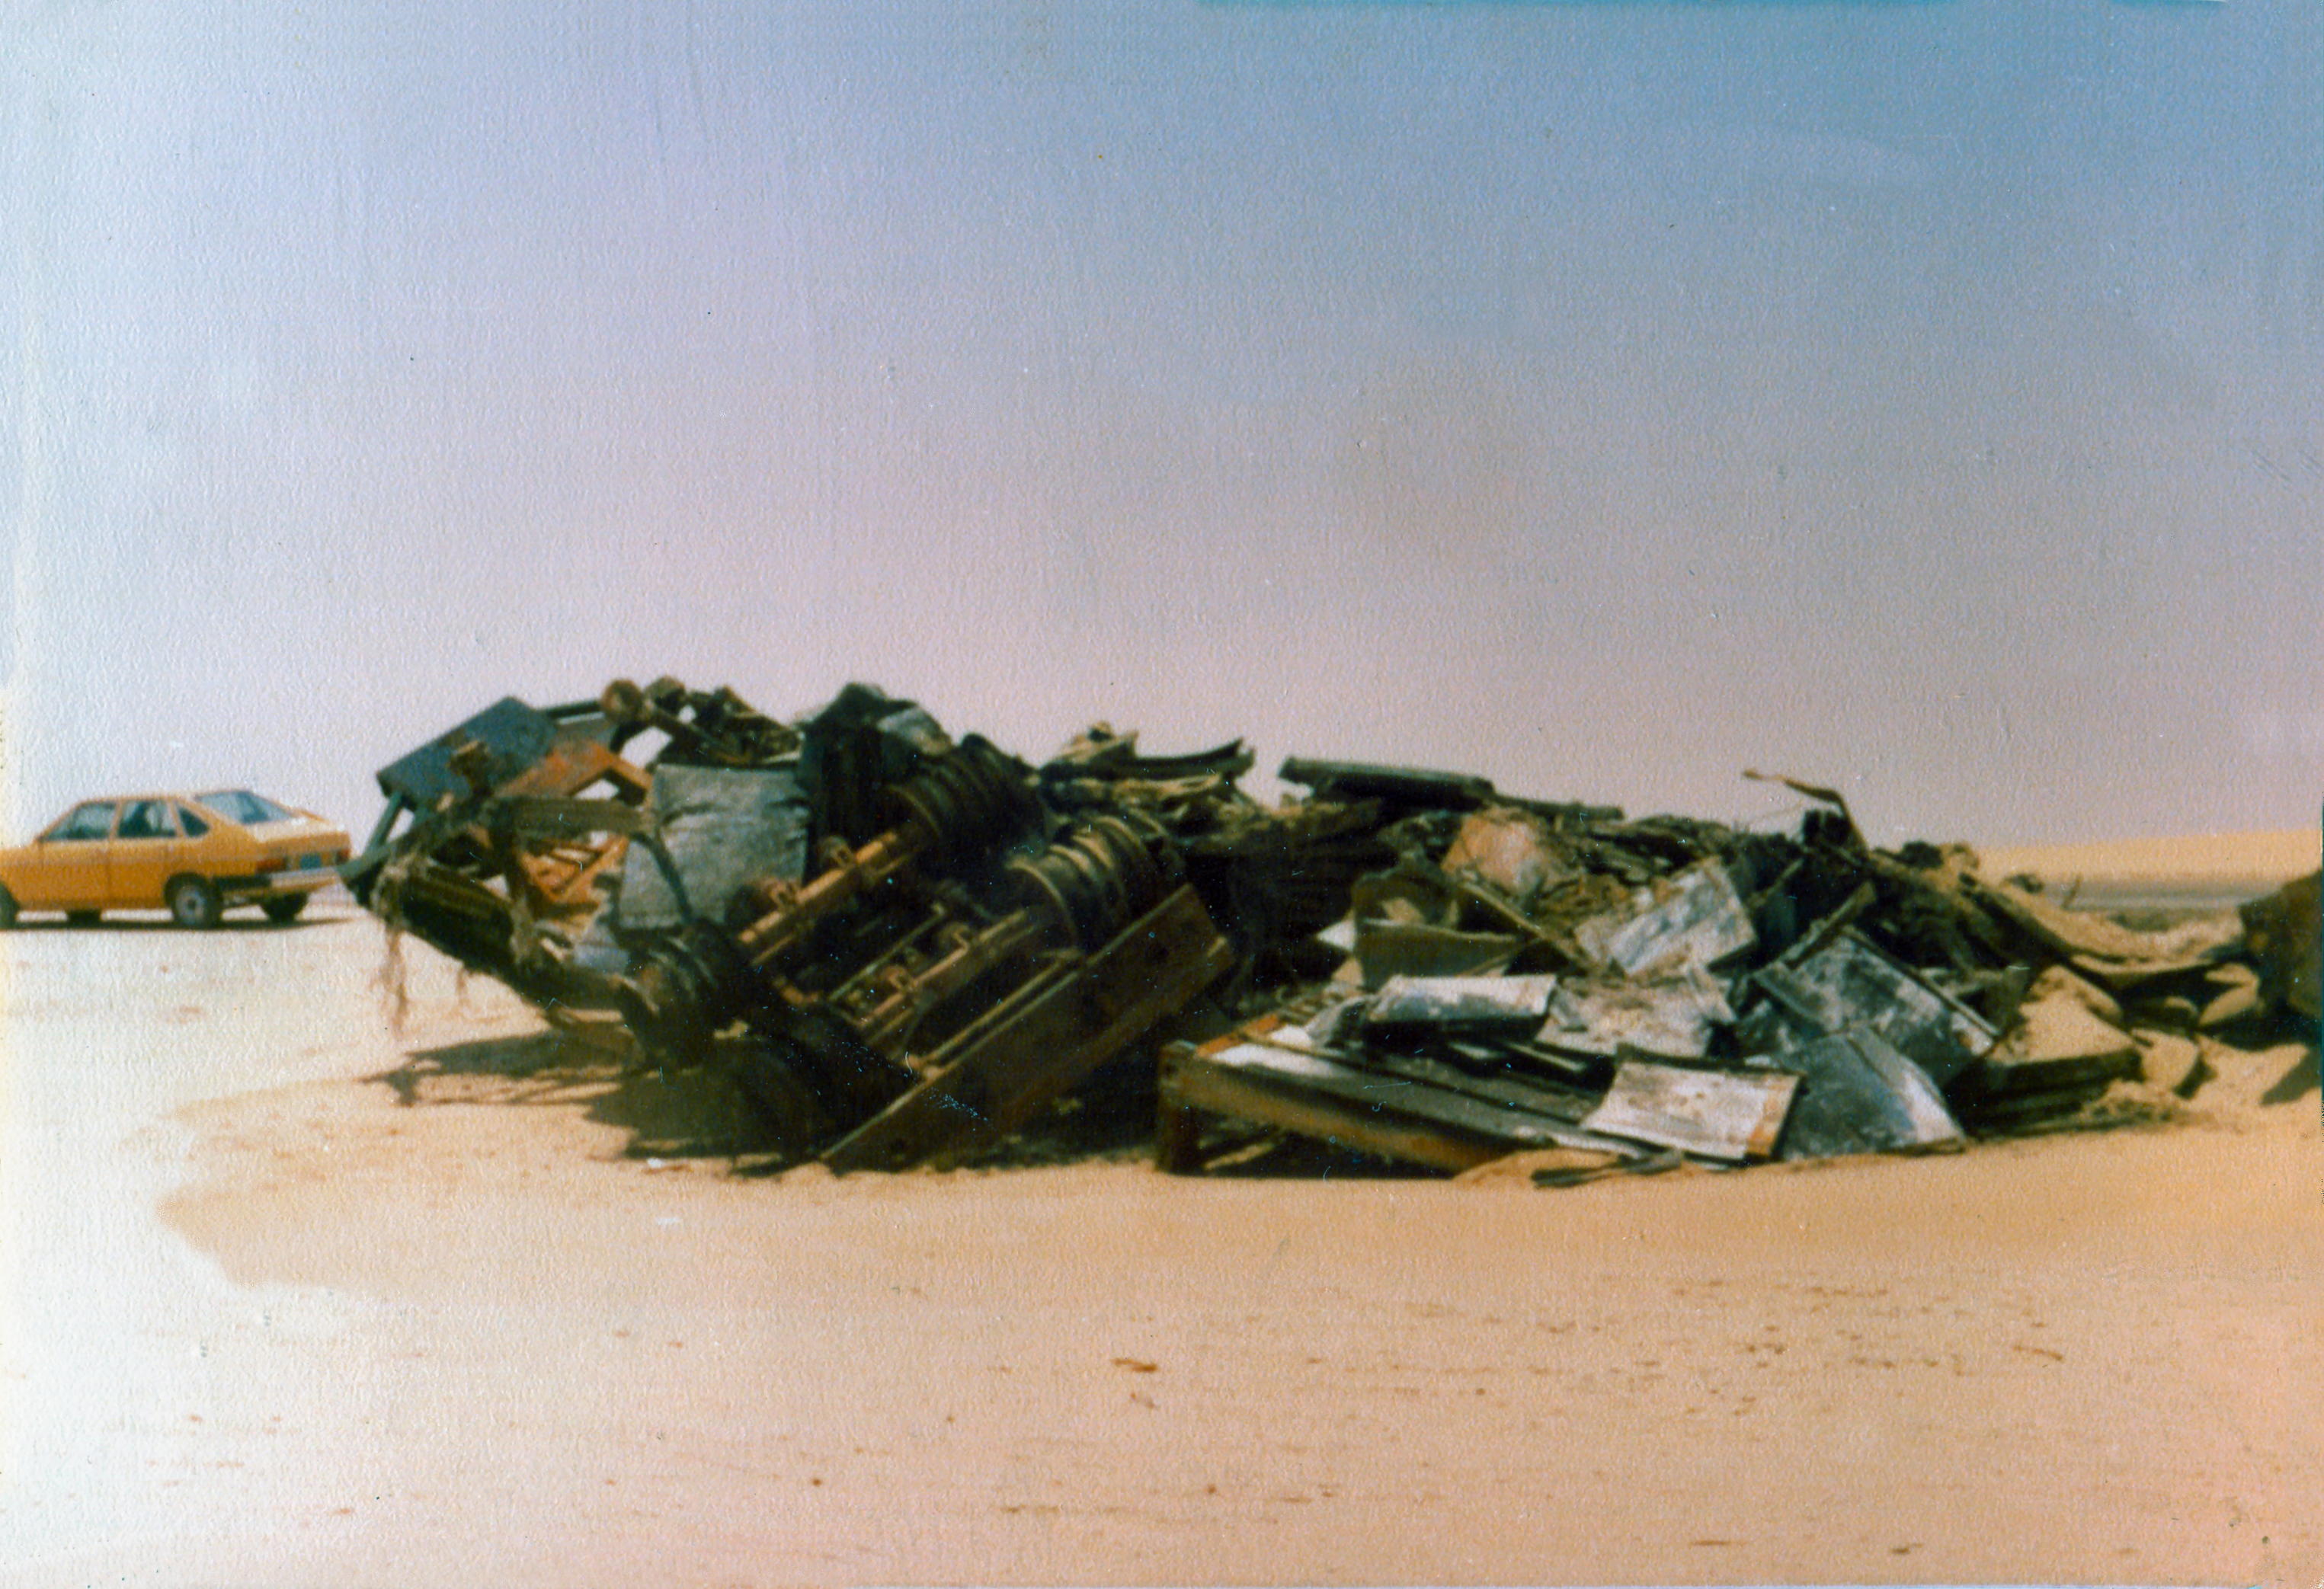
- 16 – Angus’s wreck, Peters car in bg, insce slid out from under, it had £38K of radiators, Caravan had to pay
-
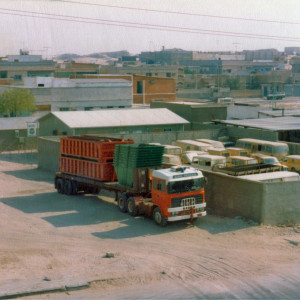
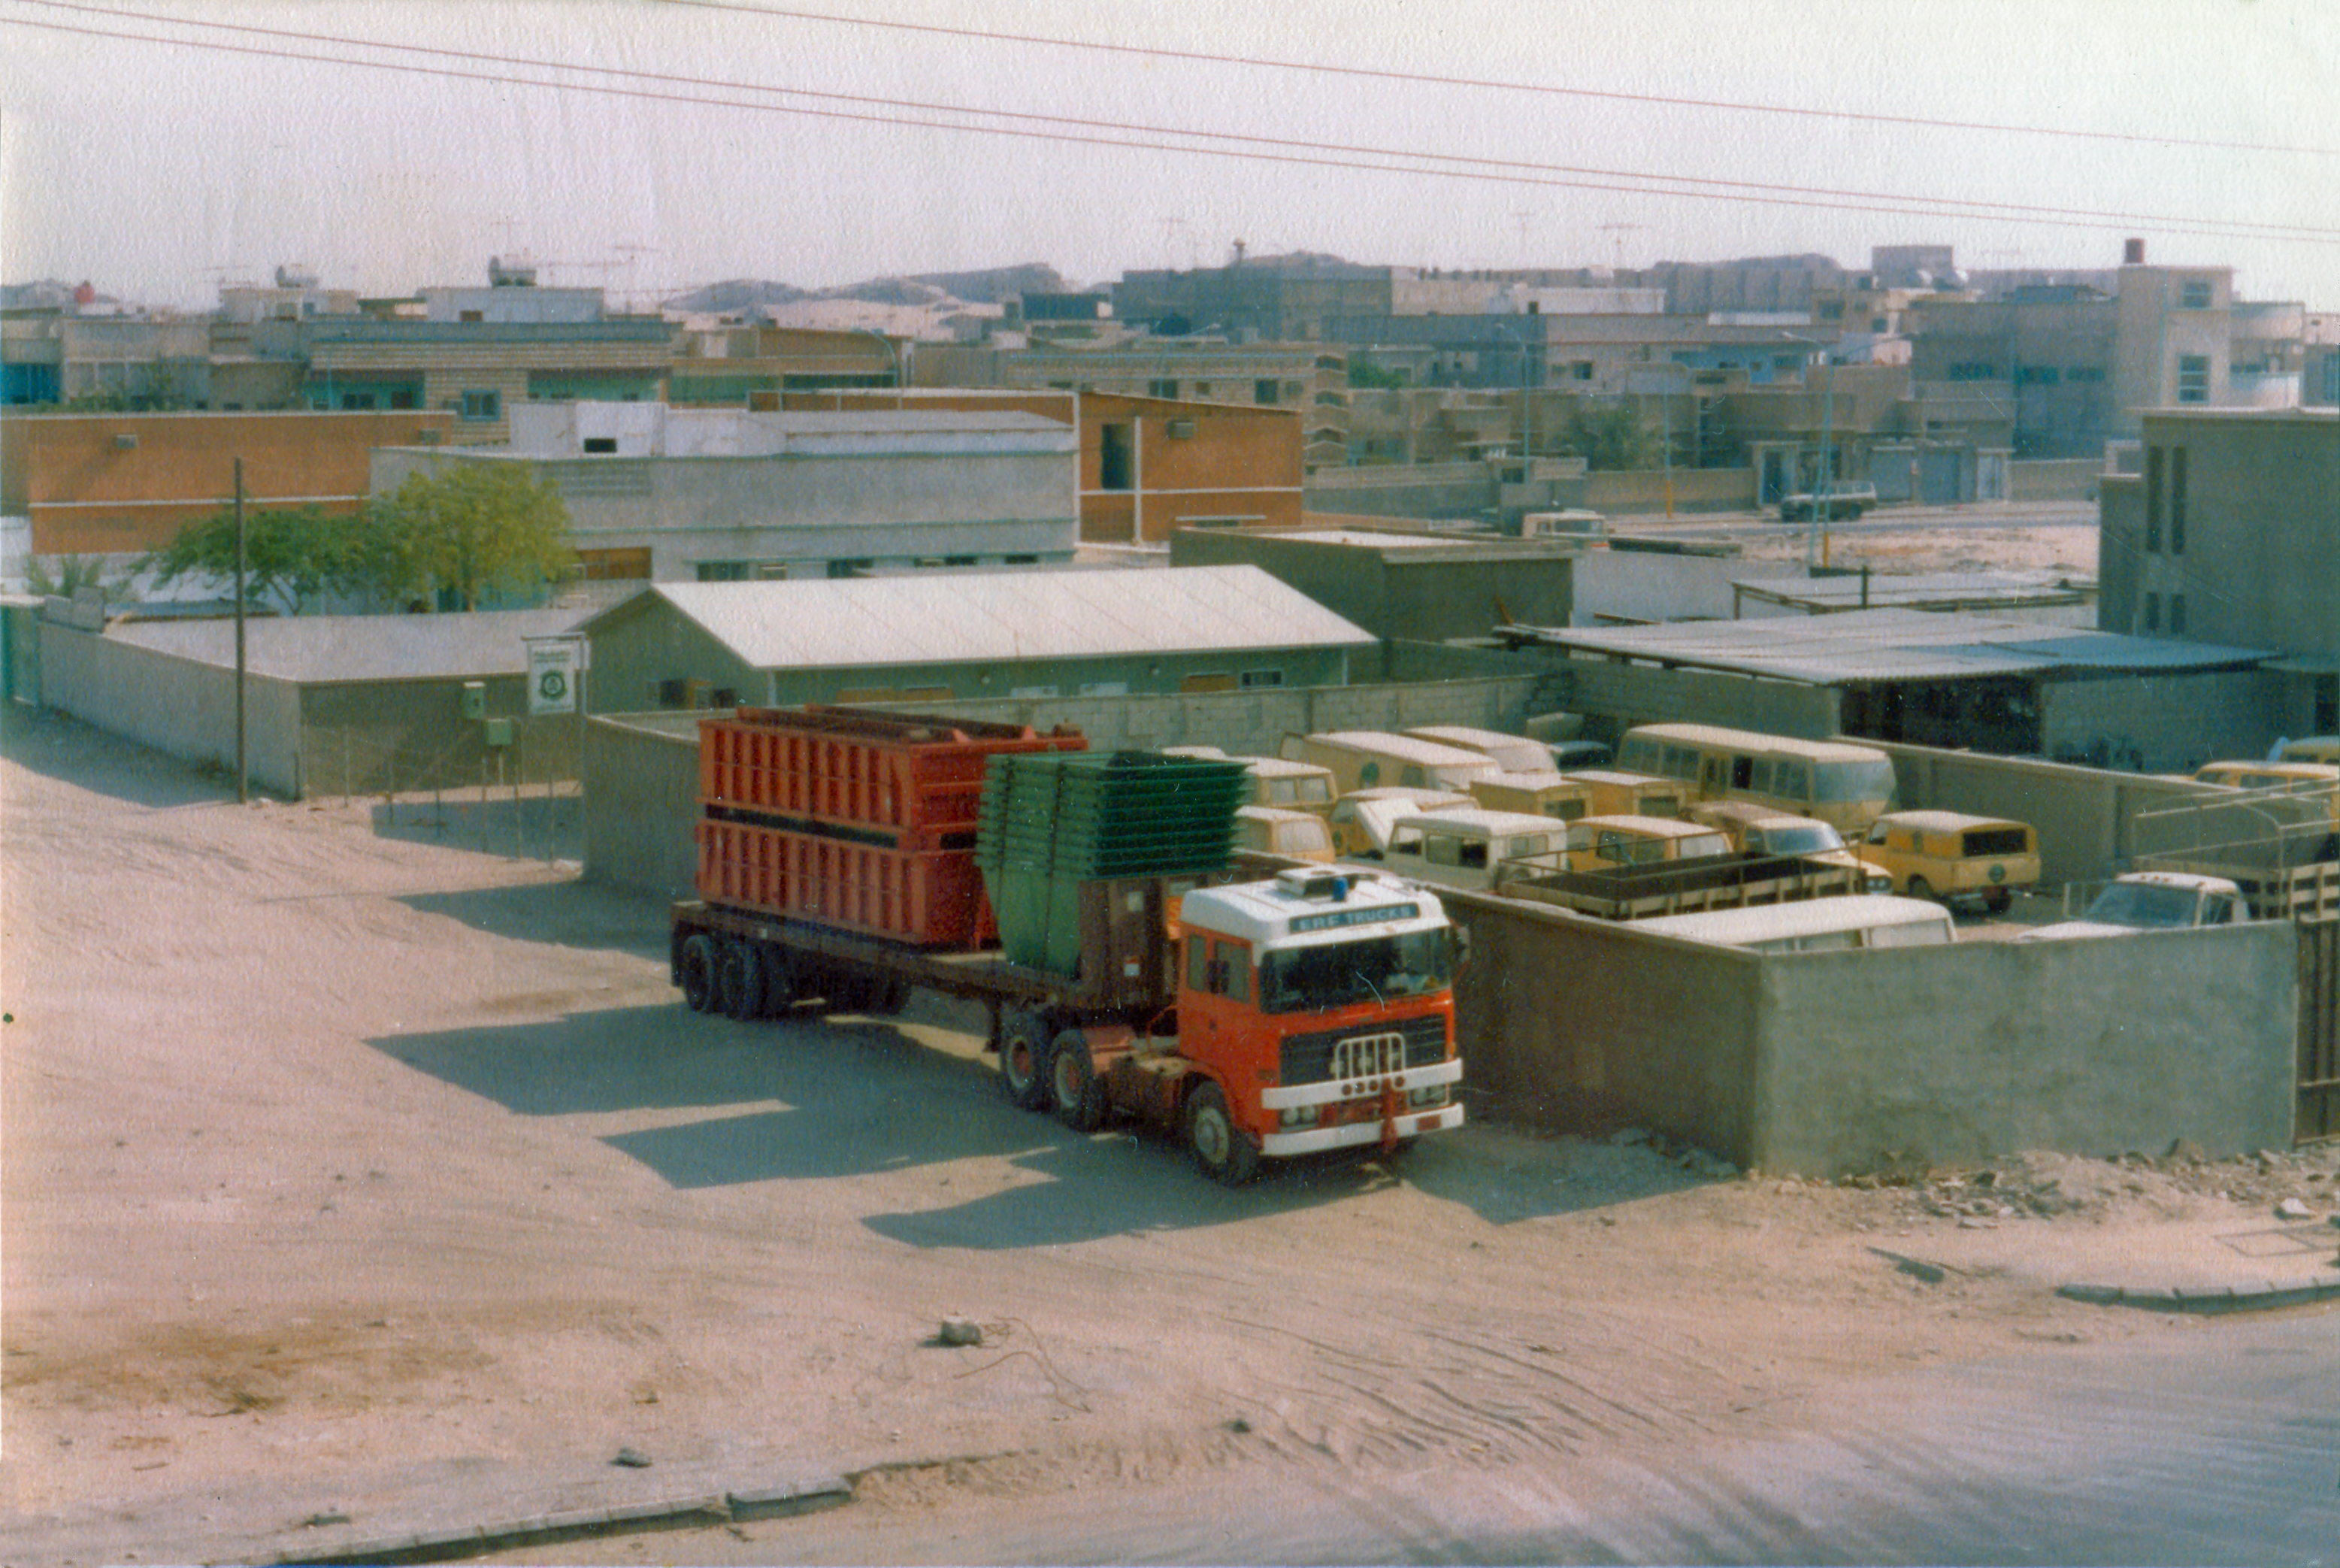
- 19 – Caravans first ERF from the villa, loaded for Waste Management
-
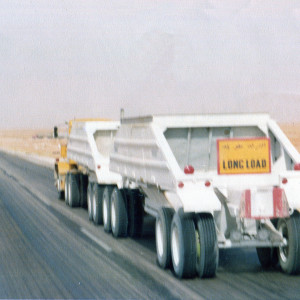
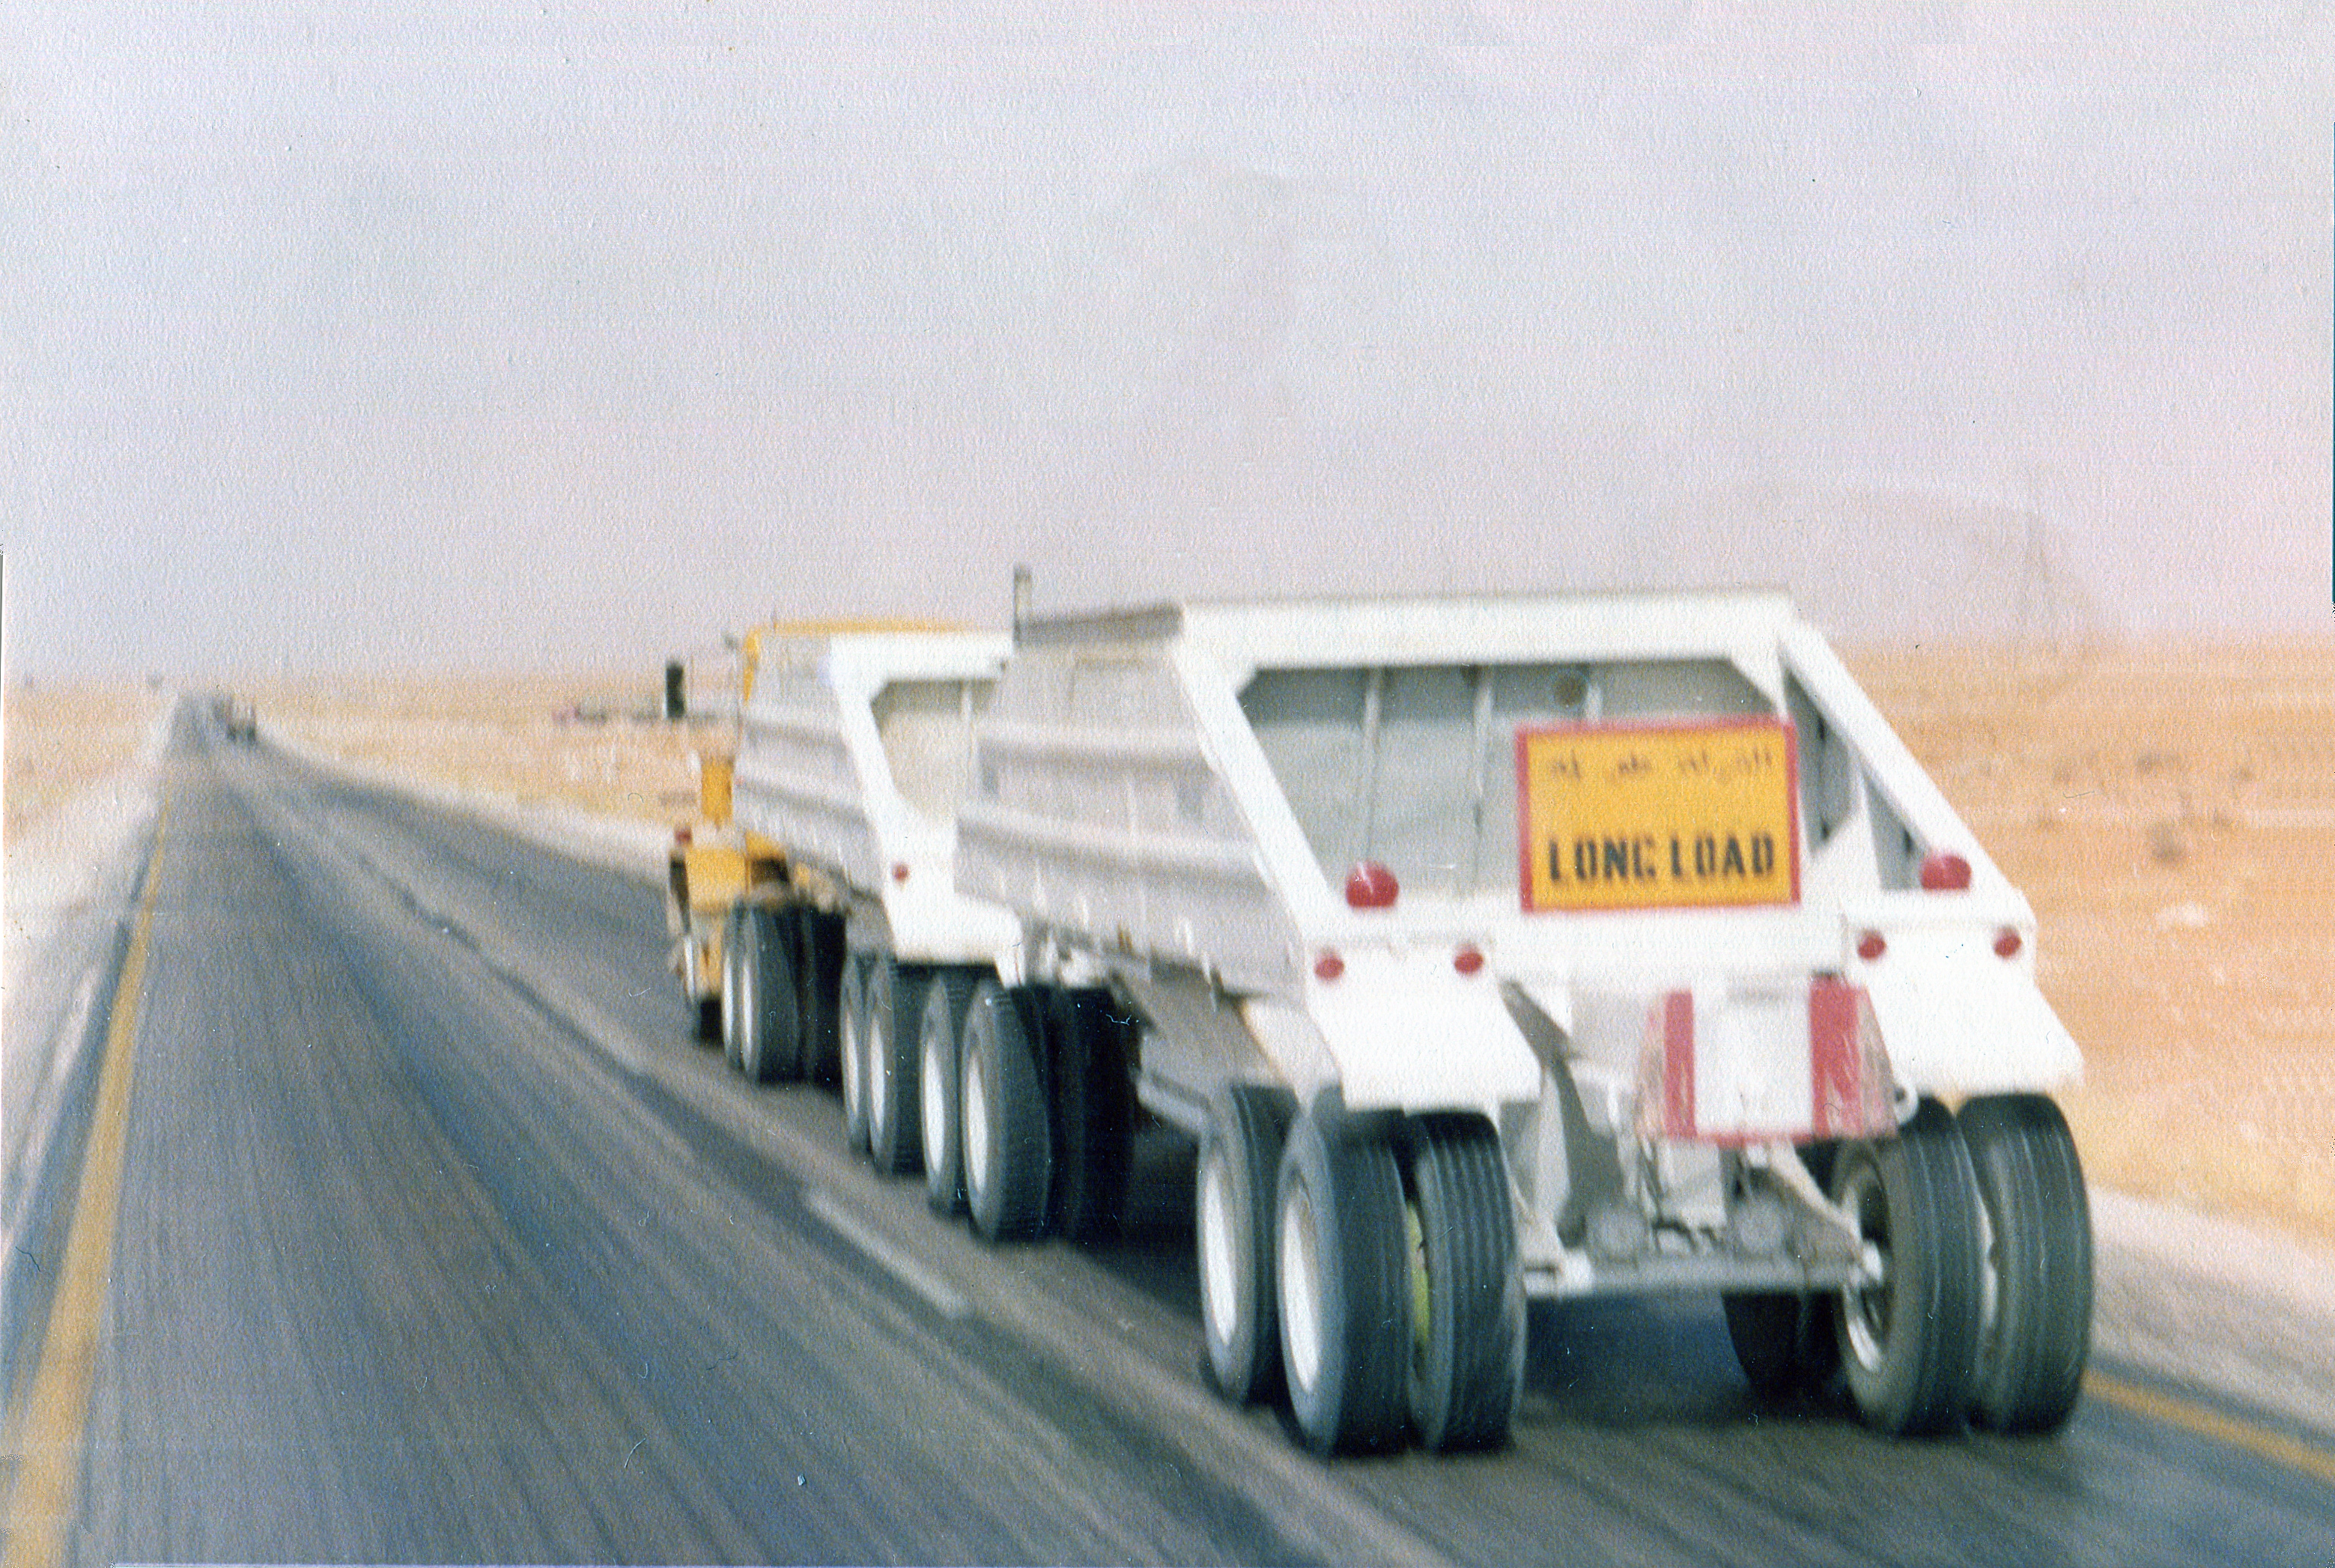
- 20 – Aramco double bottom – one of about 50
-
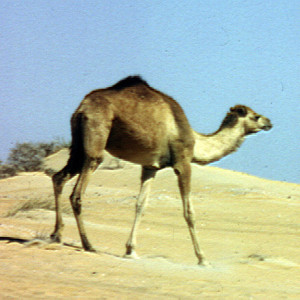
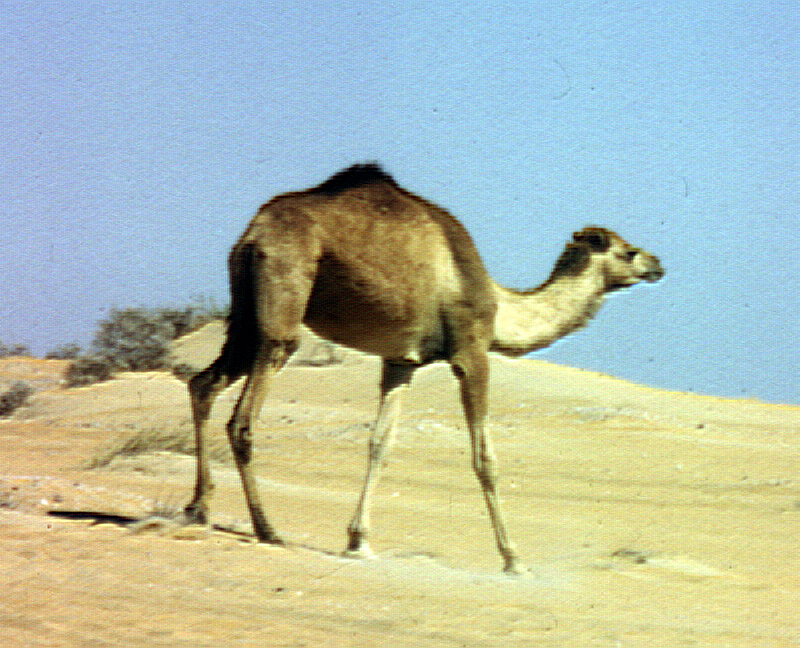
- Camel nr. Salwa-Hofuf rd, SA 18-02-84
-
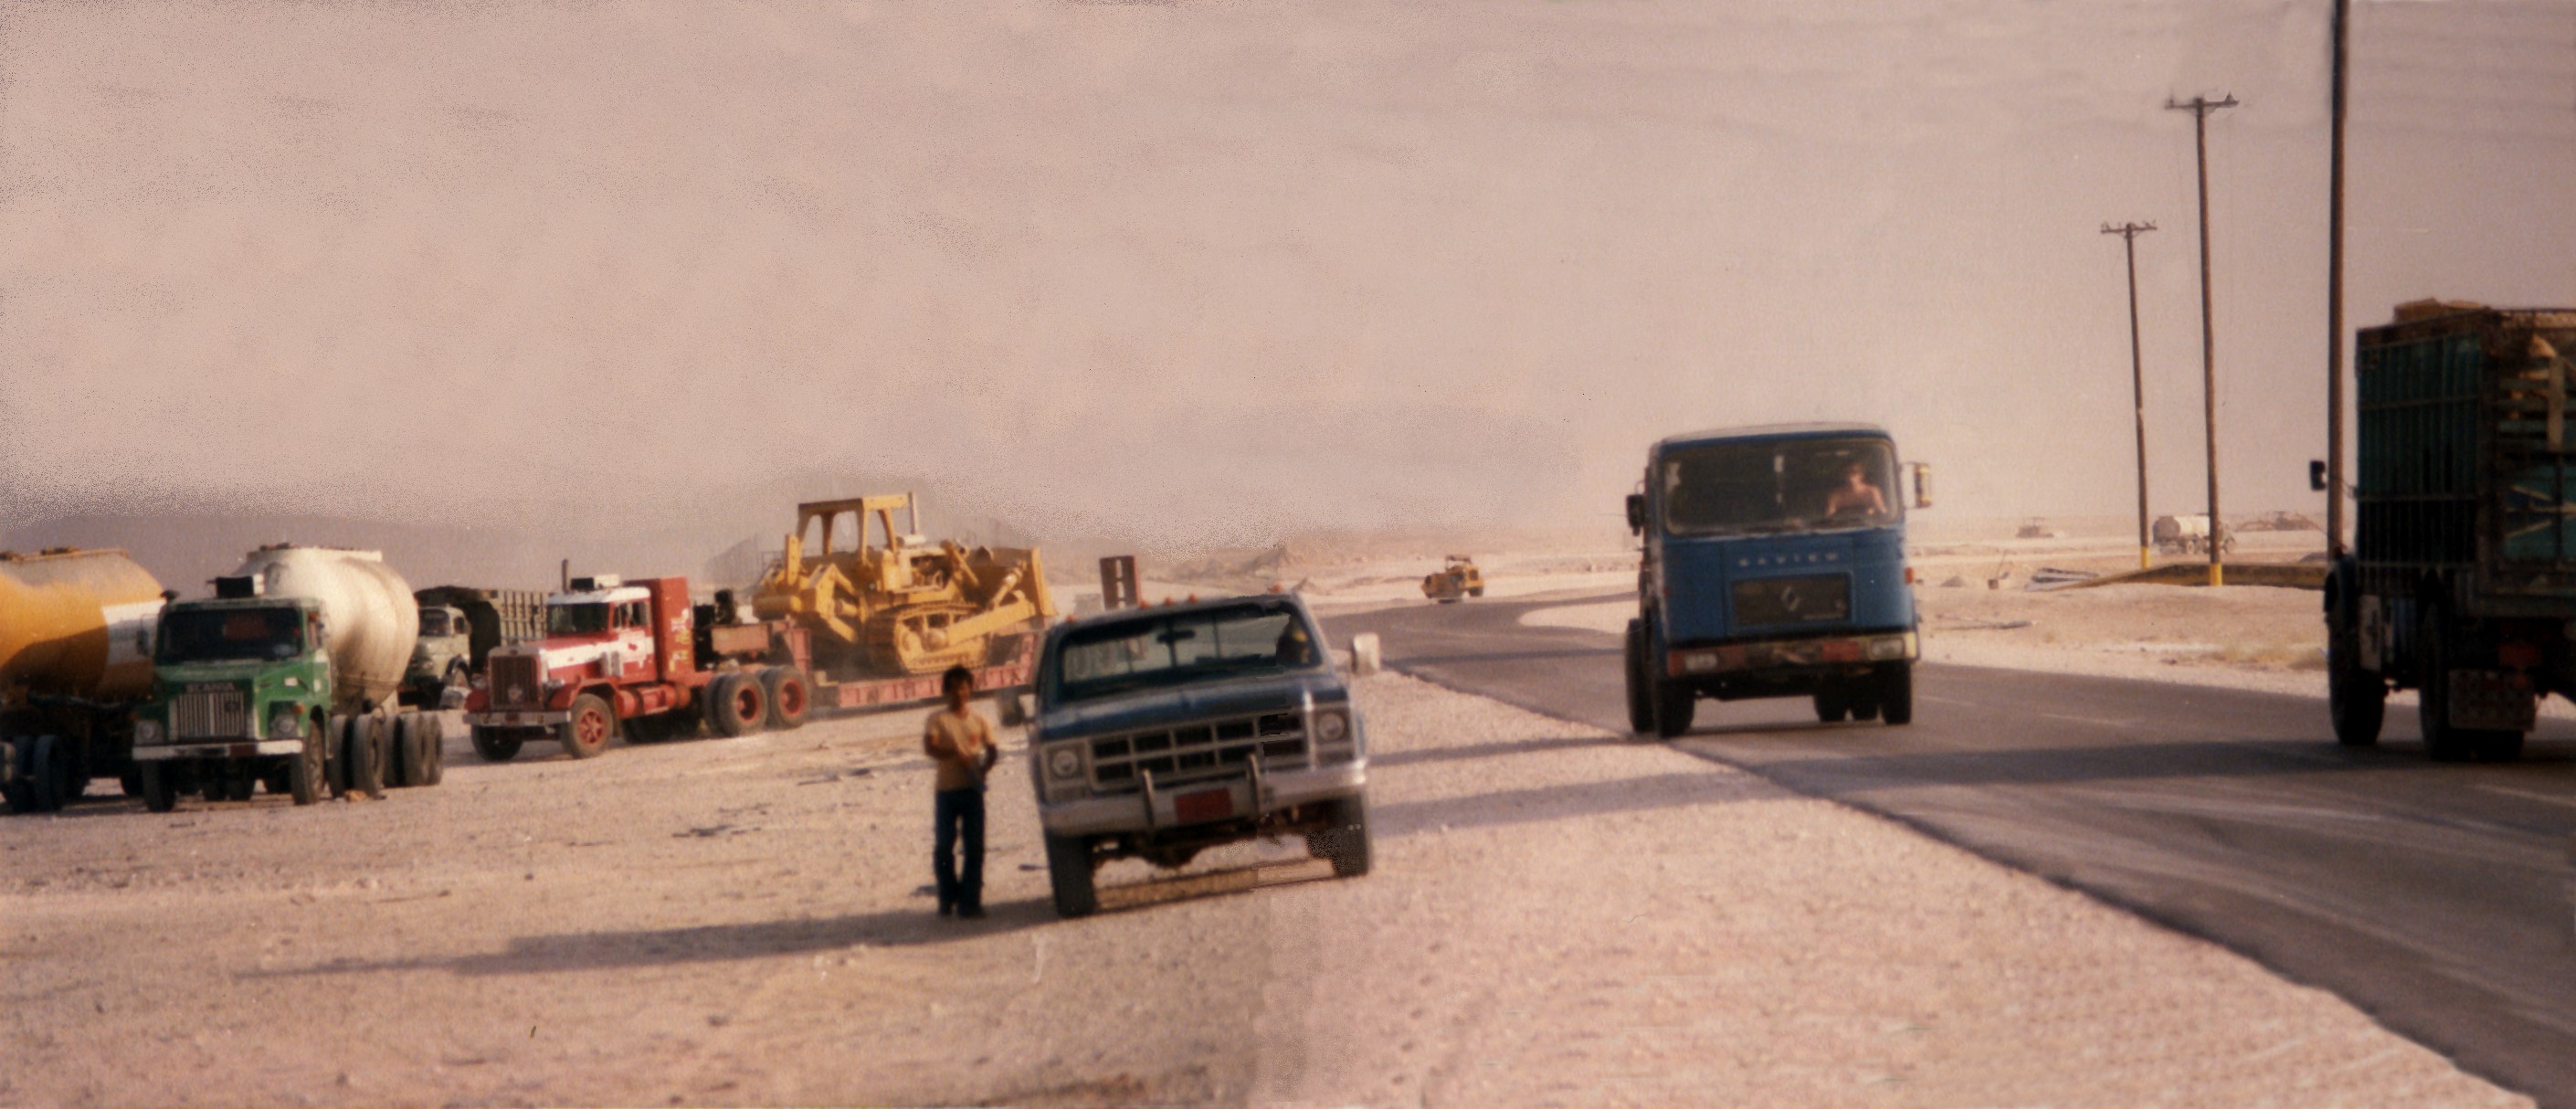
- John Longhorn driving Erics Saviem, hofuf corner
-
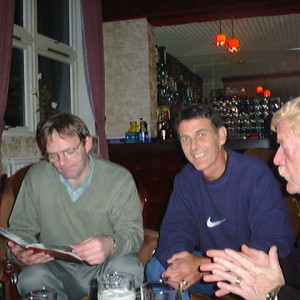
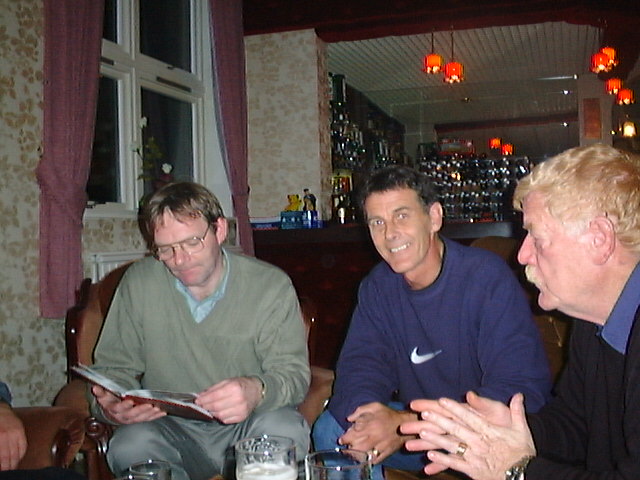
- John, Paul Kerr & Ginger at the Truckers Do, Clarence Hous
-
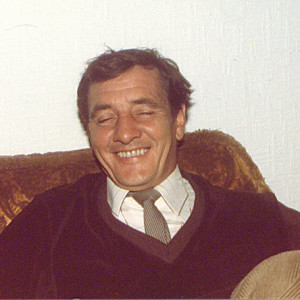
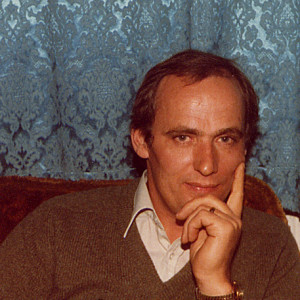
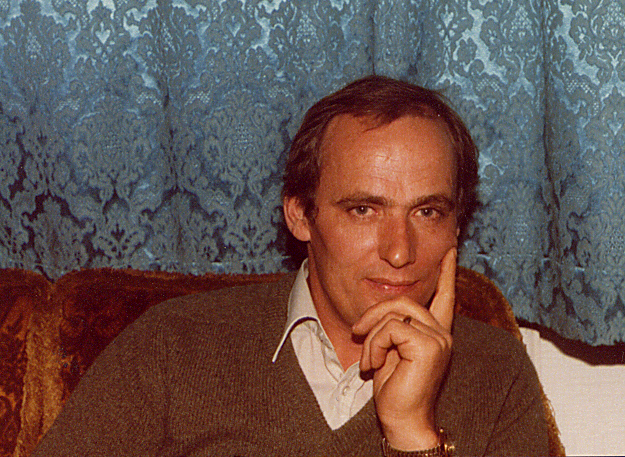
- Pete Best at Ruskin Cottage crop 020181
-
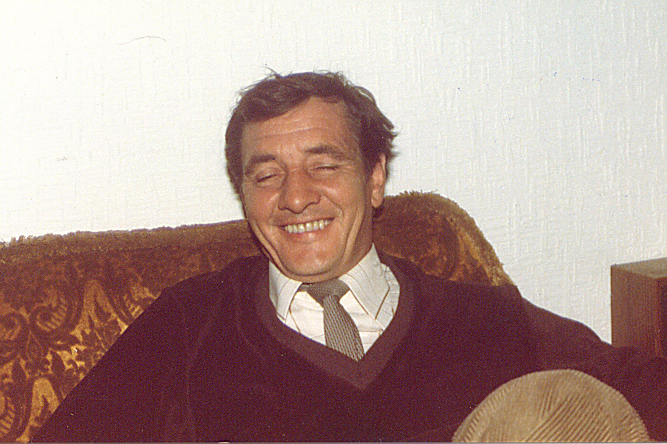
- Eric Collins at Ruskin Cottage 020181
-
- Here’s one I pinched earlier
-
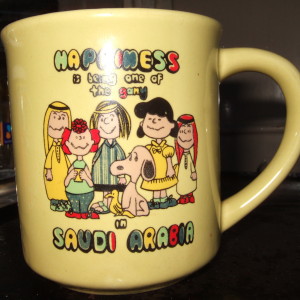
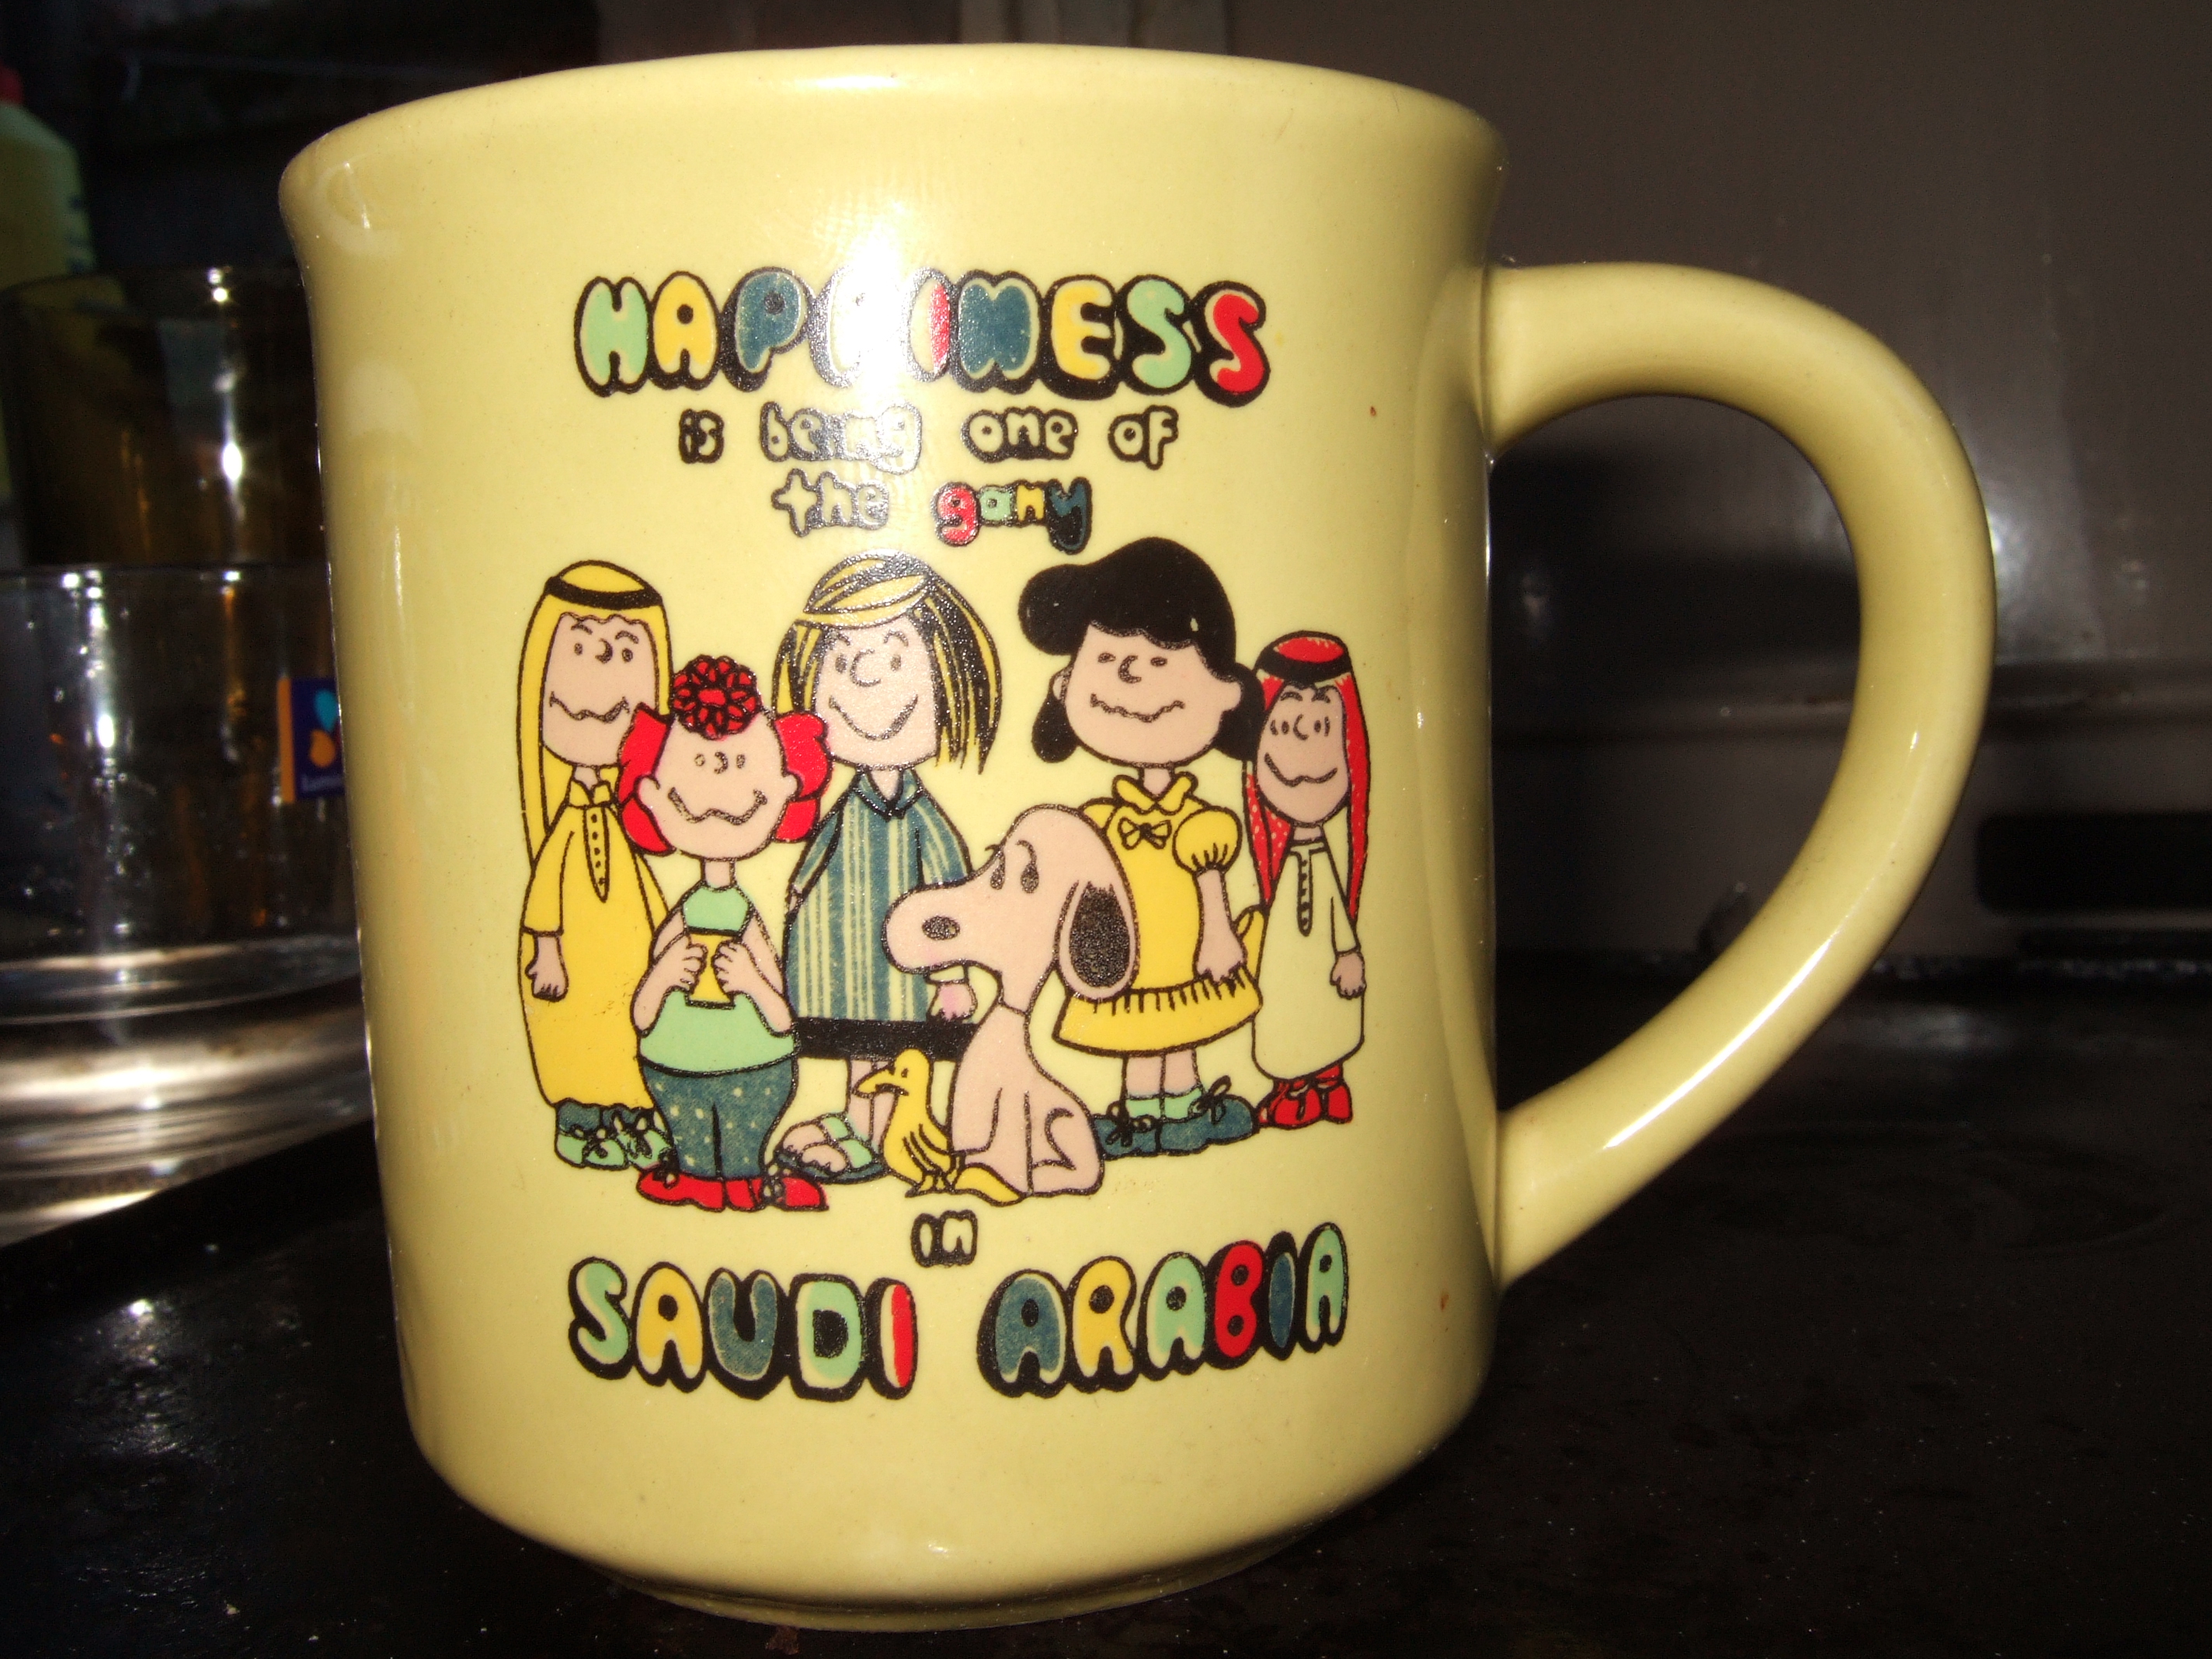
- Happiness Is Being One Of The Gang In Saudi Arabia mug
-
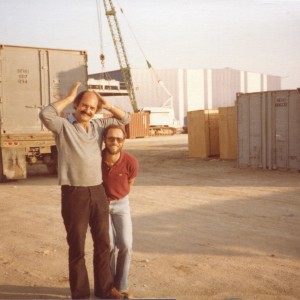
- Ted Thomas and Martin Mears. Caravan Yard

All Photos © John West or Andrew West.